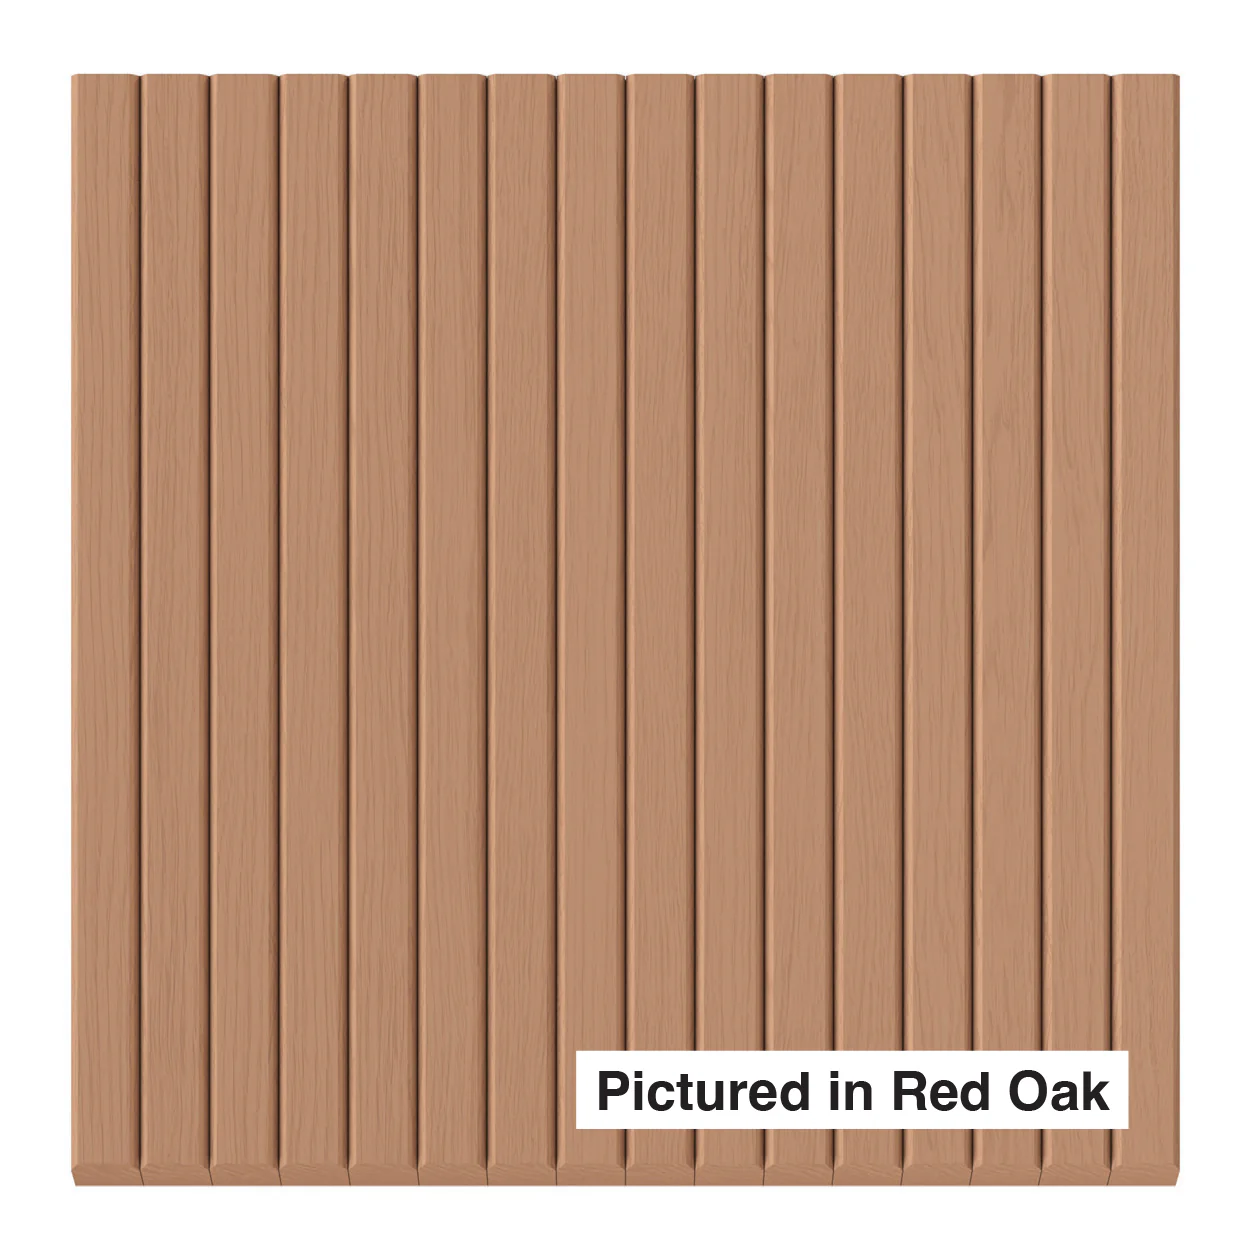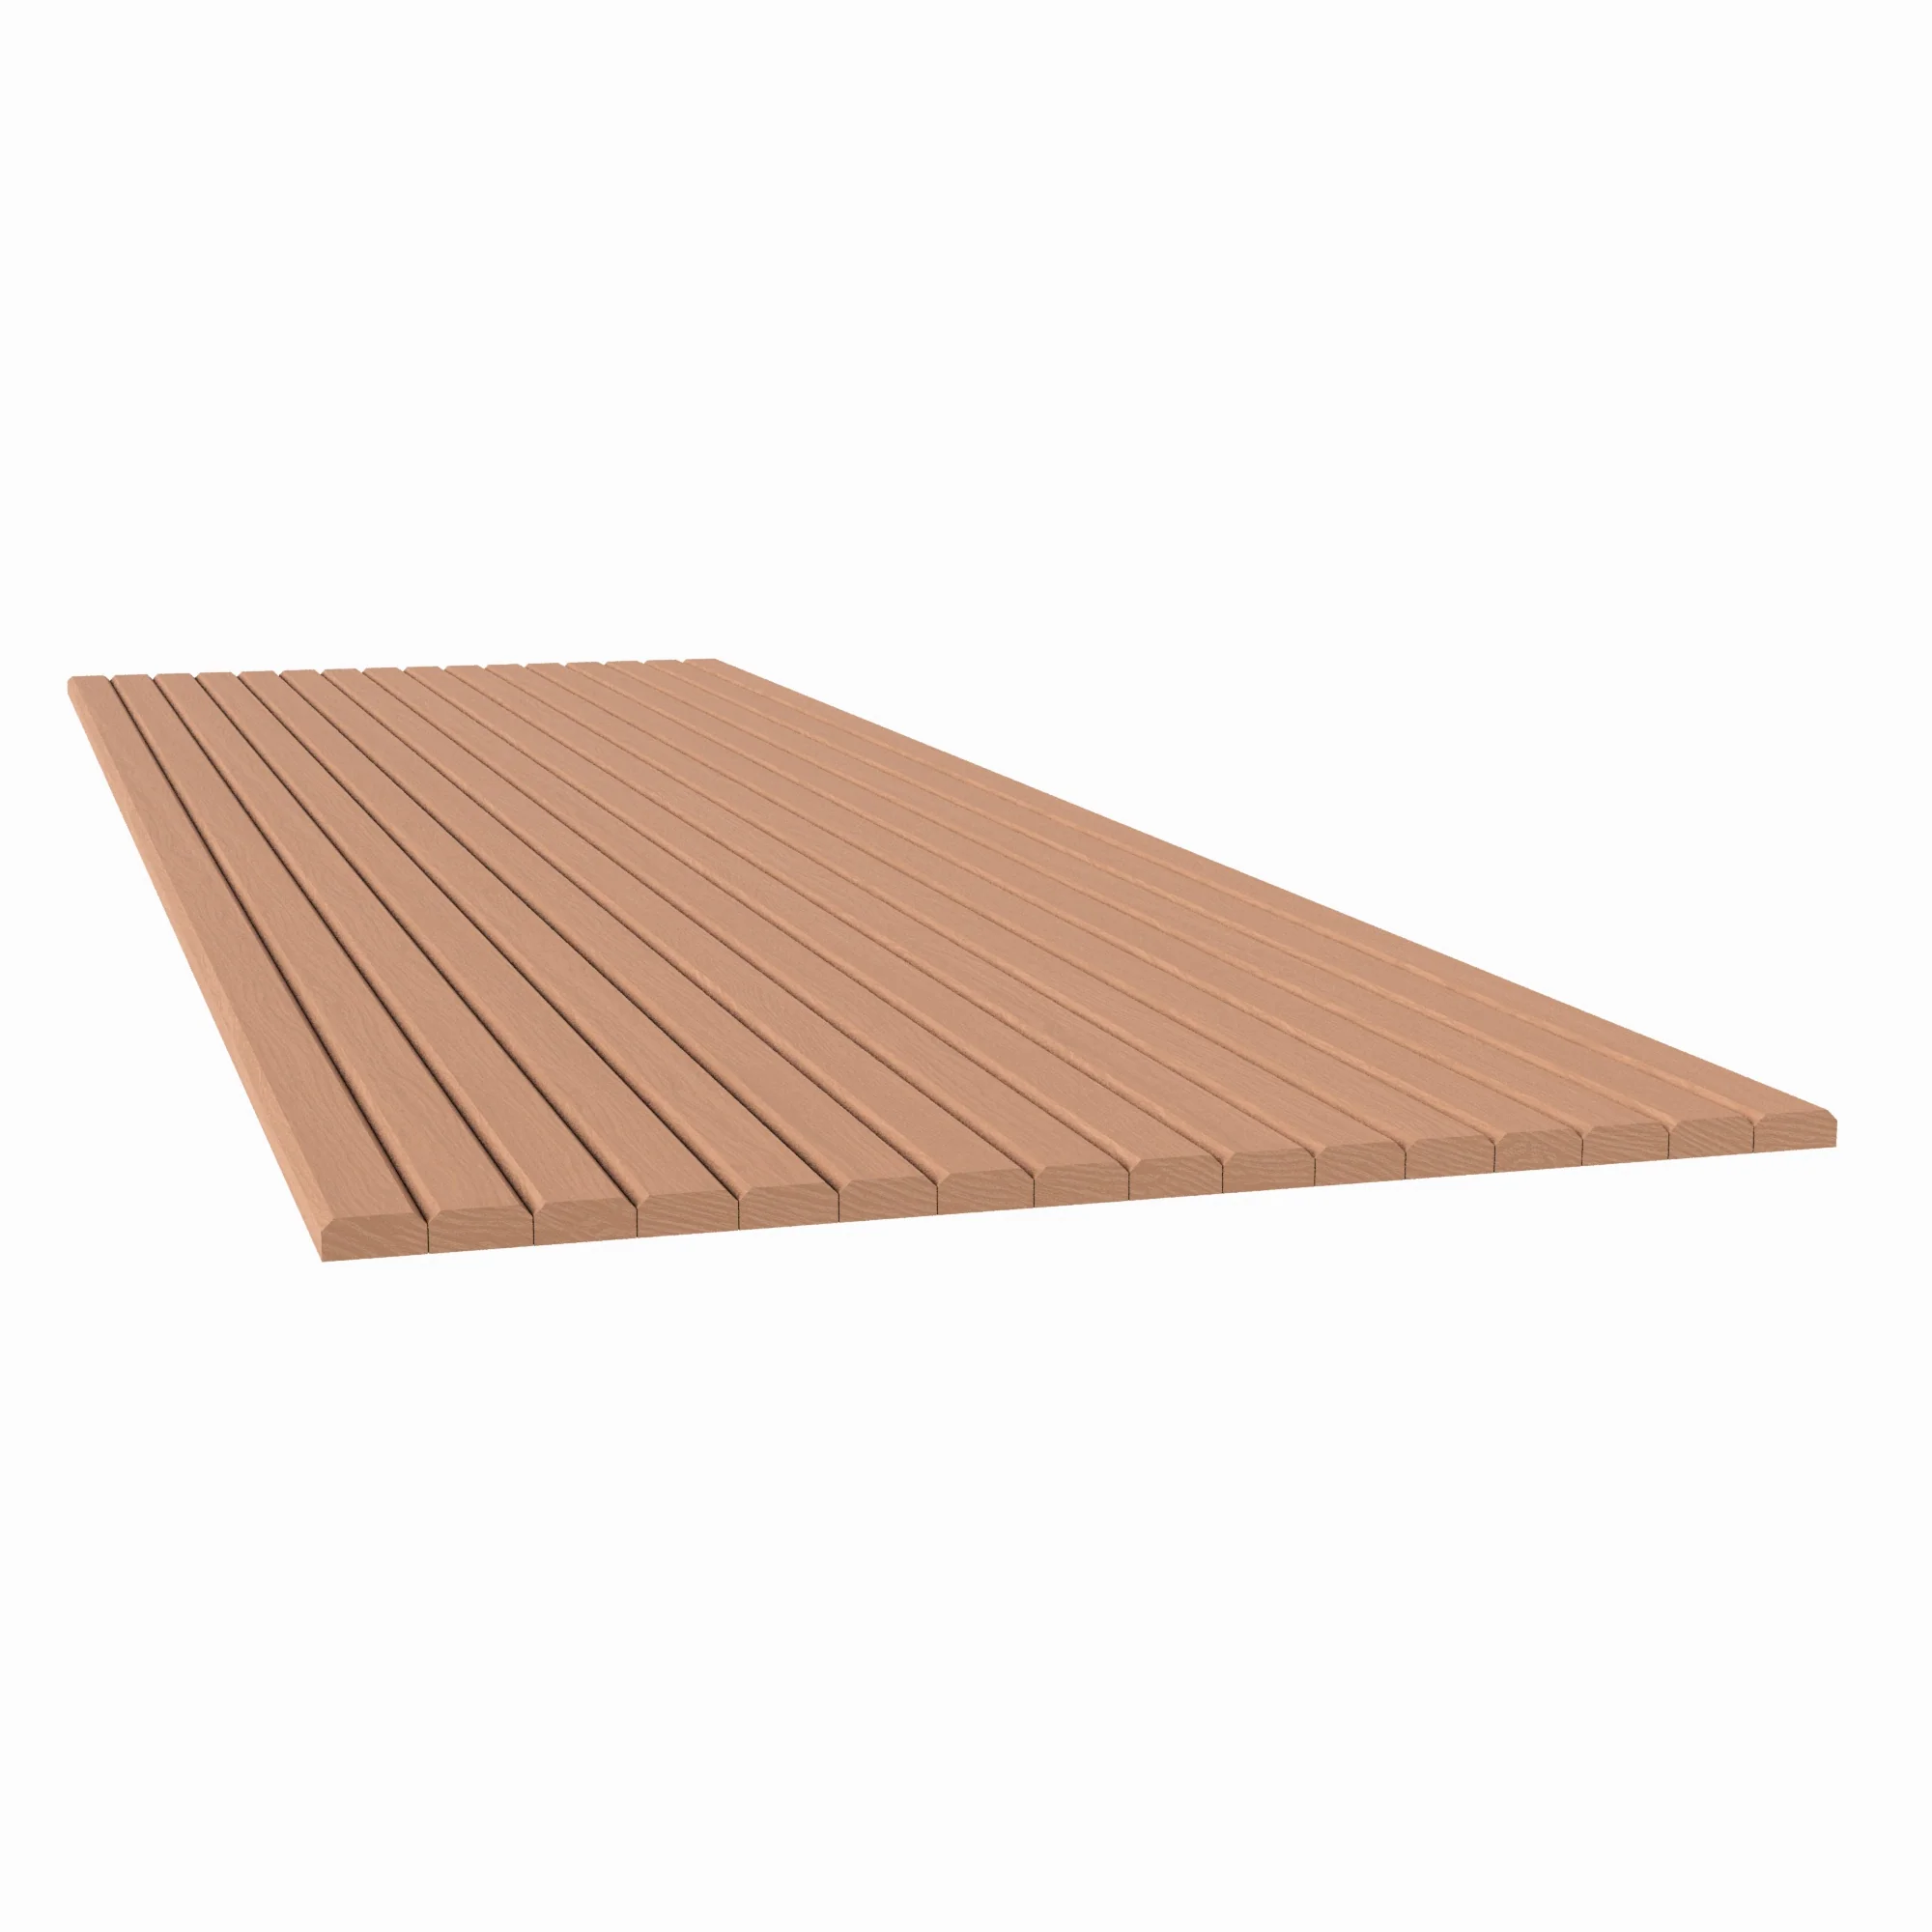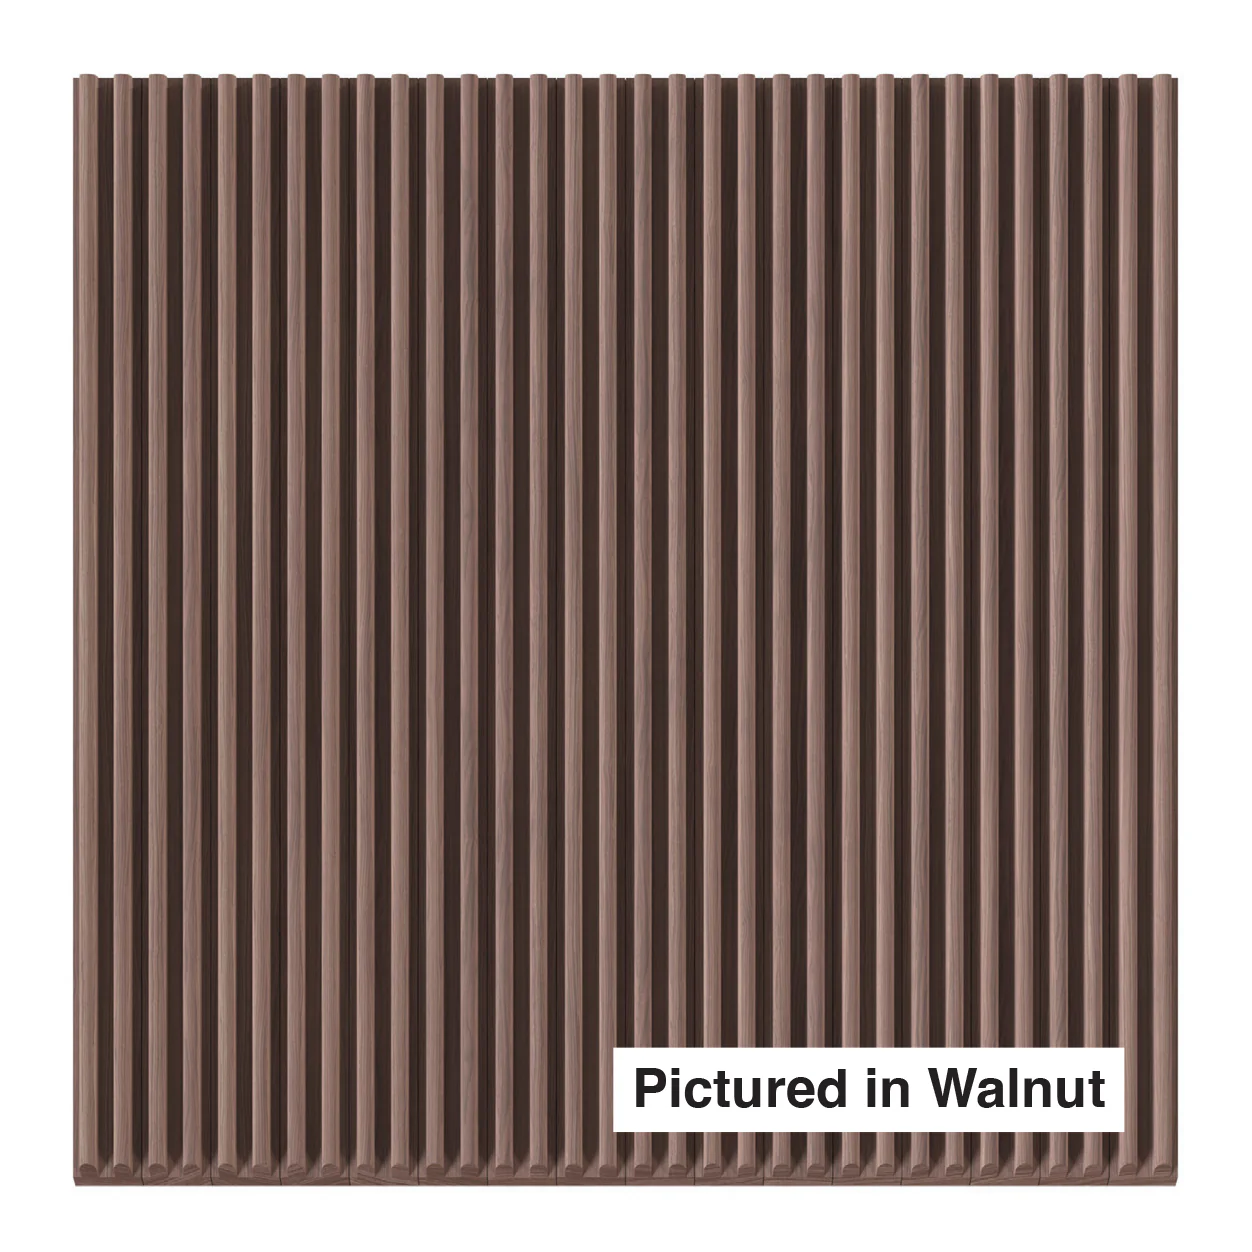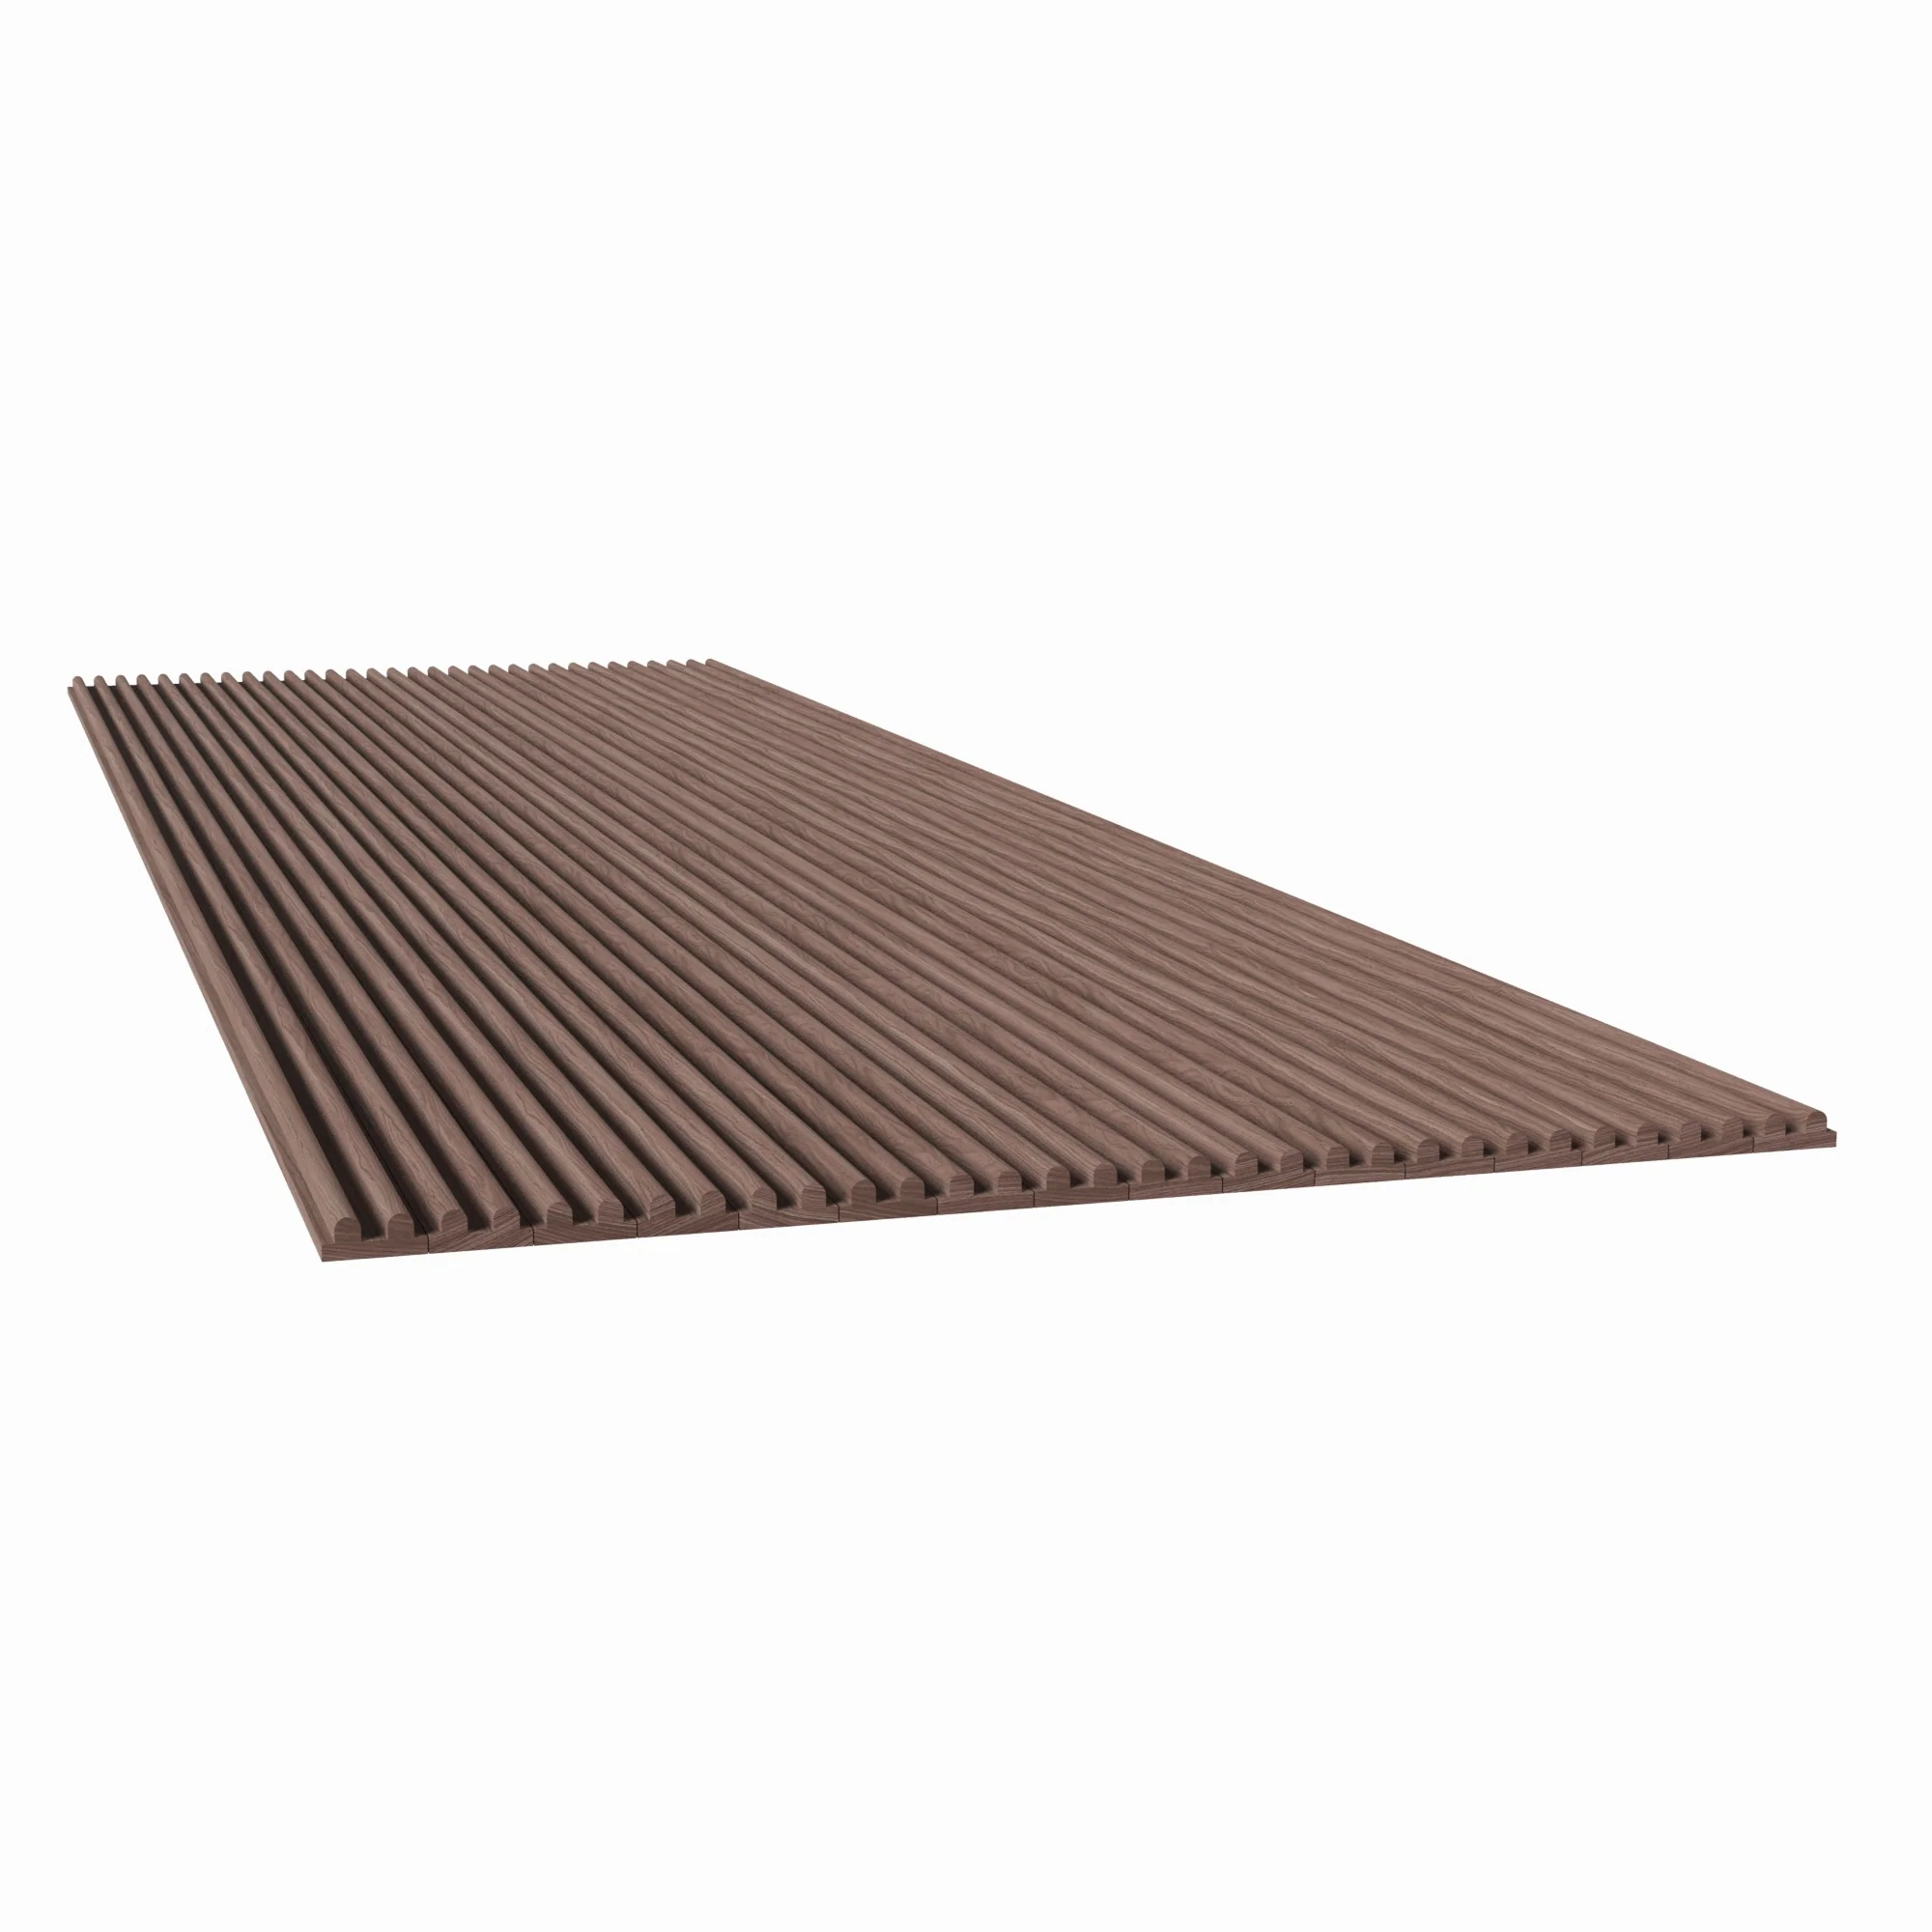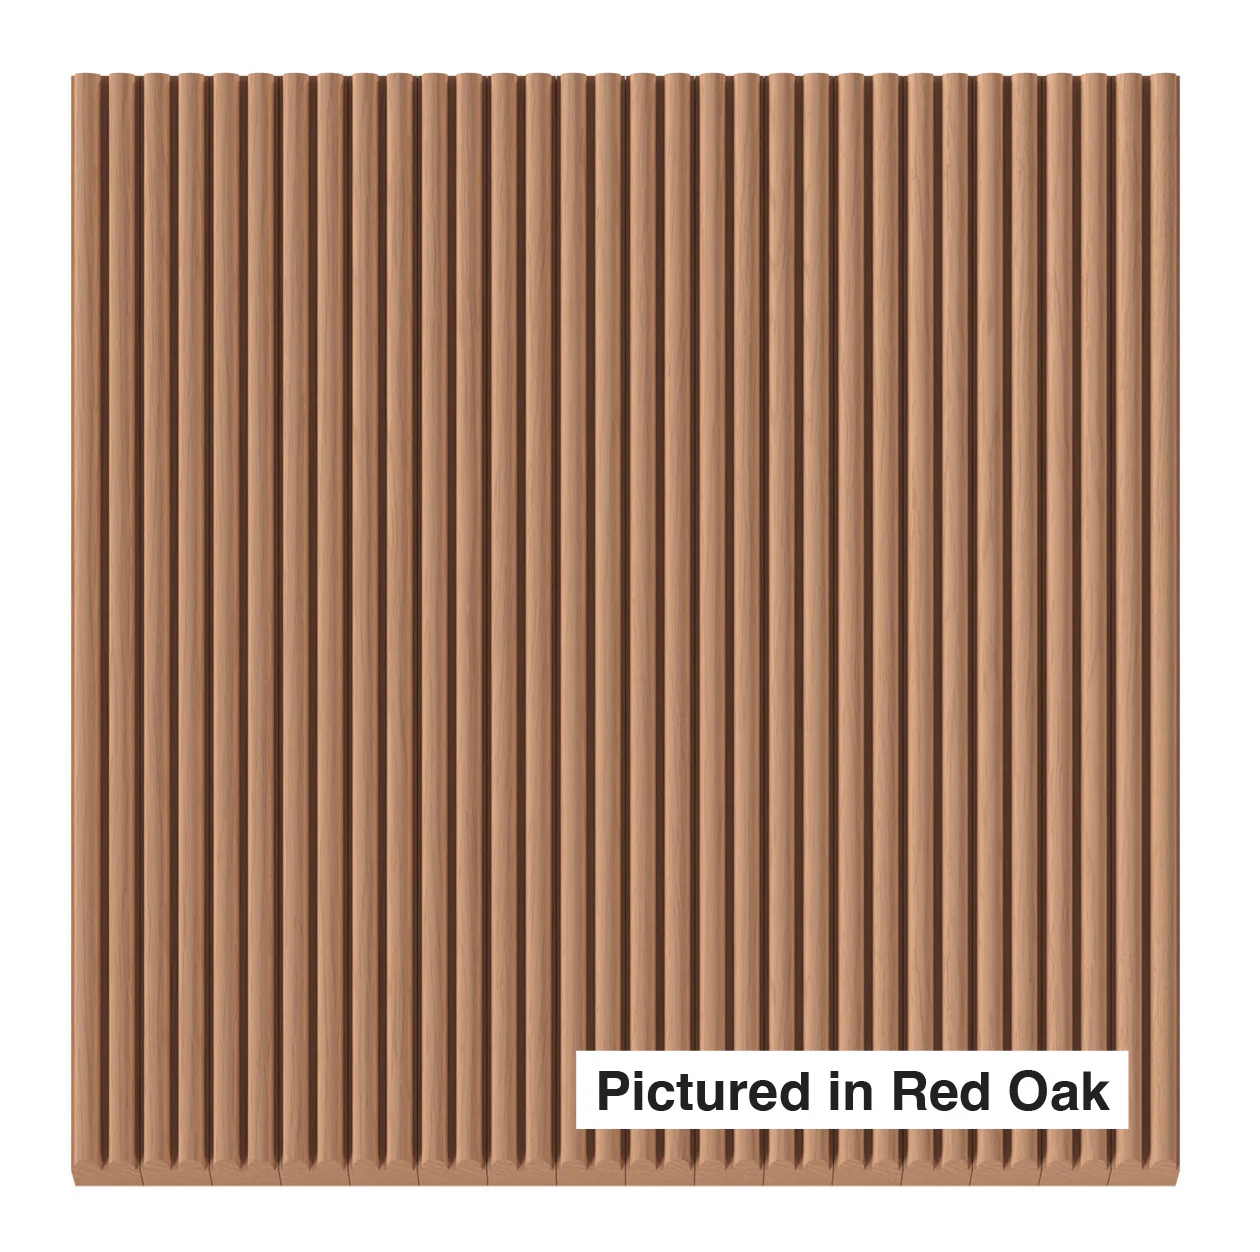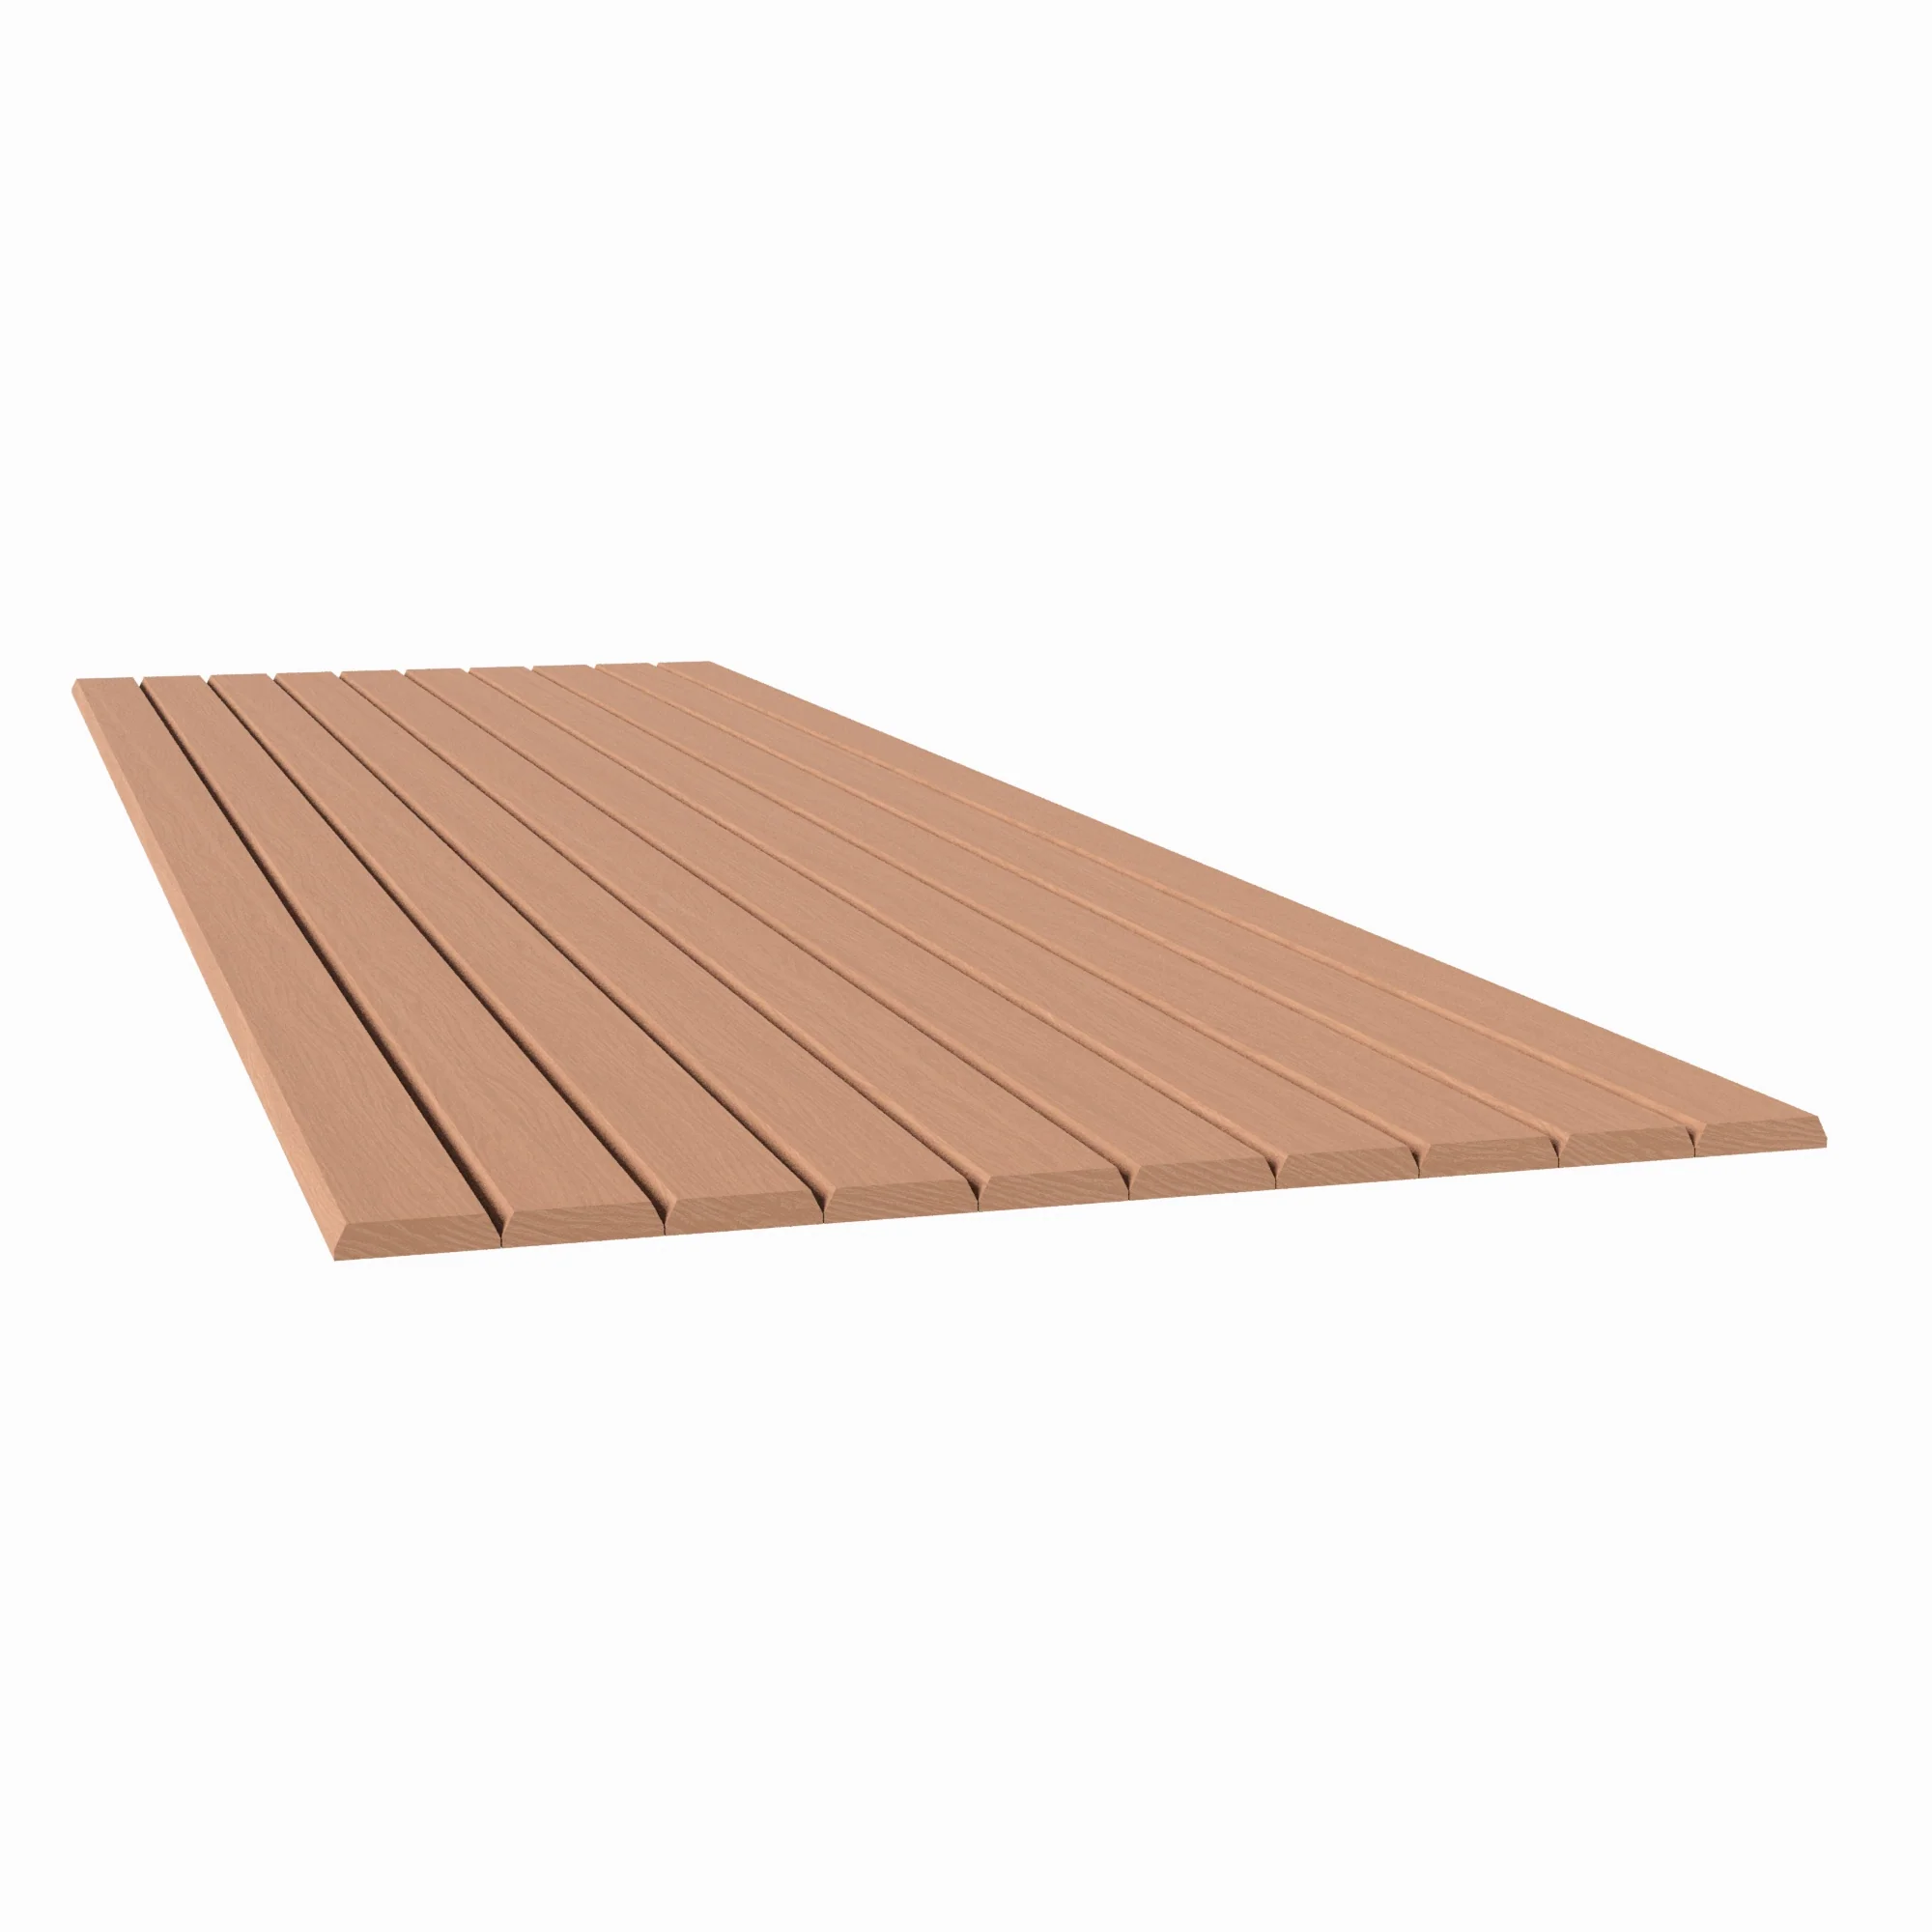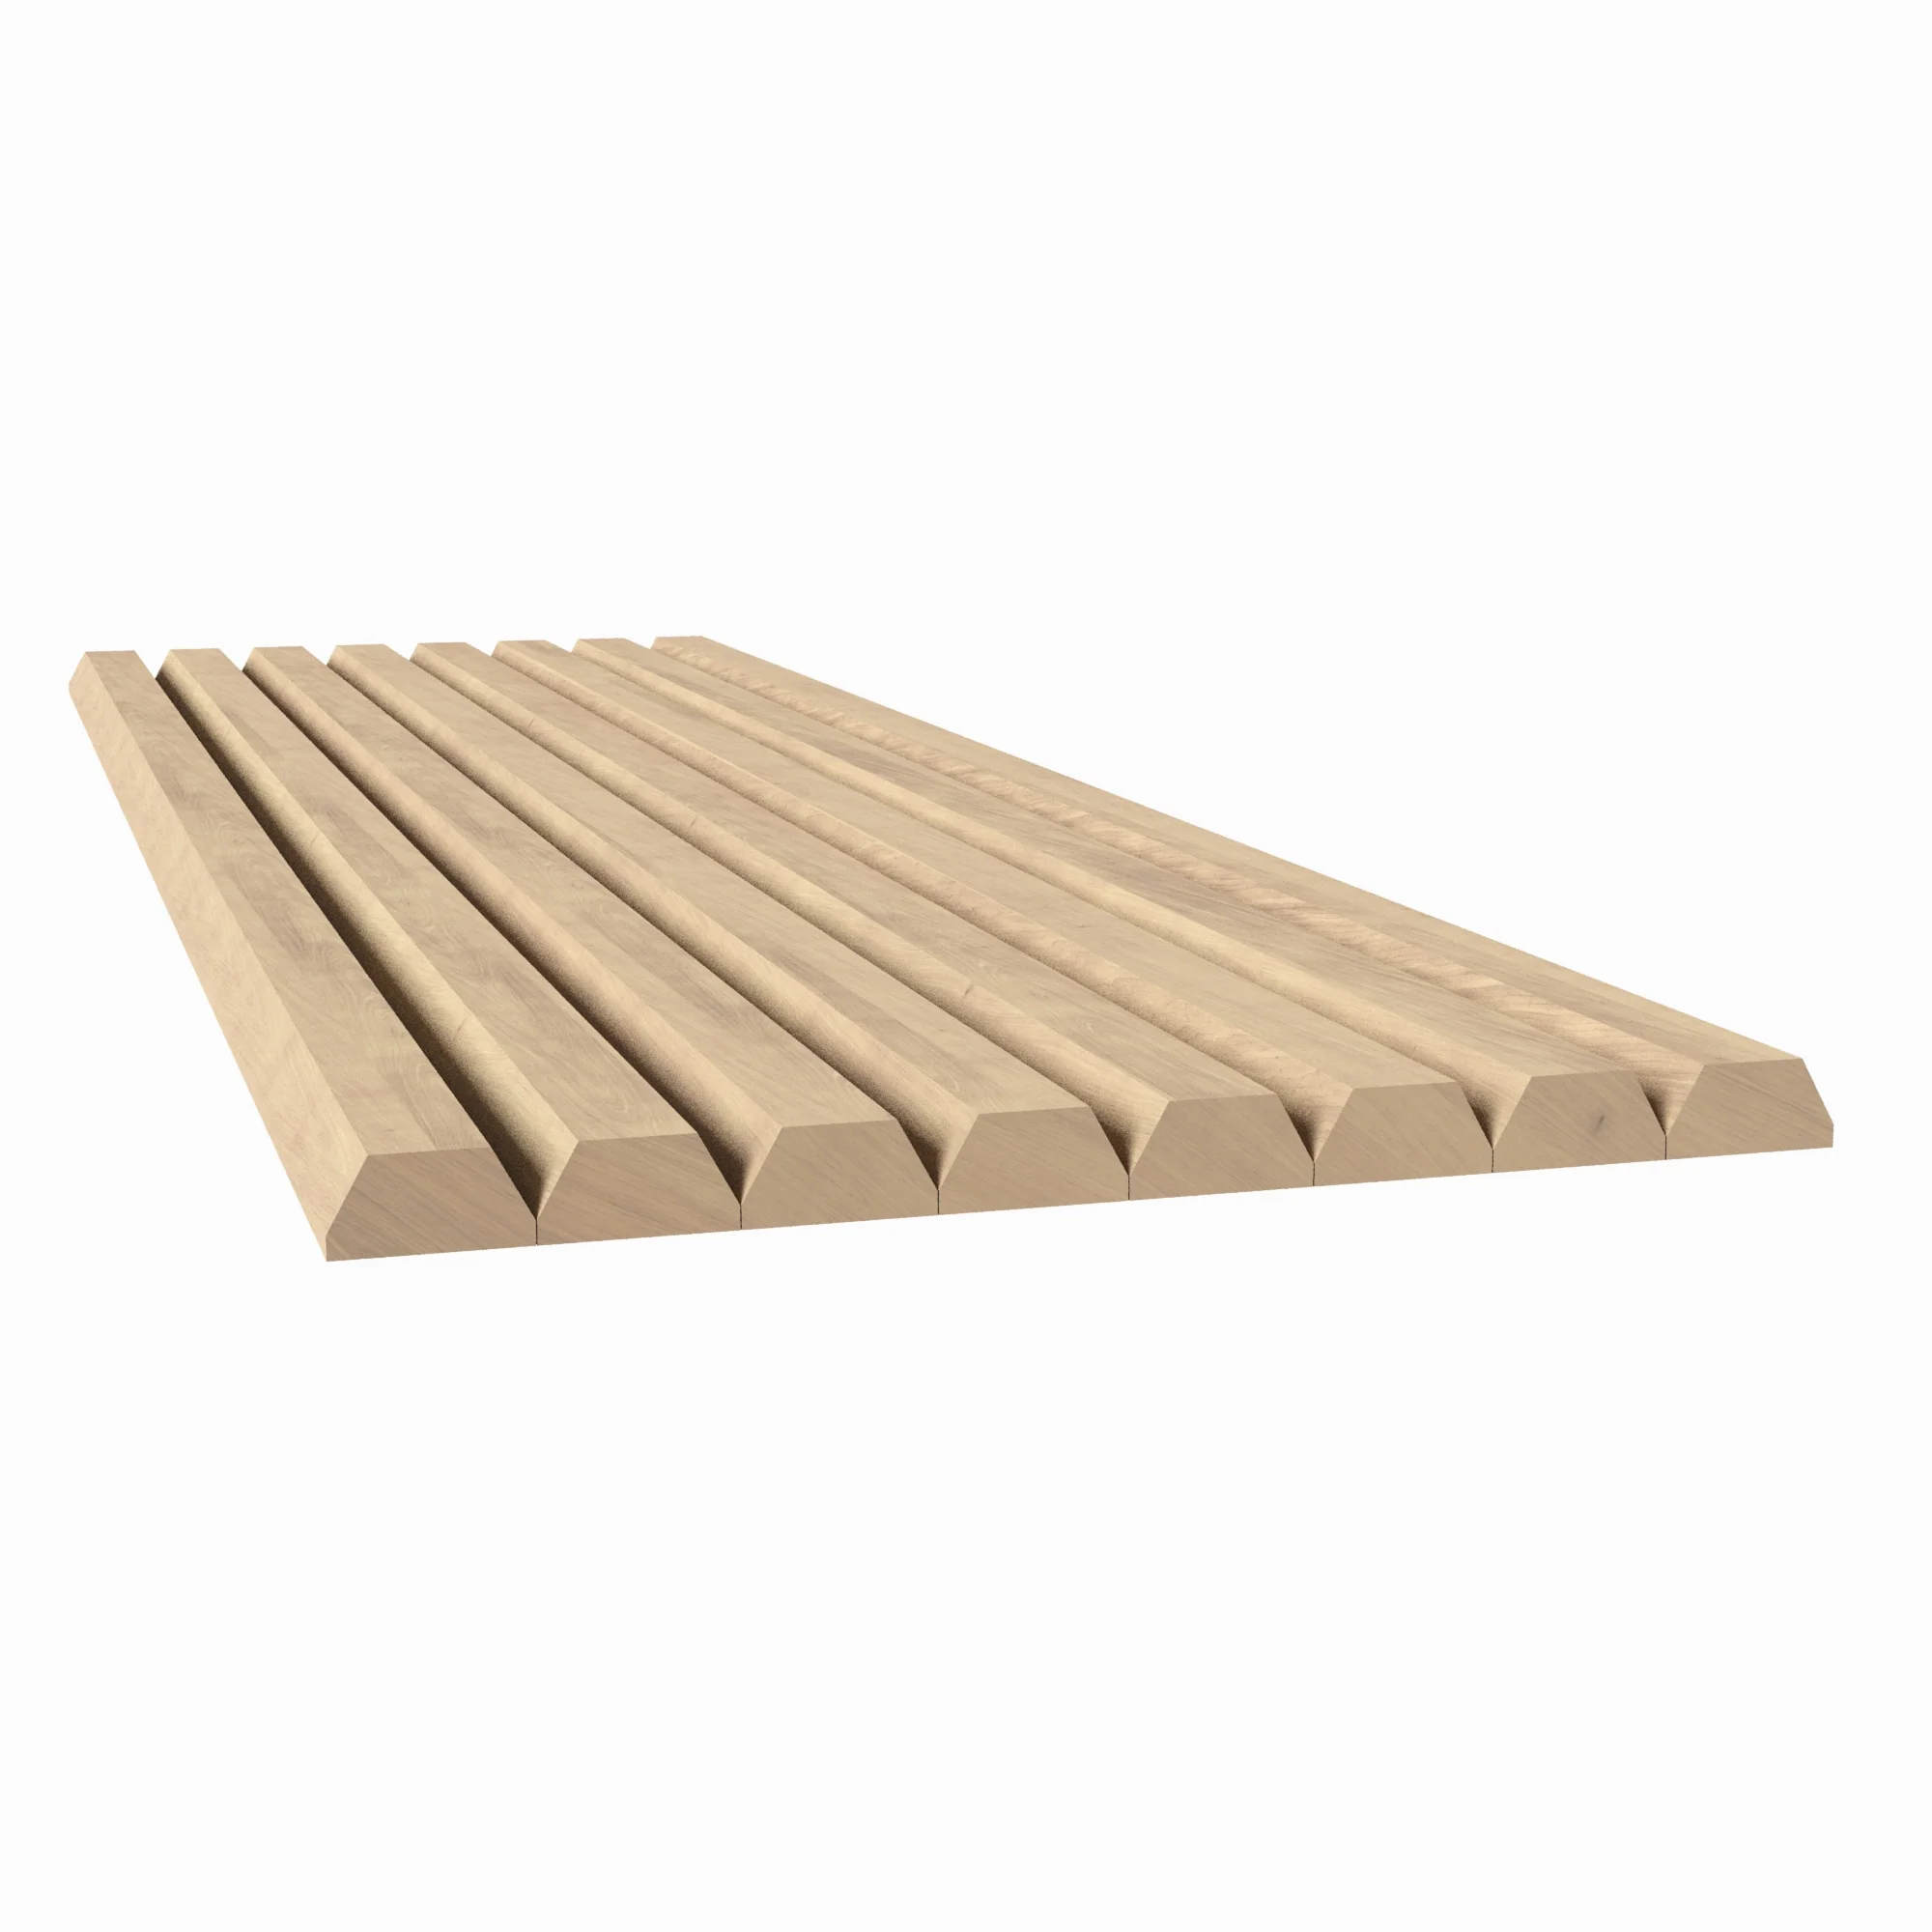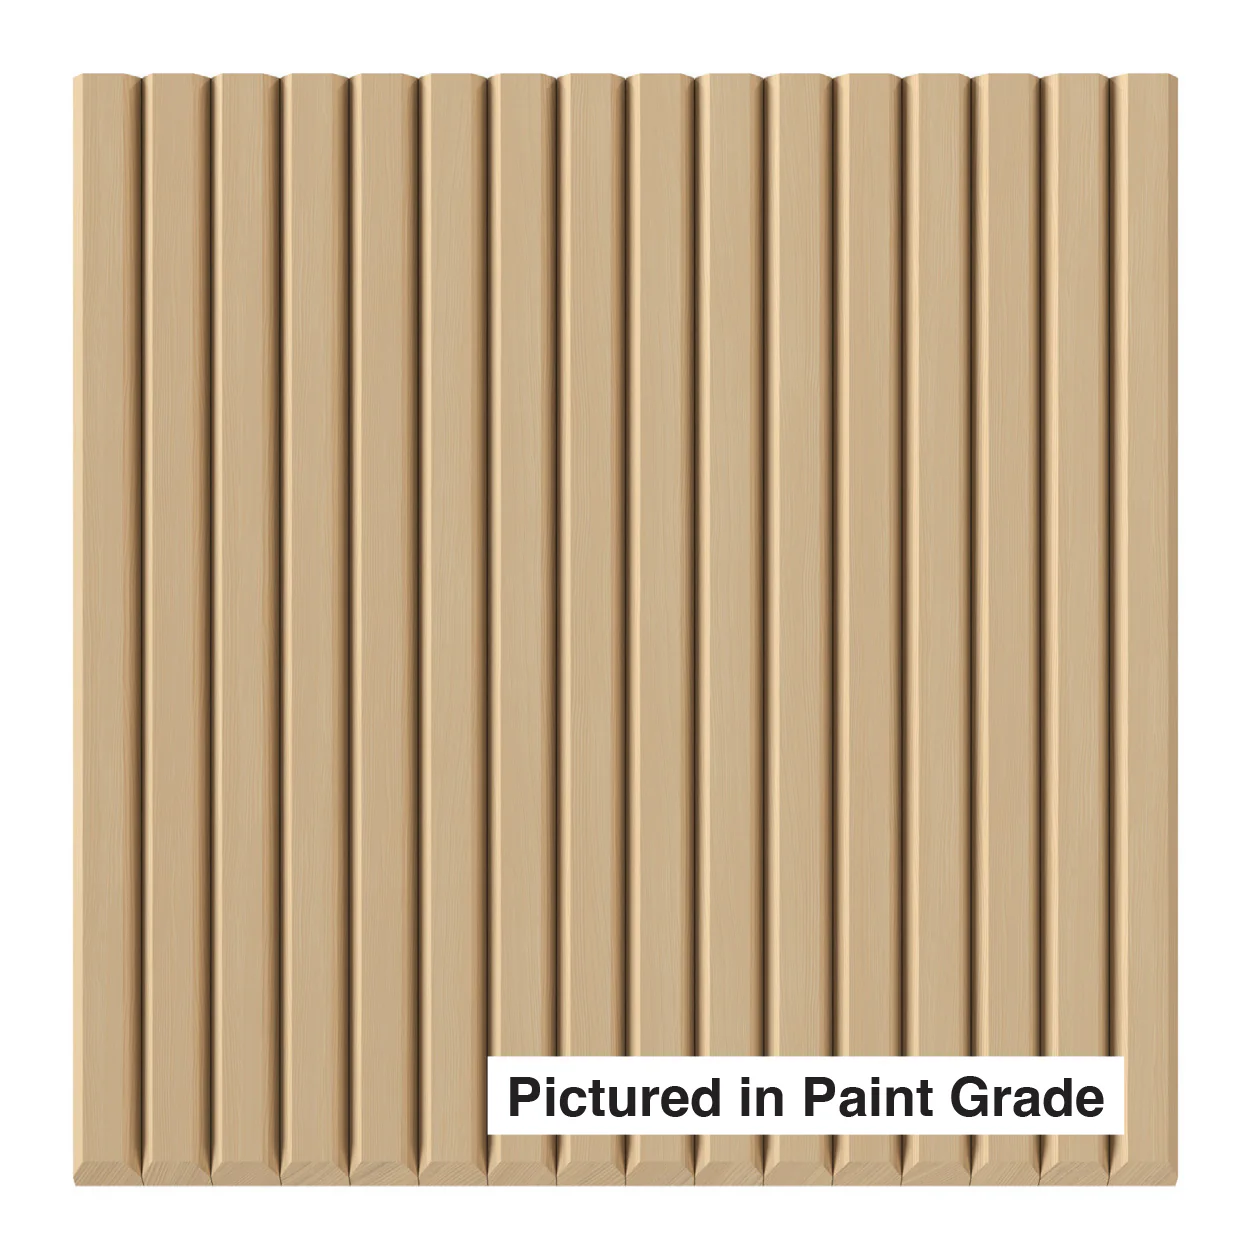
Thickness adds shadow — the 3/4″ bevel slat thick brings greater depth and presence to the same classic profile.
Available Options
Size & Species
| Size | Backing | Available Species |
|---|---|---|
| 12″W × 48″L | Flexible | Red Oak, Paint Grade, Hard Maple, Walnut, White Oak |
| 12″W × 96″L | Flexible | Red Oak, Paint Grade, Hard Maple, Walnut, White Oak |
| 24″W × 48″L | Flexible | Red Oak, Paint Grade, Hard Maple, Walnut, White Oak |
| 24″W × 46″L | Solid Backing — Does Not Flex | Red Oak, Paint Grade, Hard Maple, Walnut, White Oak, Cherry, Alder |
* Cherry and Alder are exclusively available in the 24″W × 46″L Solid Backing format.
Why This Profile
The Profile in Detail
Thick Bevel Slat
The additional profile thickness deepens the cast shadow at each slat junction, making the rhythm of the panel more pronounced and the surface more tactile.
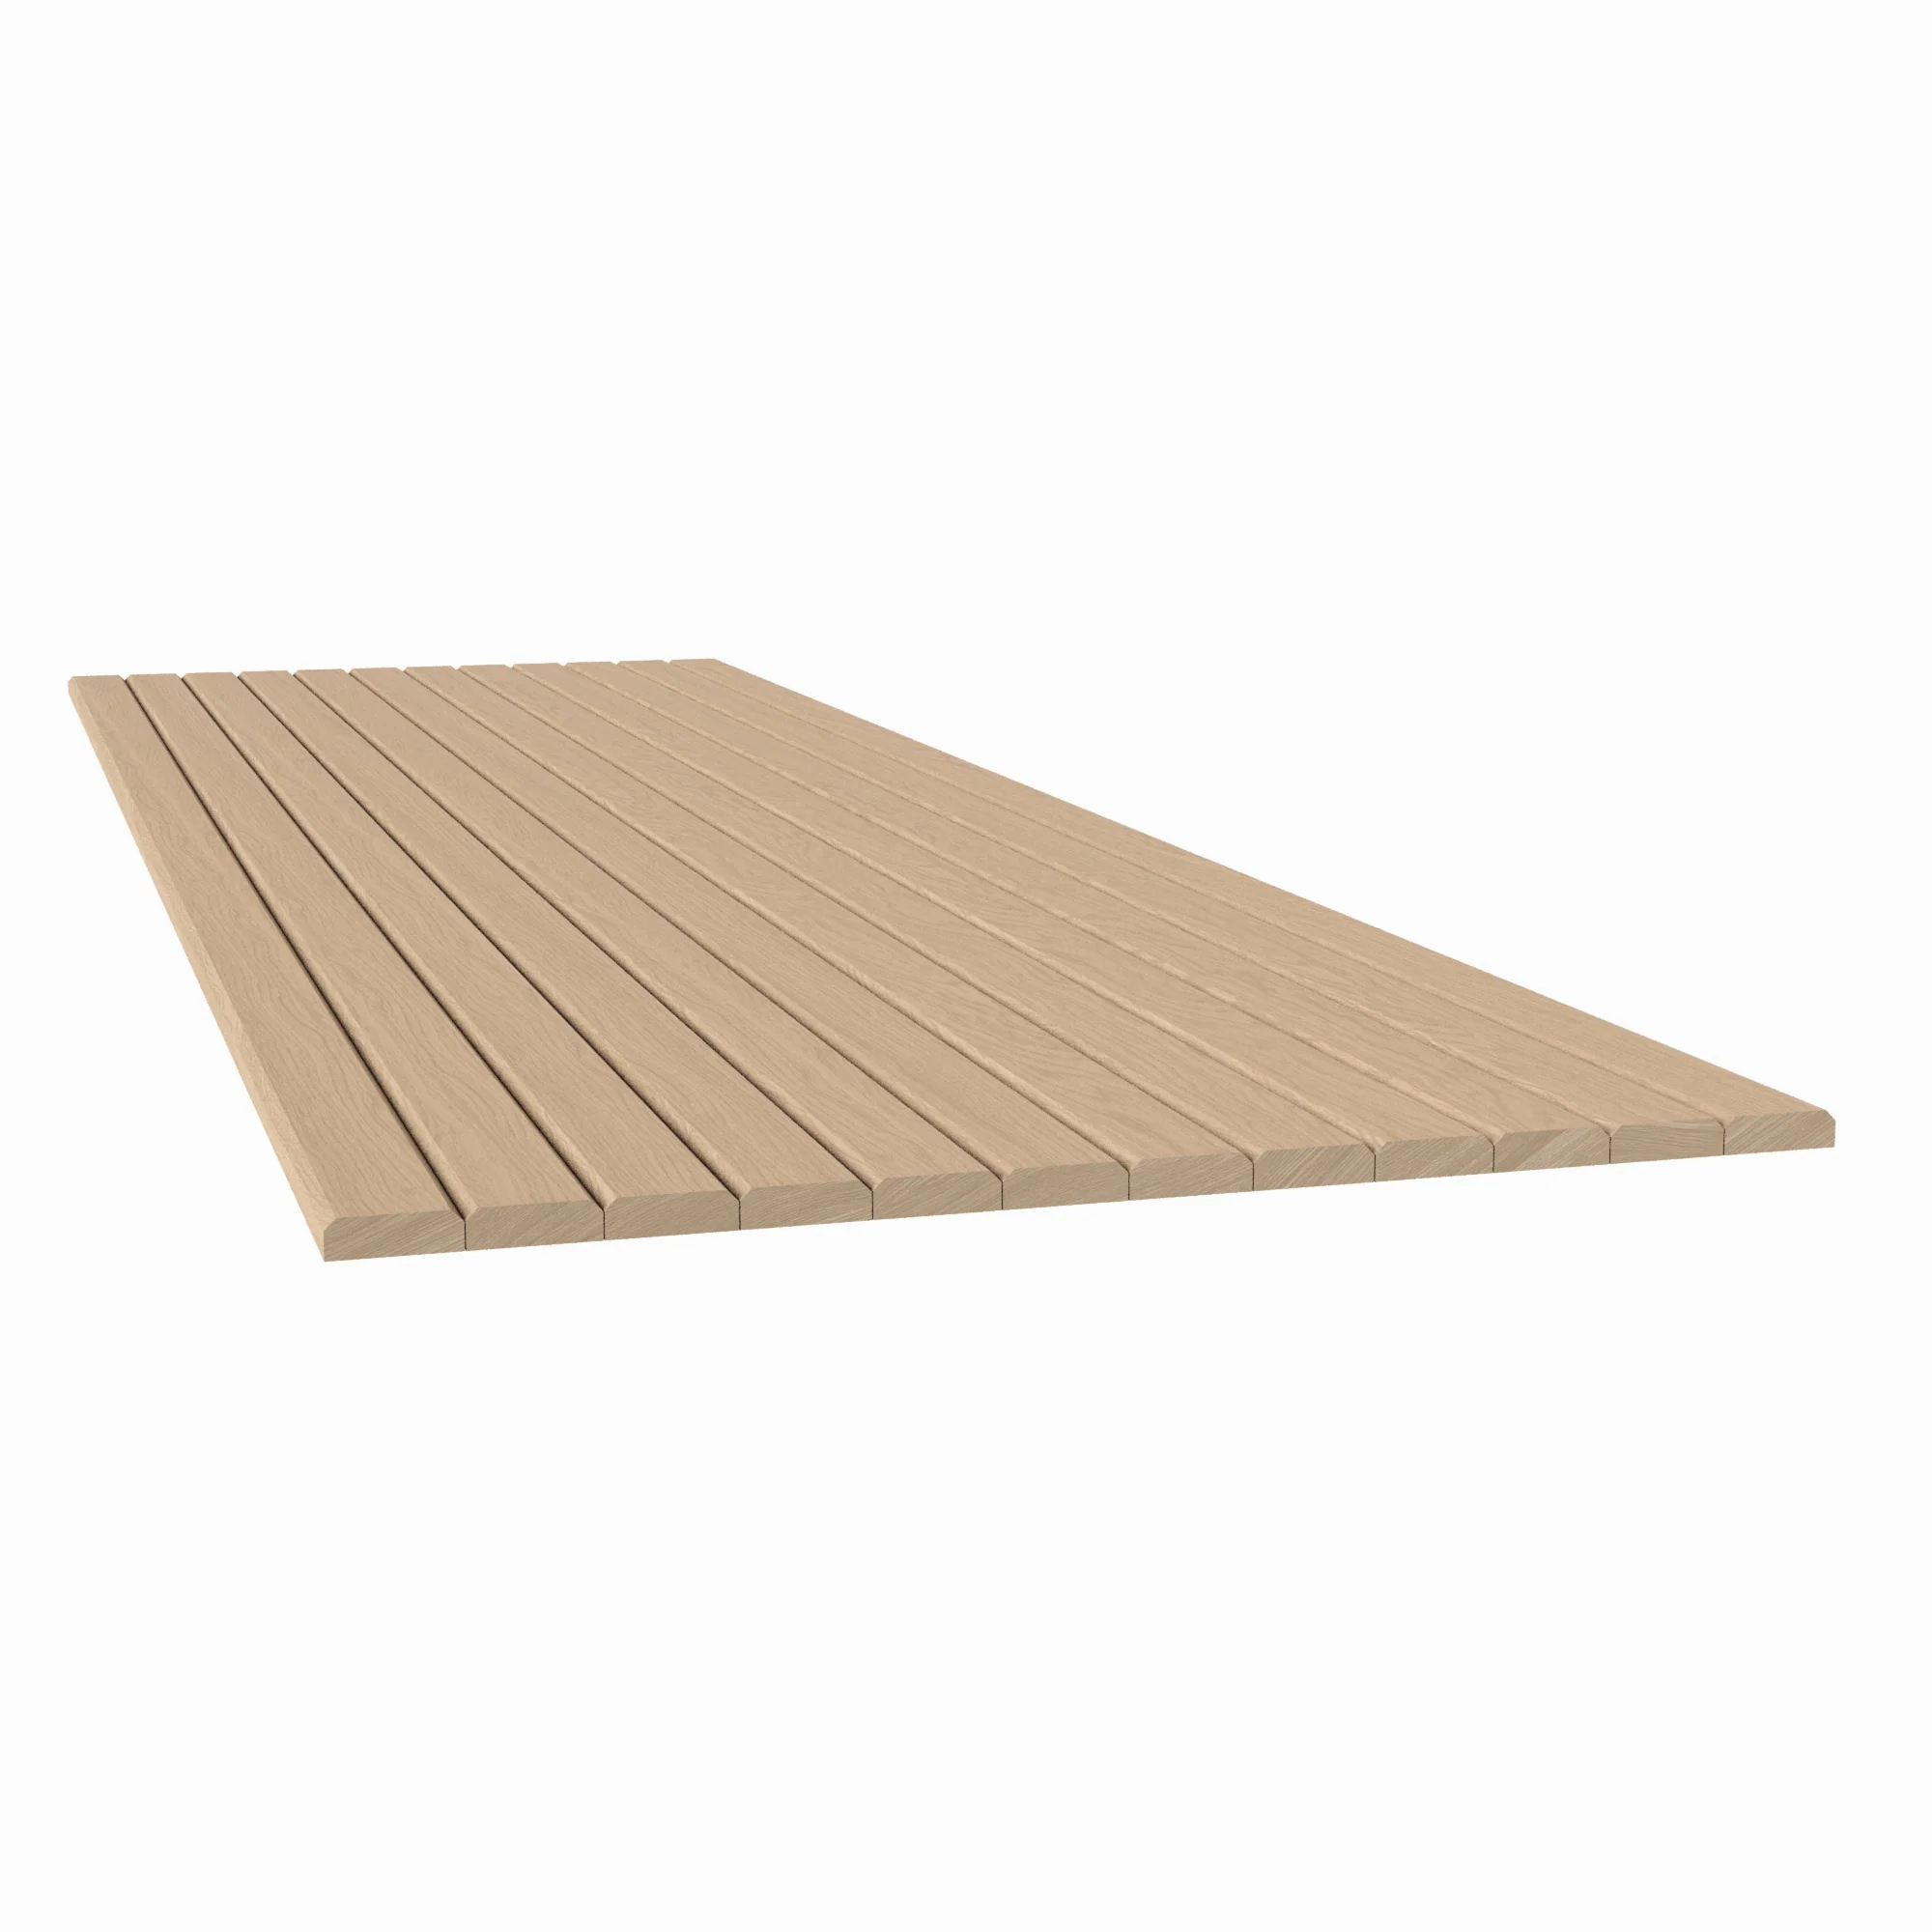
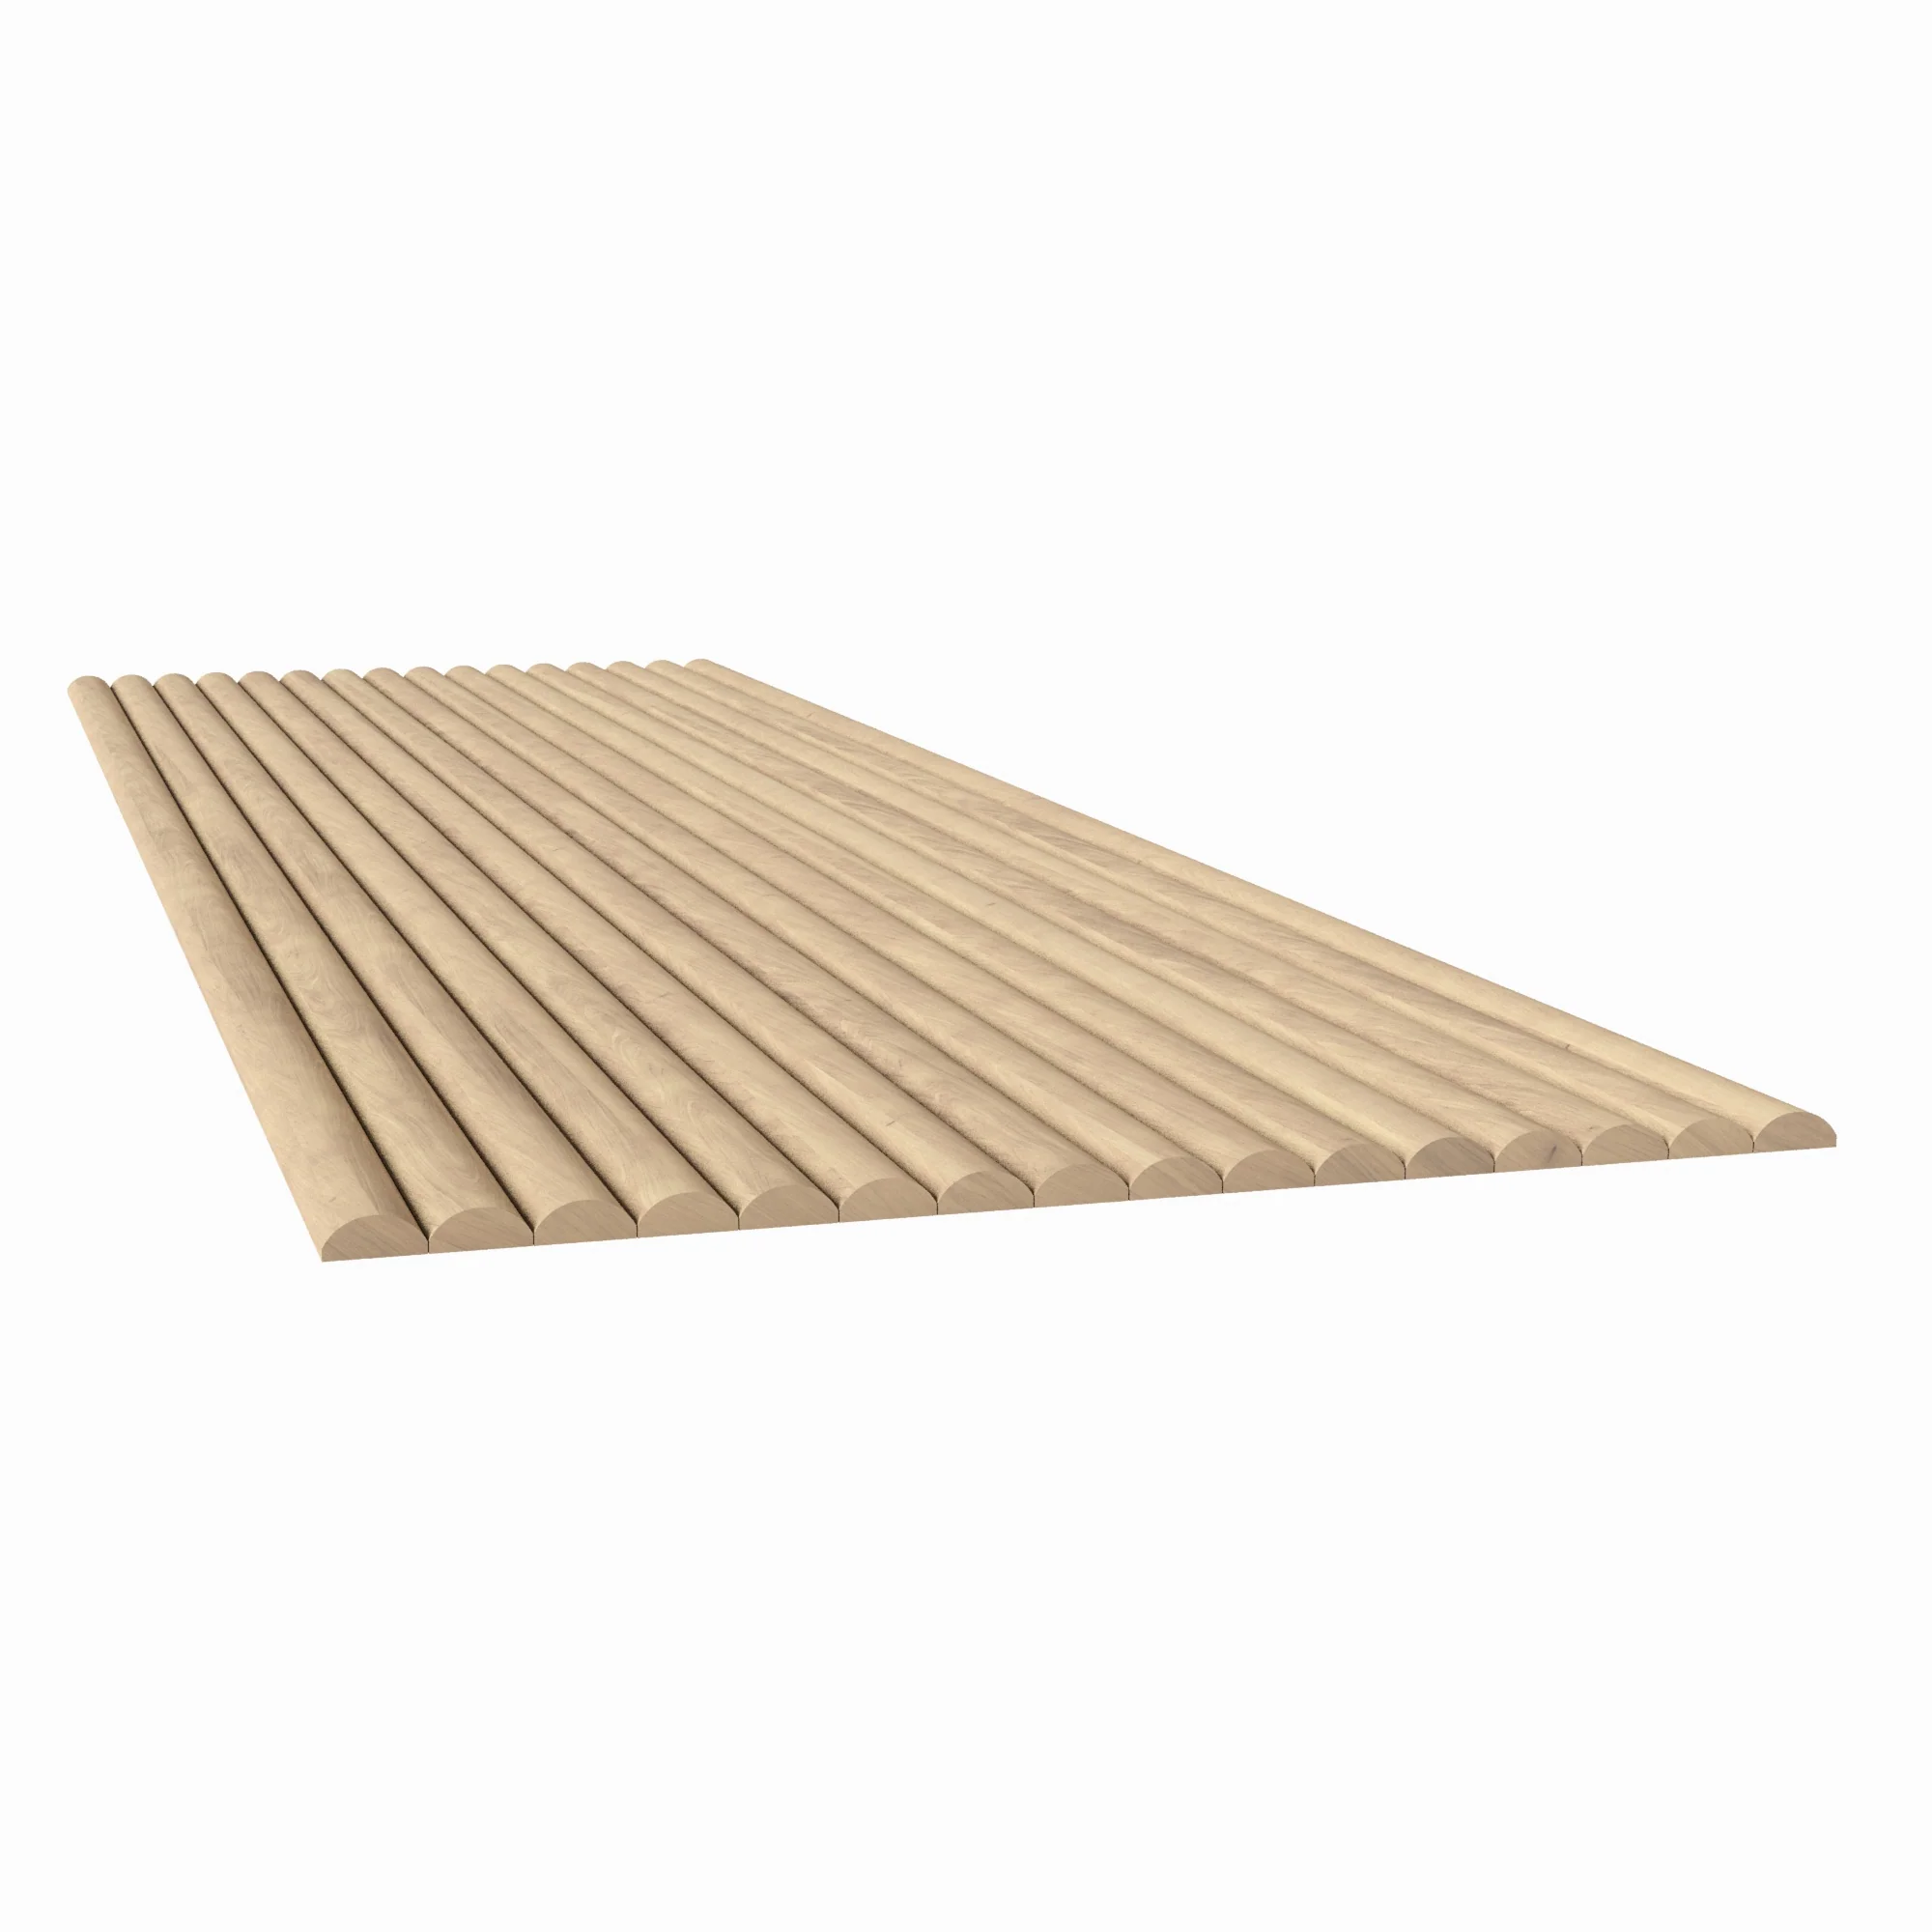
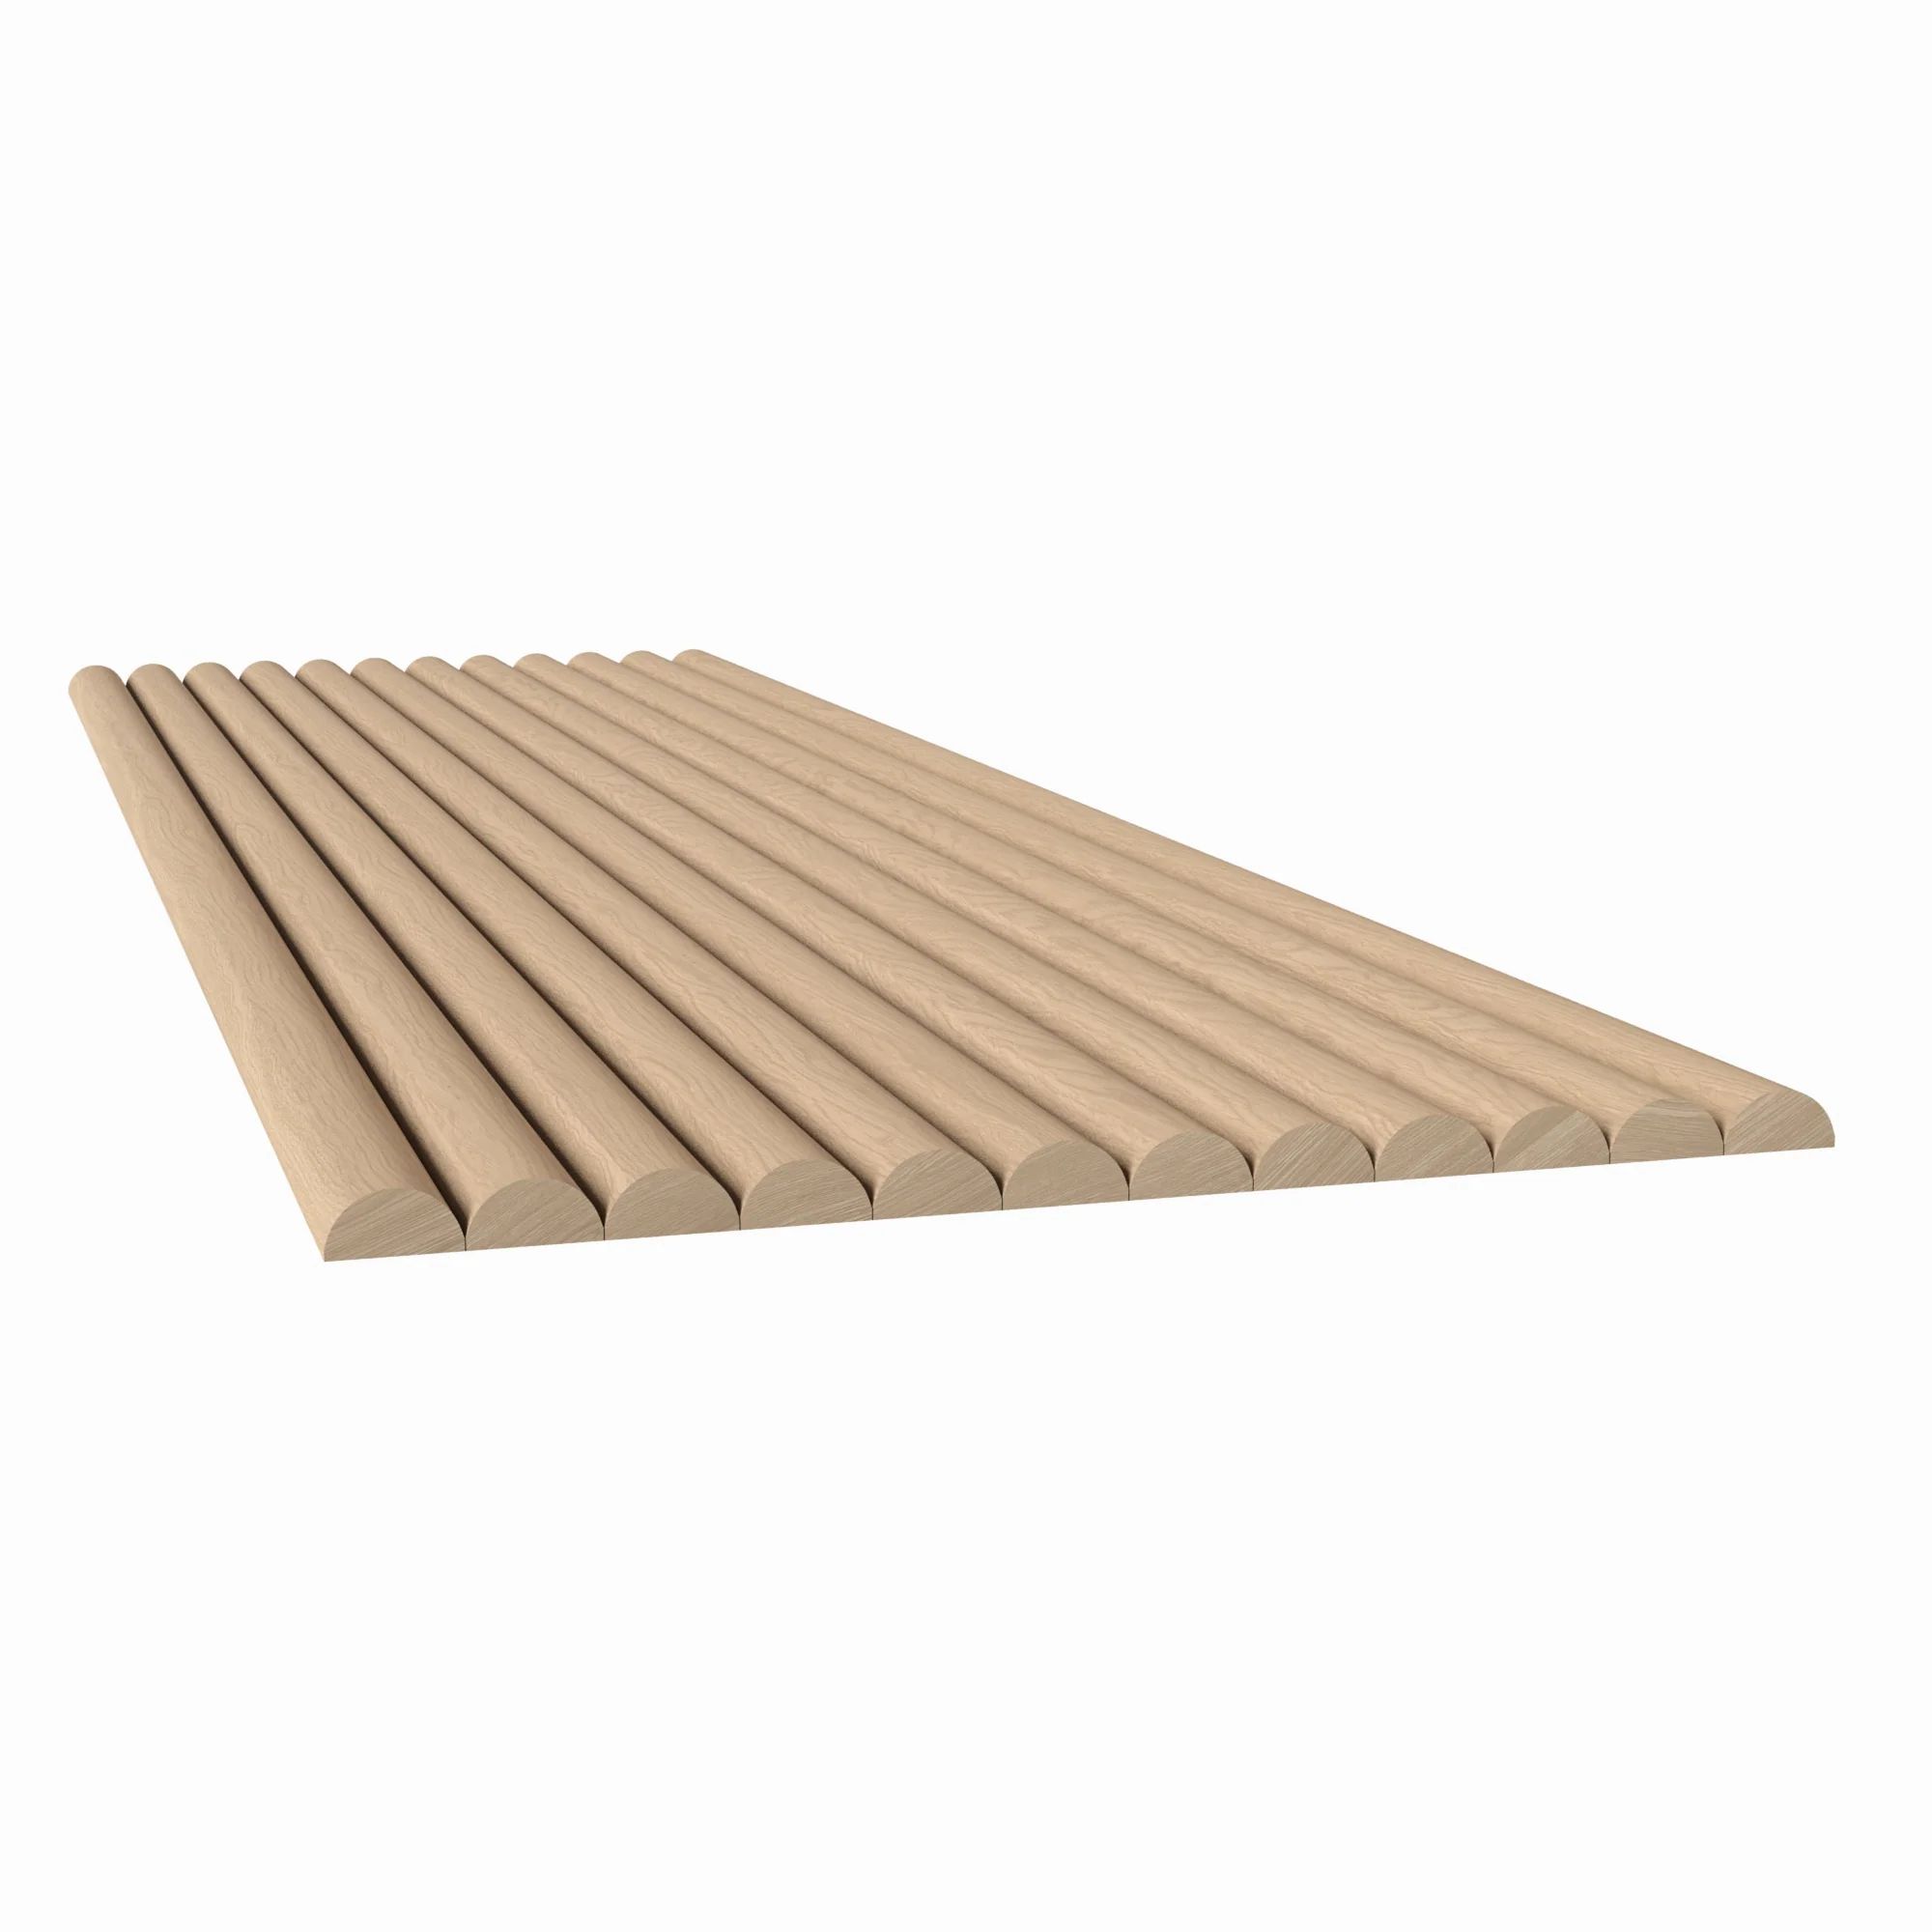
Flexible Backing
Curves and radius surfaces remain accessible even at the thicker profile specification — flexible backing accommodates both flat and curved installations.
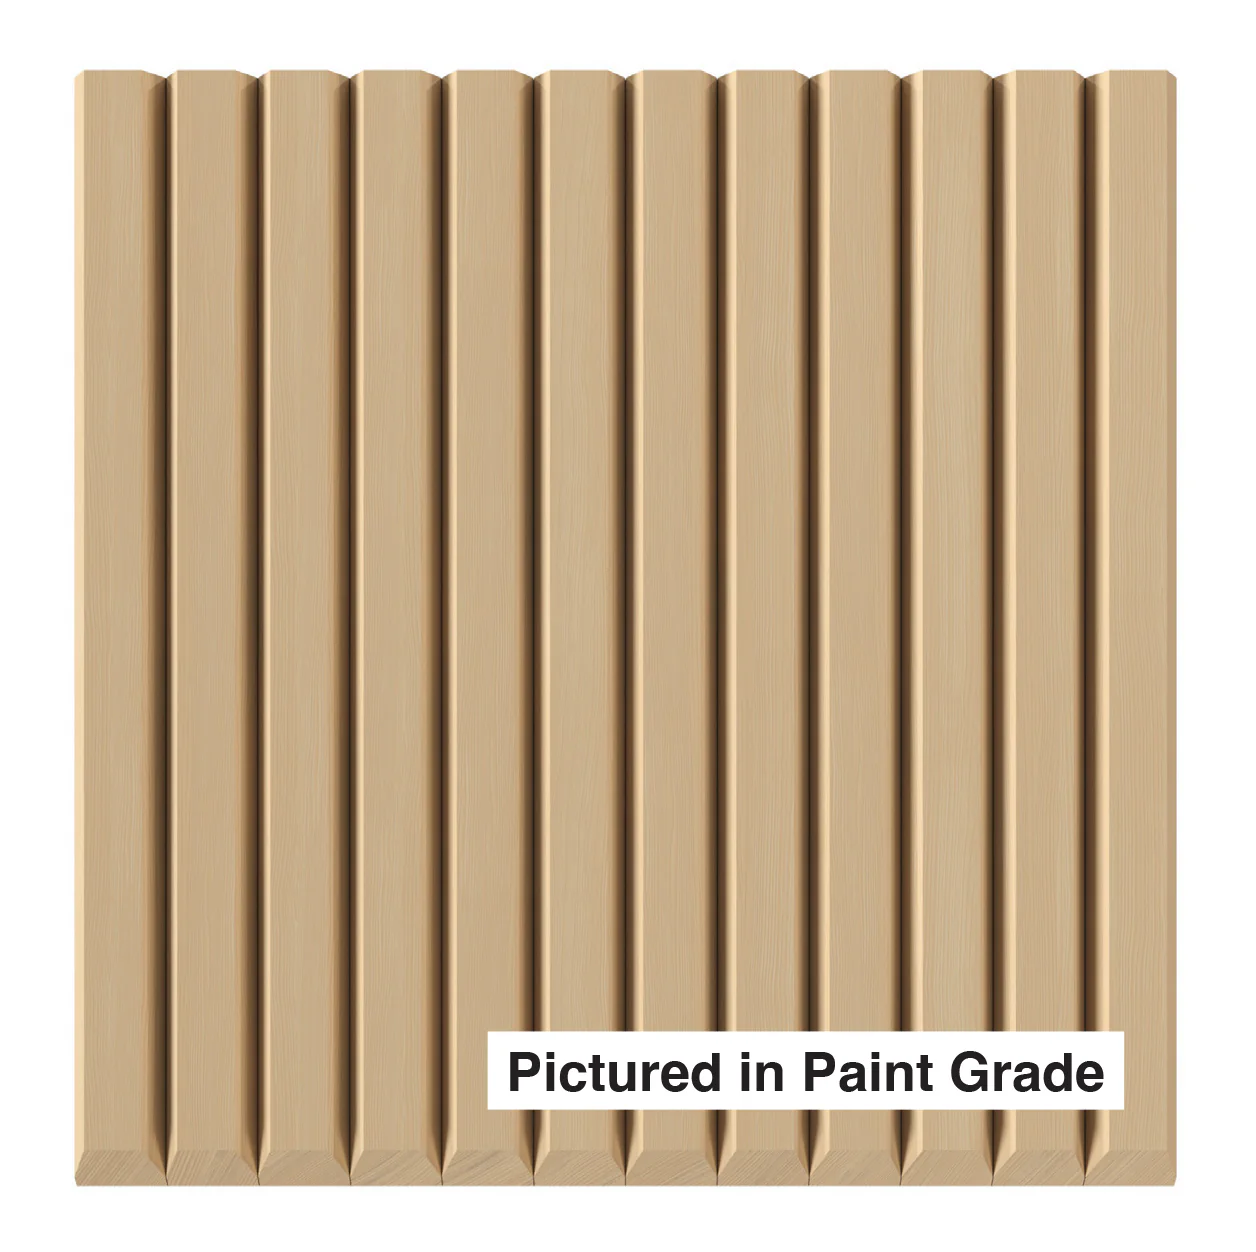
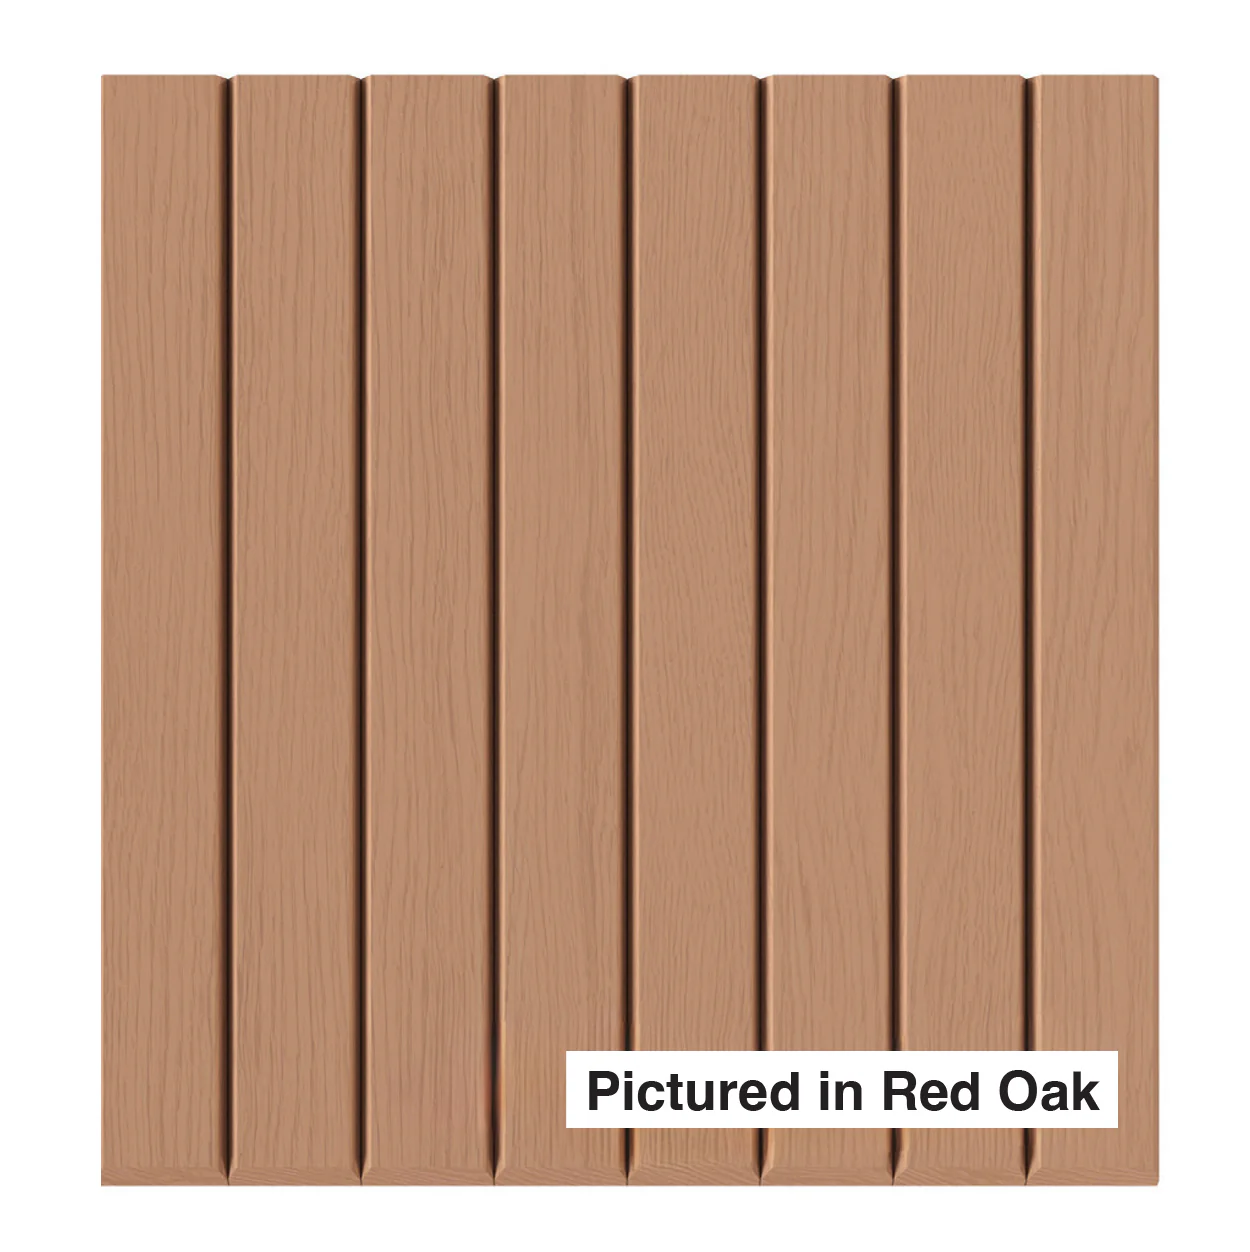
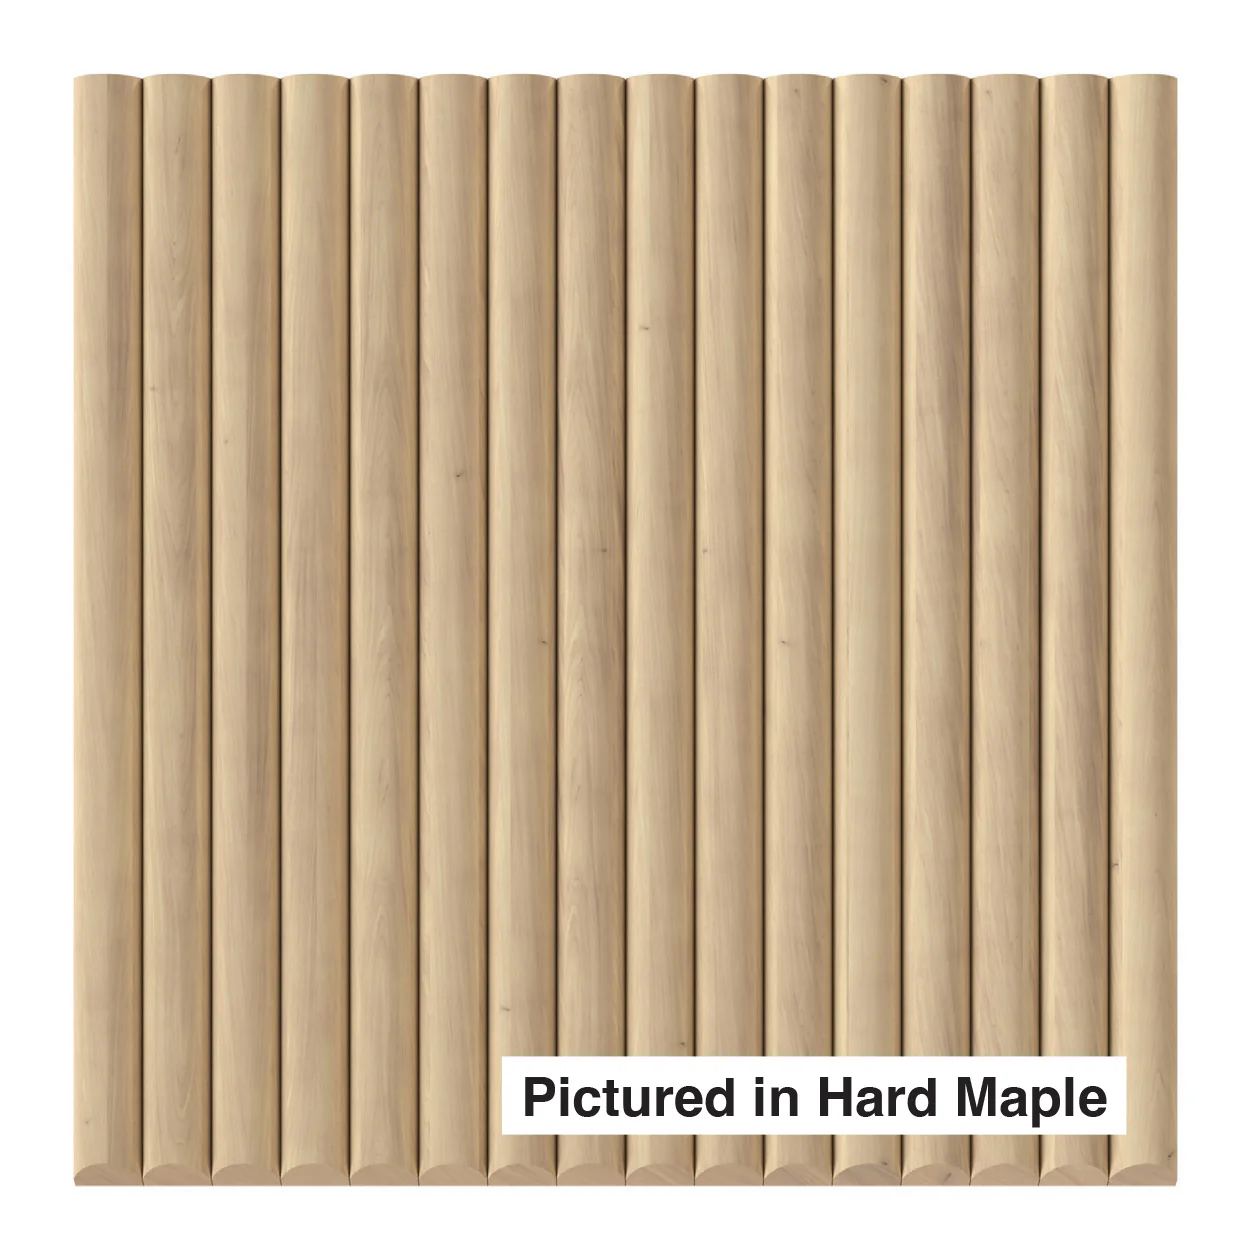
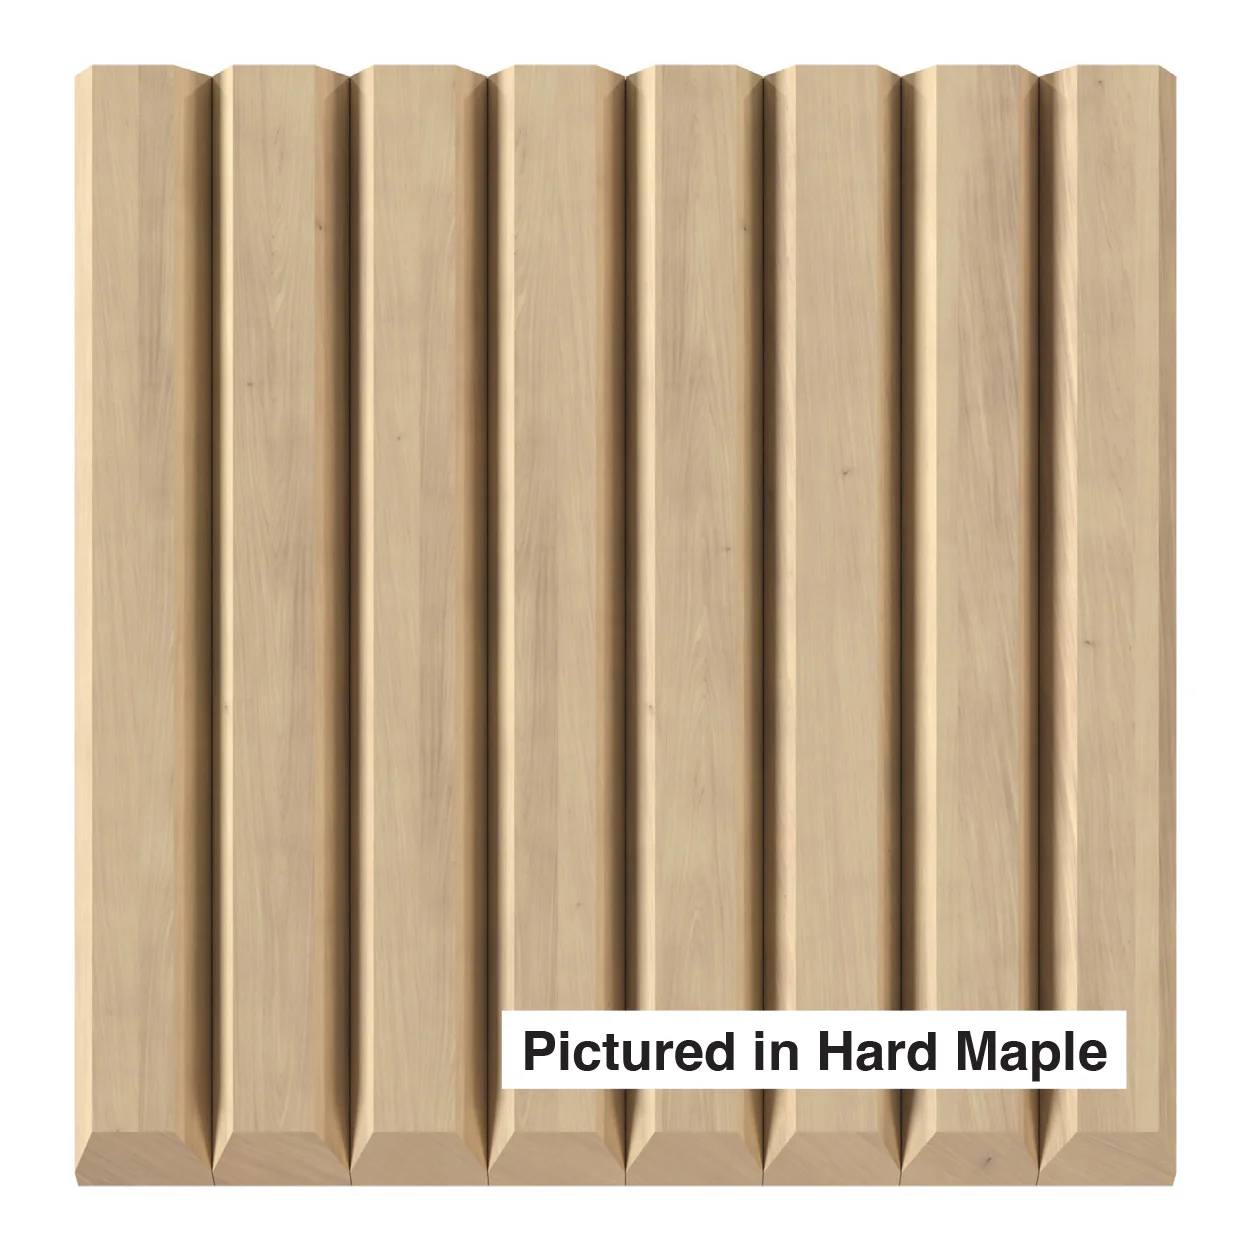
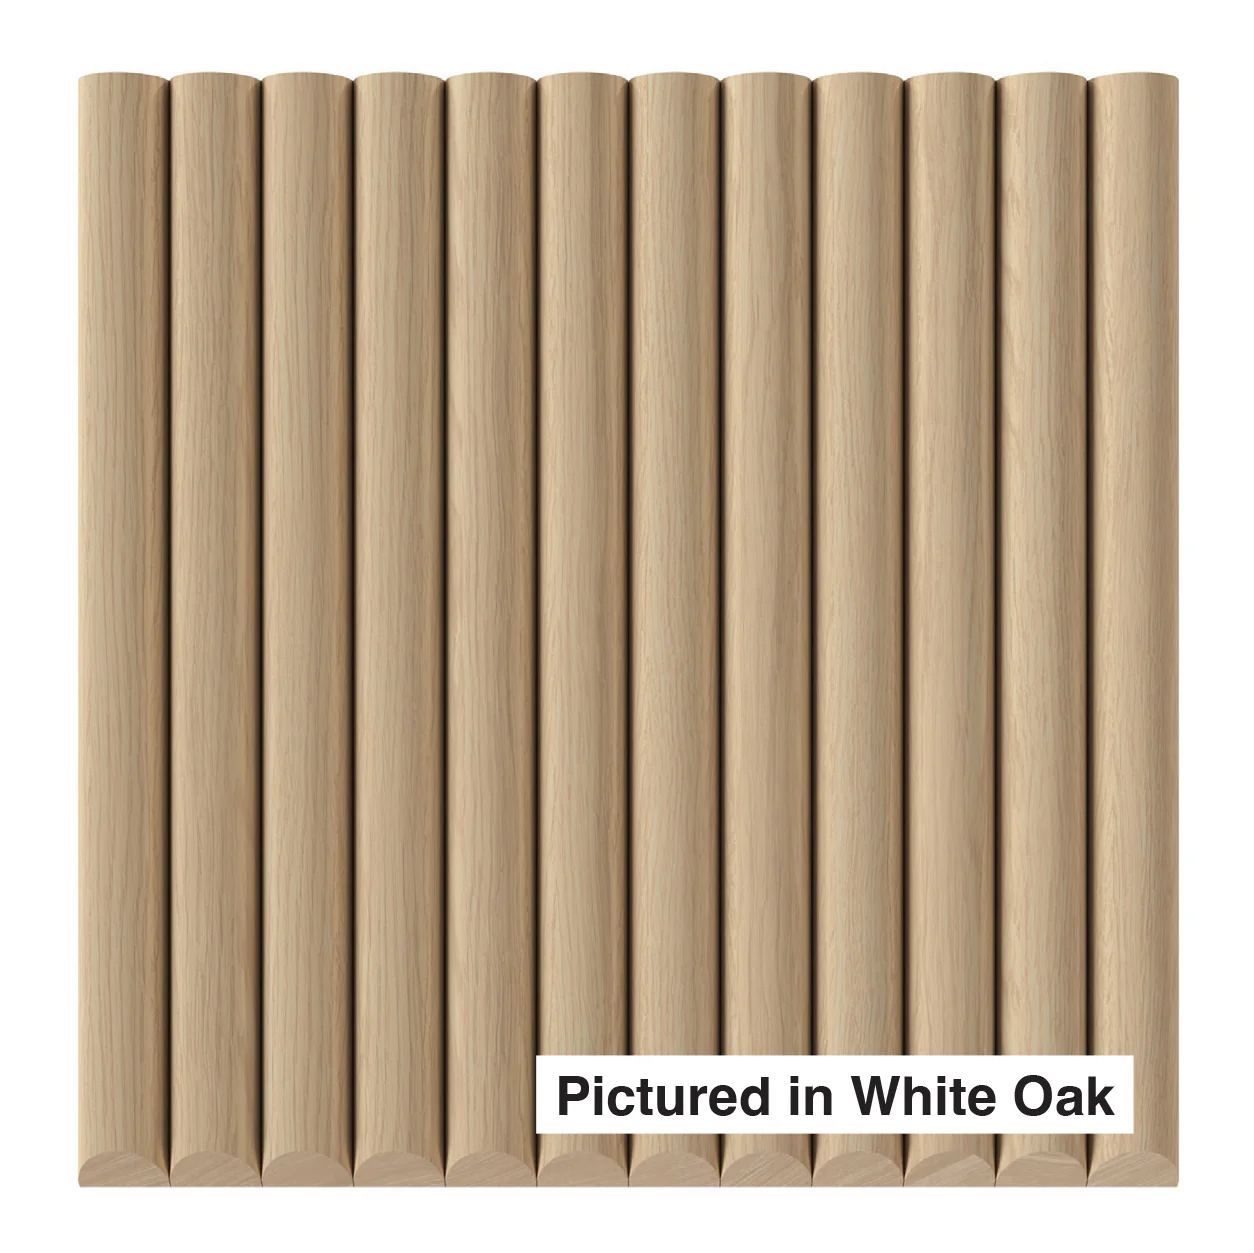
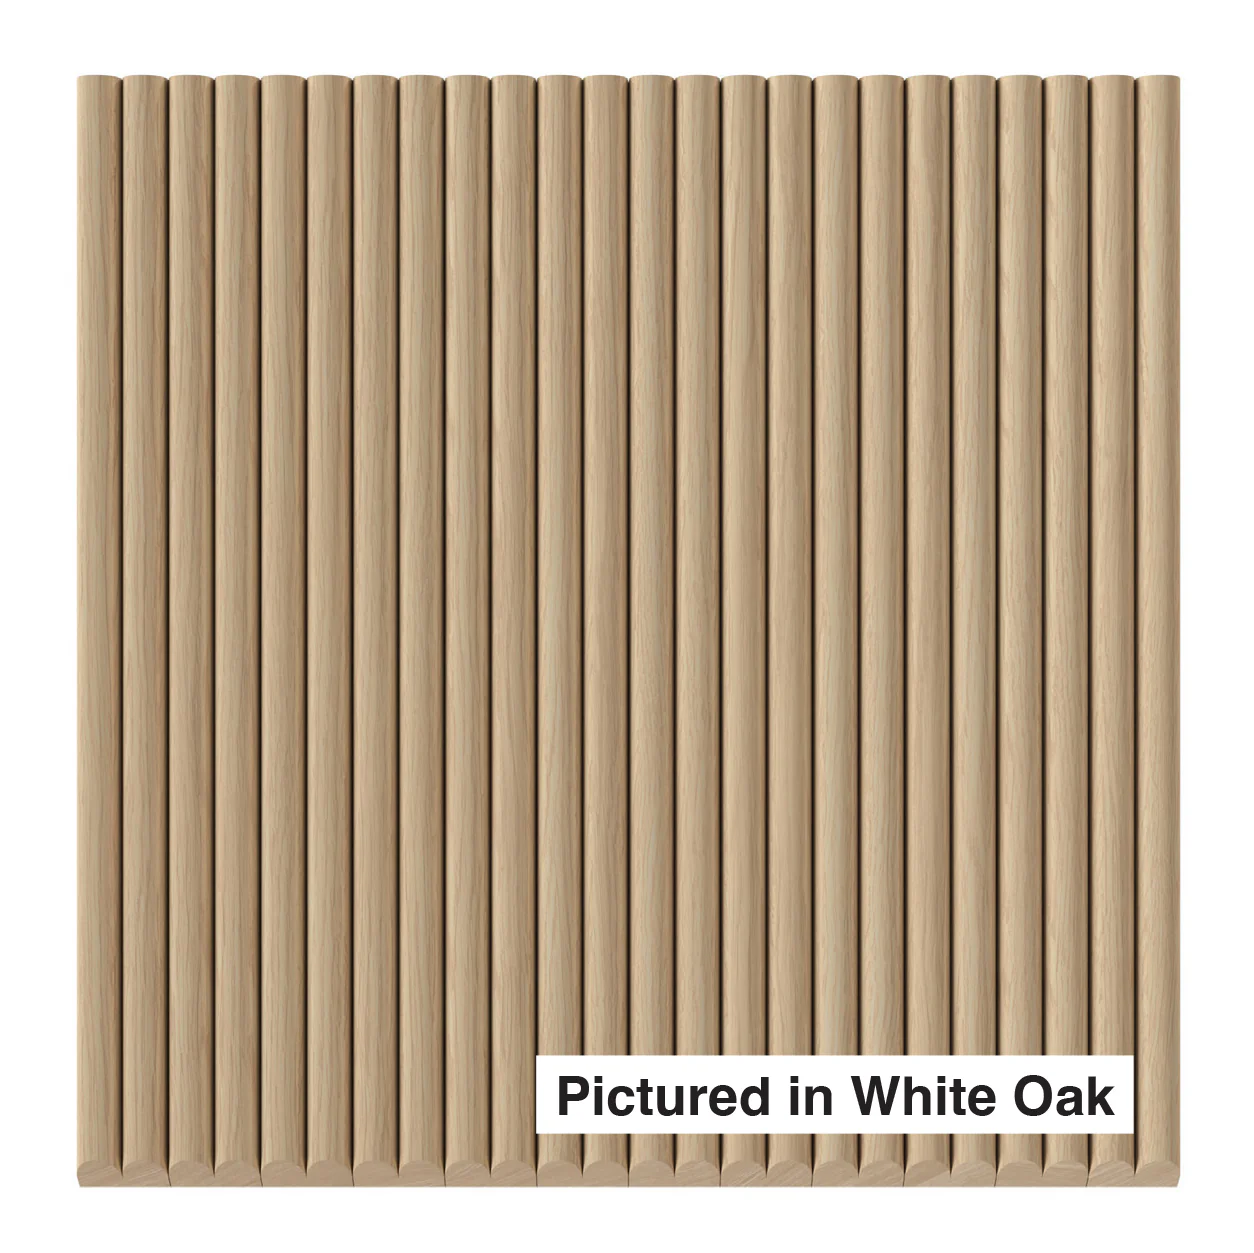
7 Species Available
Red Oak, Paint Grade, Hard Maple, Walnut, White Oak, Cherry, and Alder — all sanded and ready for your chosen finish.
Compare Profiles
Compare the thick and thin 3/4″ bevel slat side by side in our sample kit — the difference in shadow depth and surface feel is immediately apparent.