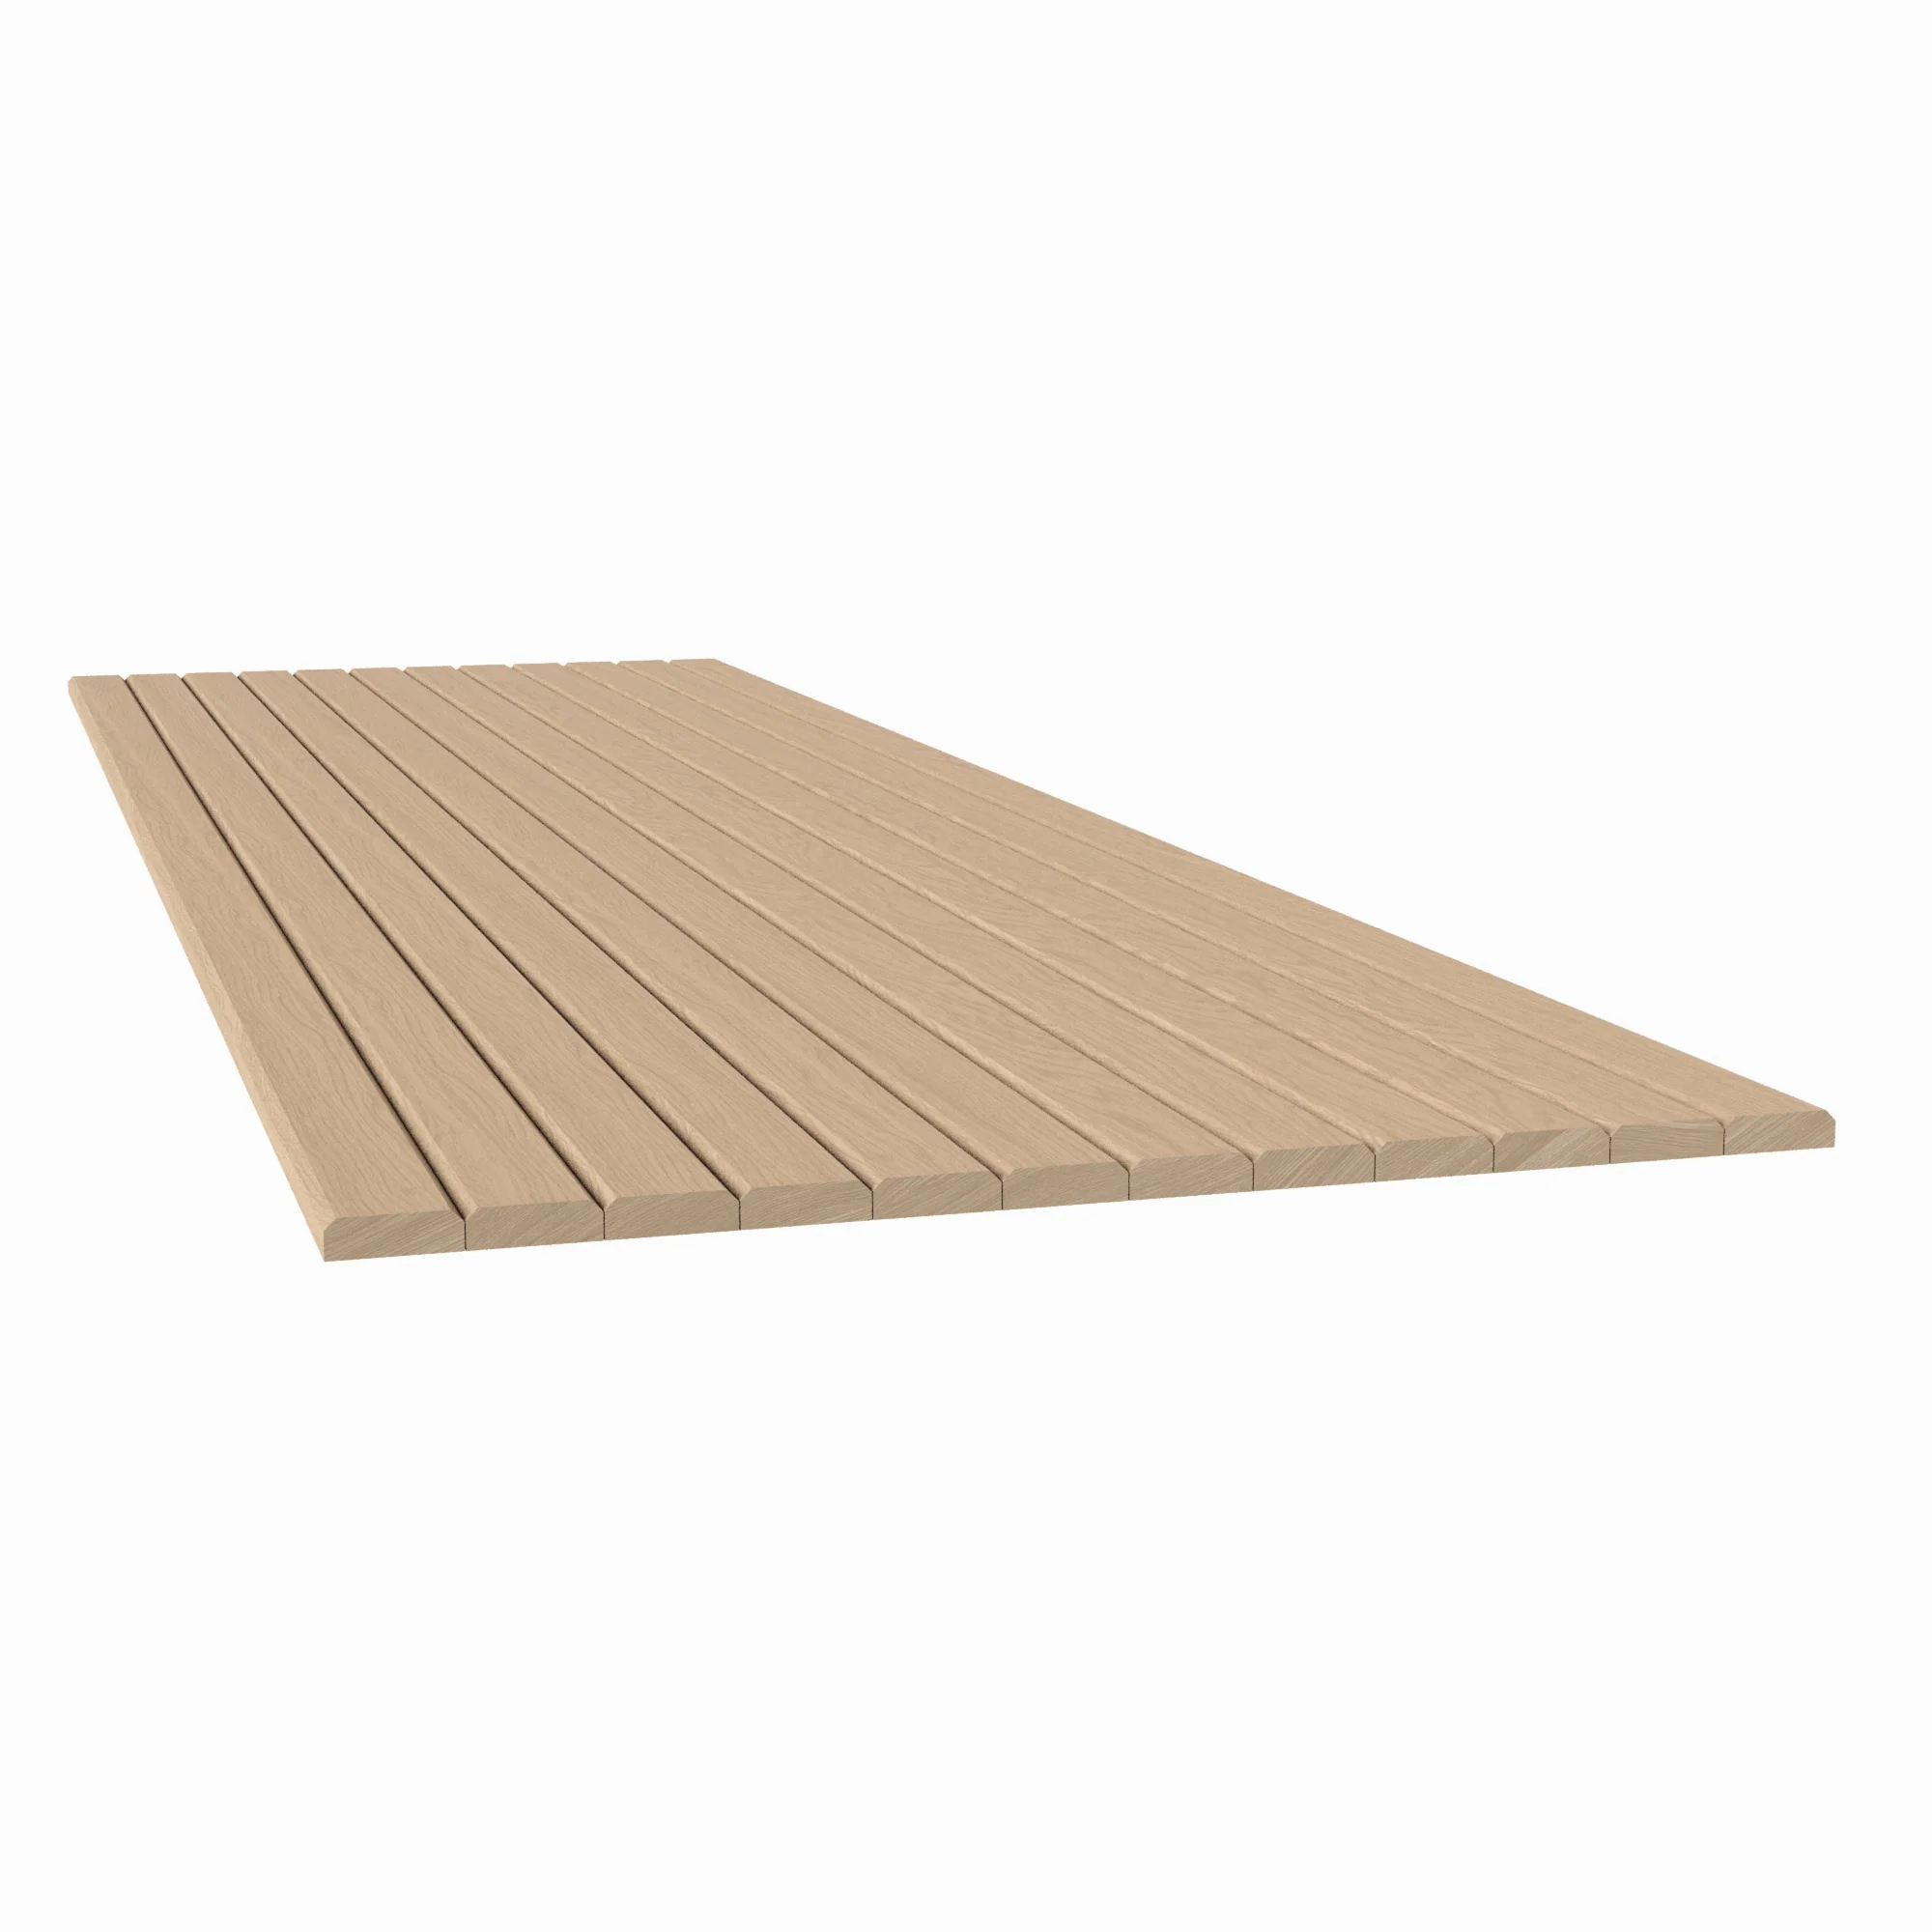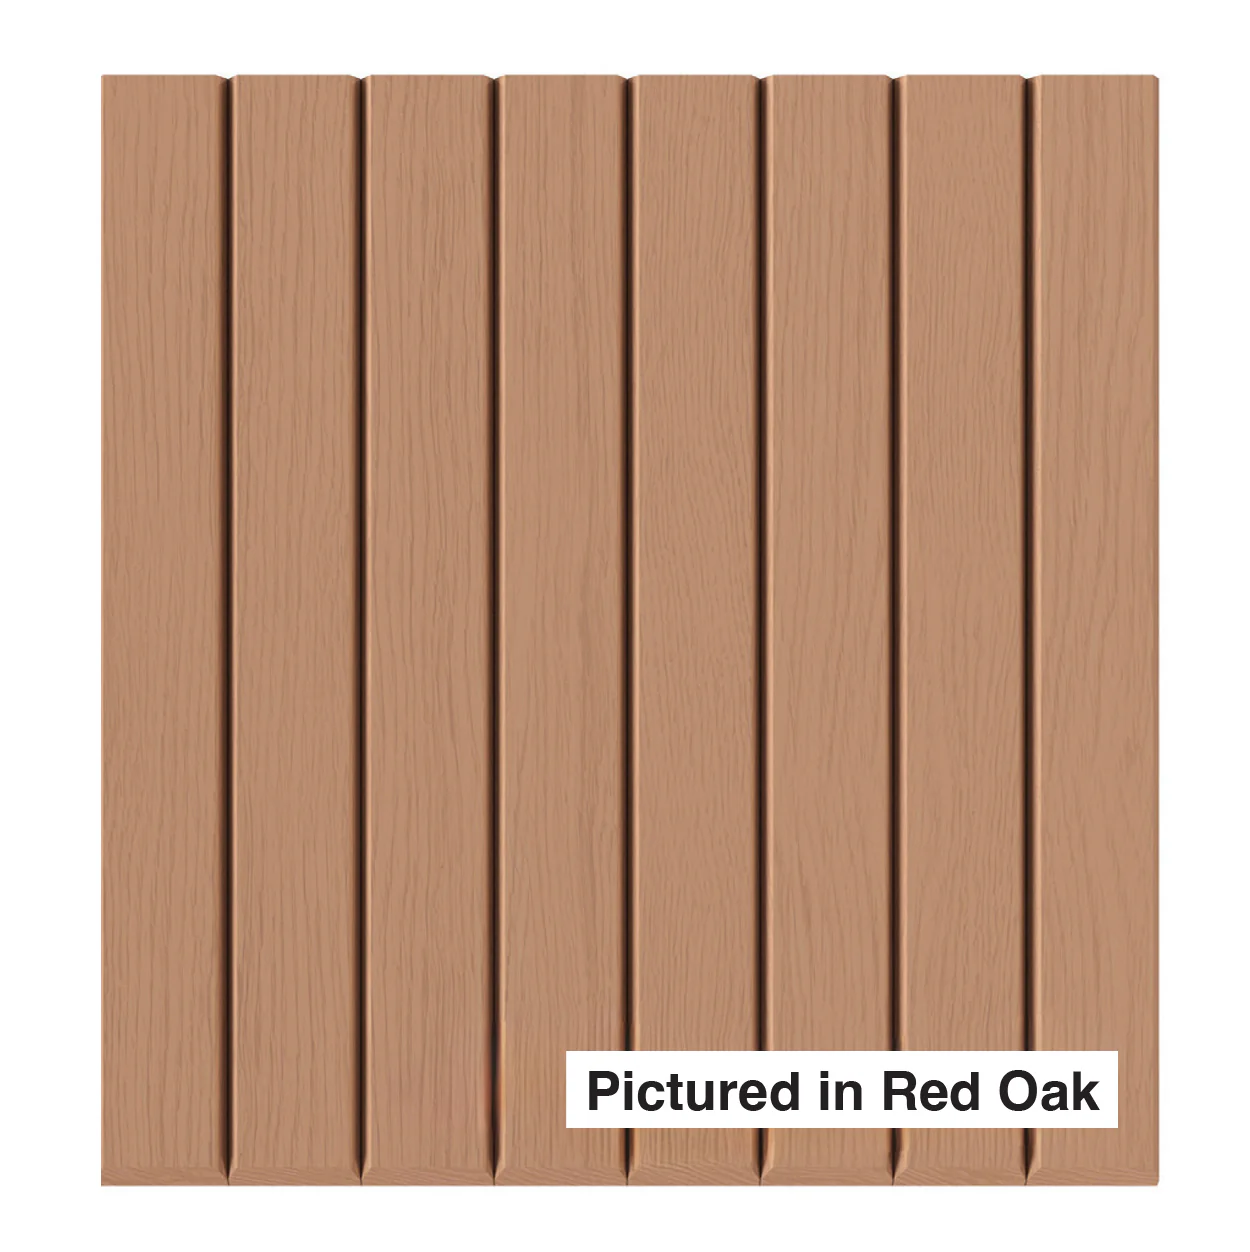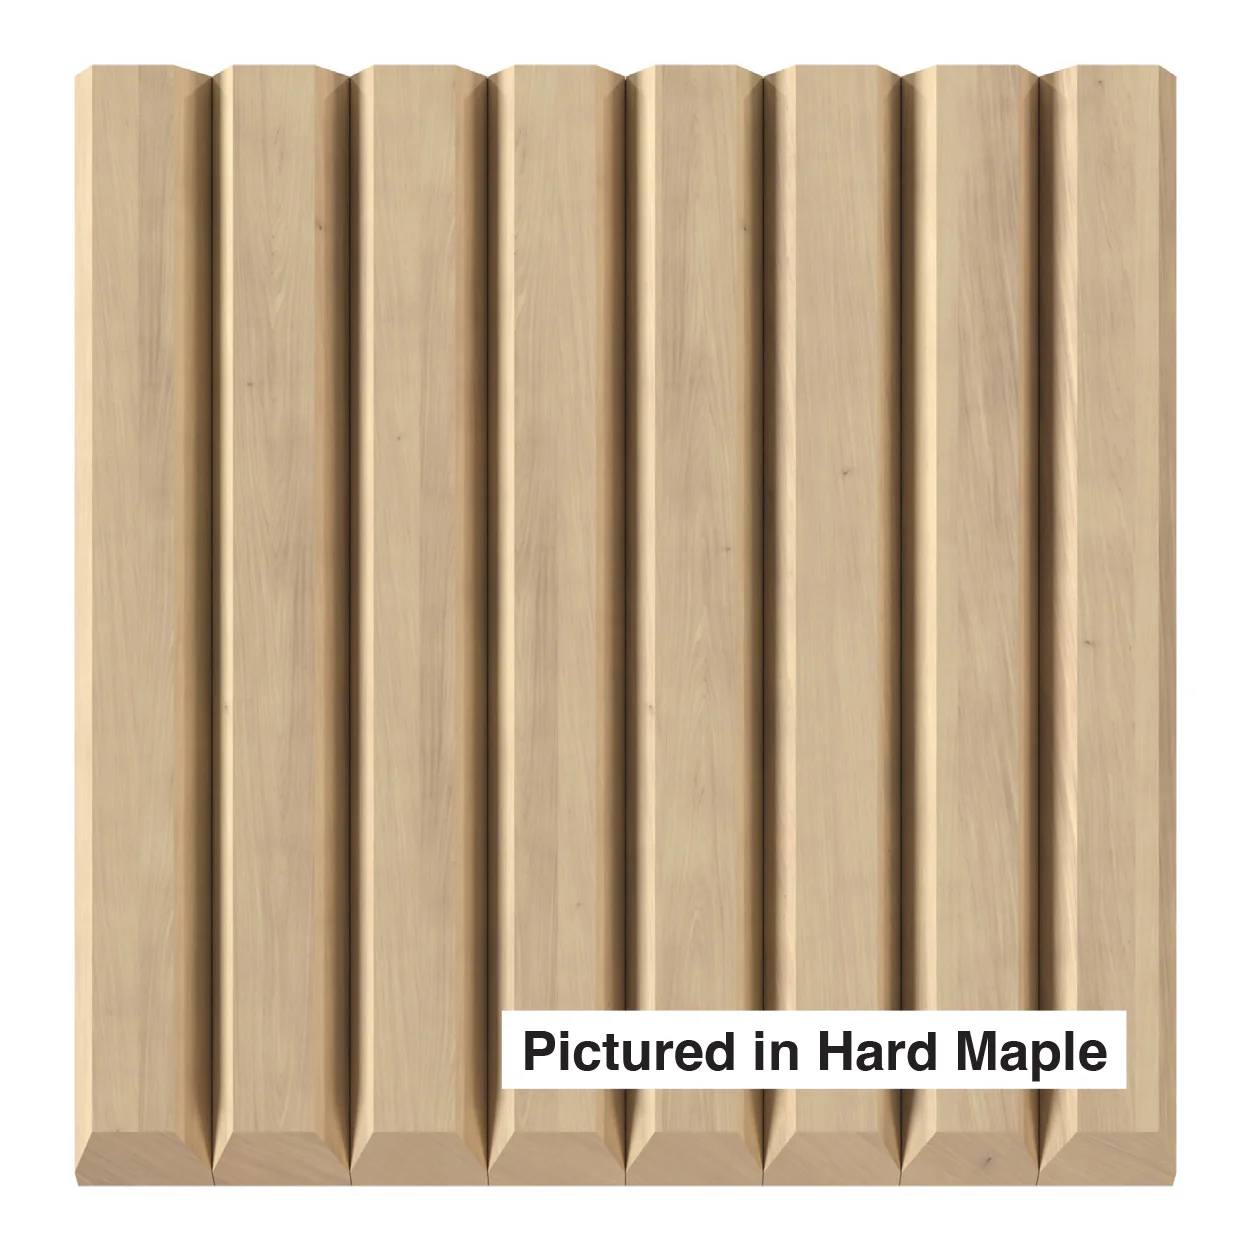
At 1″, the bevel slat finds its ideal proportion — enough presence to command attention, refined enough to live anywhere.
Available Options
Size & Species
| Size | Backing | Available Species |
|---|---|---|
| 12″W × 48″L | Flexible | Red Oak, Paint Grade, Hard Maple, Walnut, White Oak |
| 12″W × 96″L | Flexible | Red Oak, Paint Grade, Hard Maple, Walnut, White Oak |
| 24″W × 48″L | Flexible | Red Oak, Paint Grade, Hard Maple, Walnut, White Oak |
| 24″W × 46″L | Solid Backing — Does Not Flex | Red Oak, Paint Grade, Hard Maple, Walnut, White Oak, Cherry, Alder |
* Cherry and Alder are exclusively available in the 24″W × 46″L Solid Backing format.
Why This Profile
The Profile in Detail
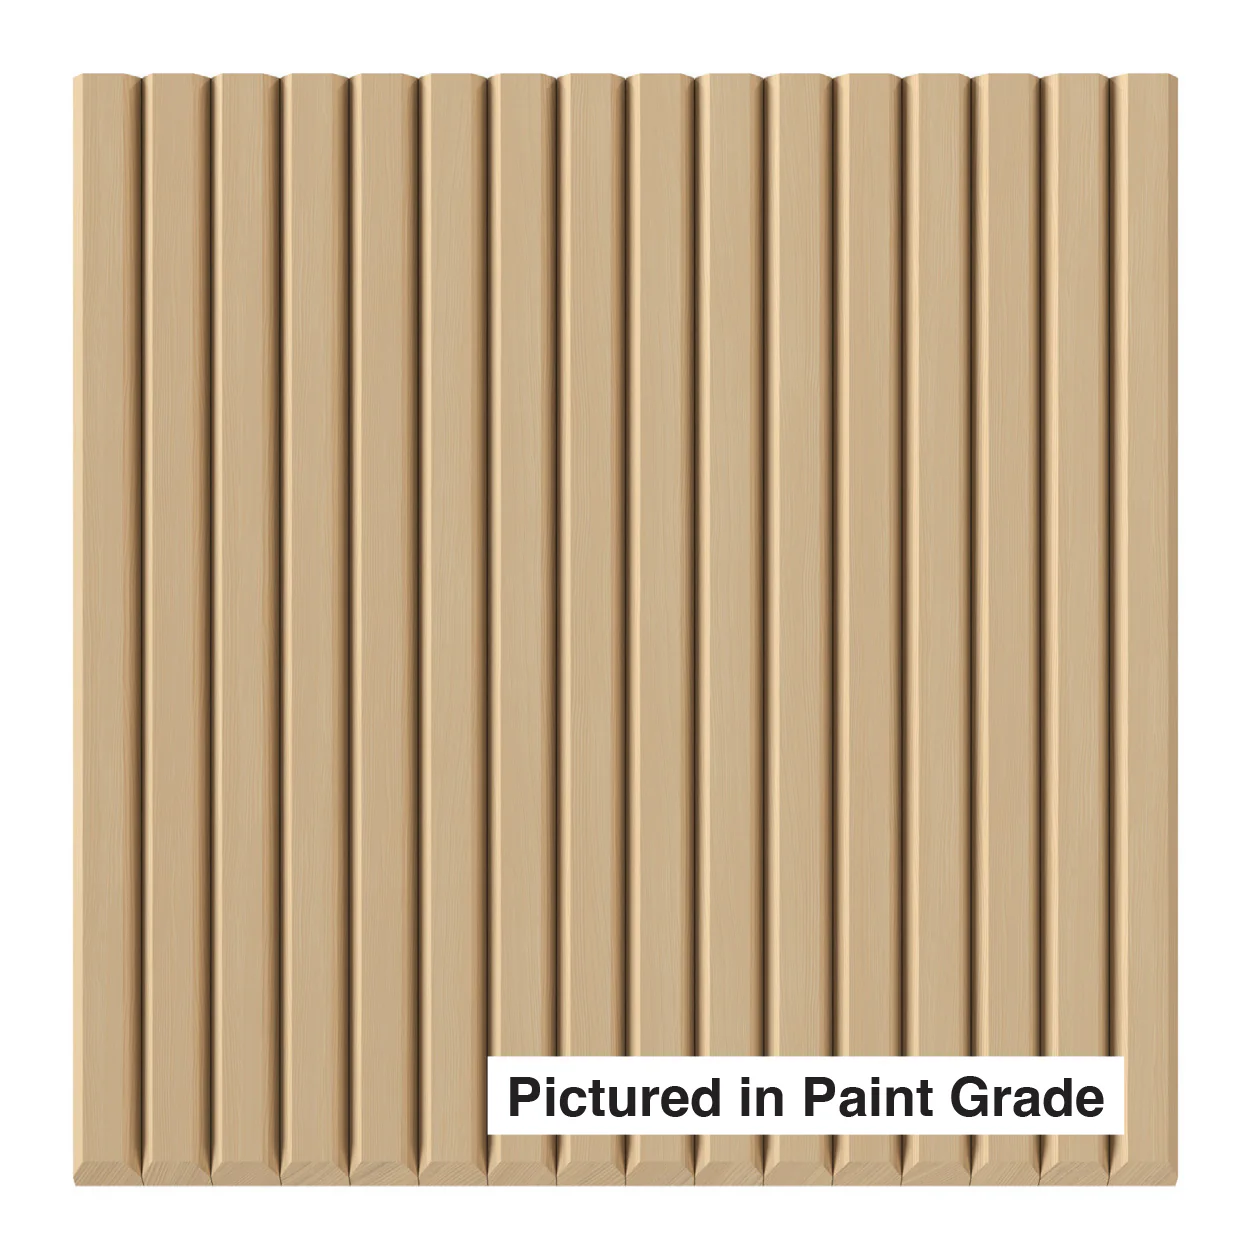
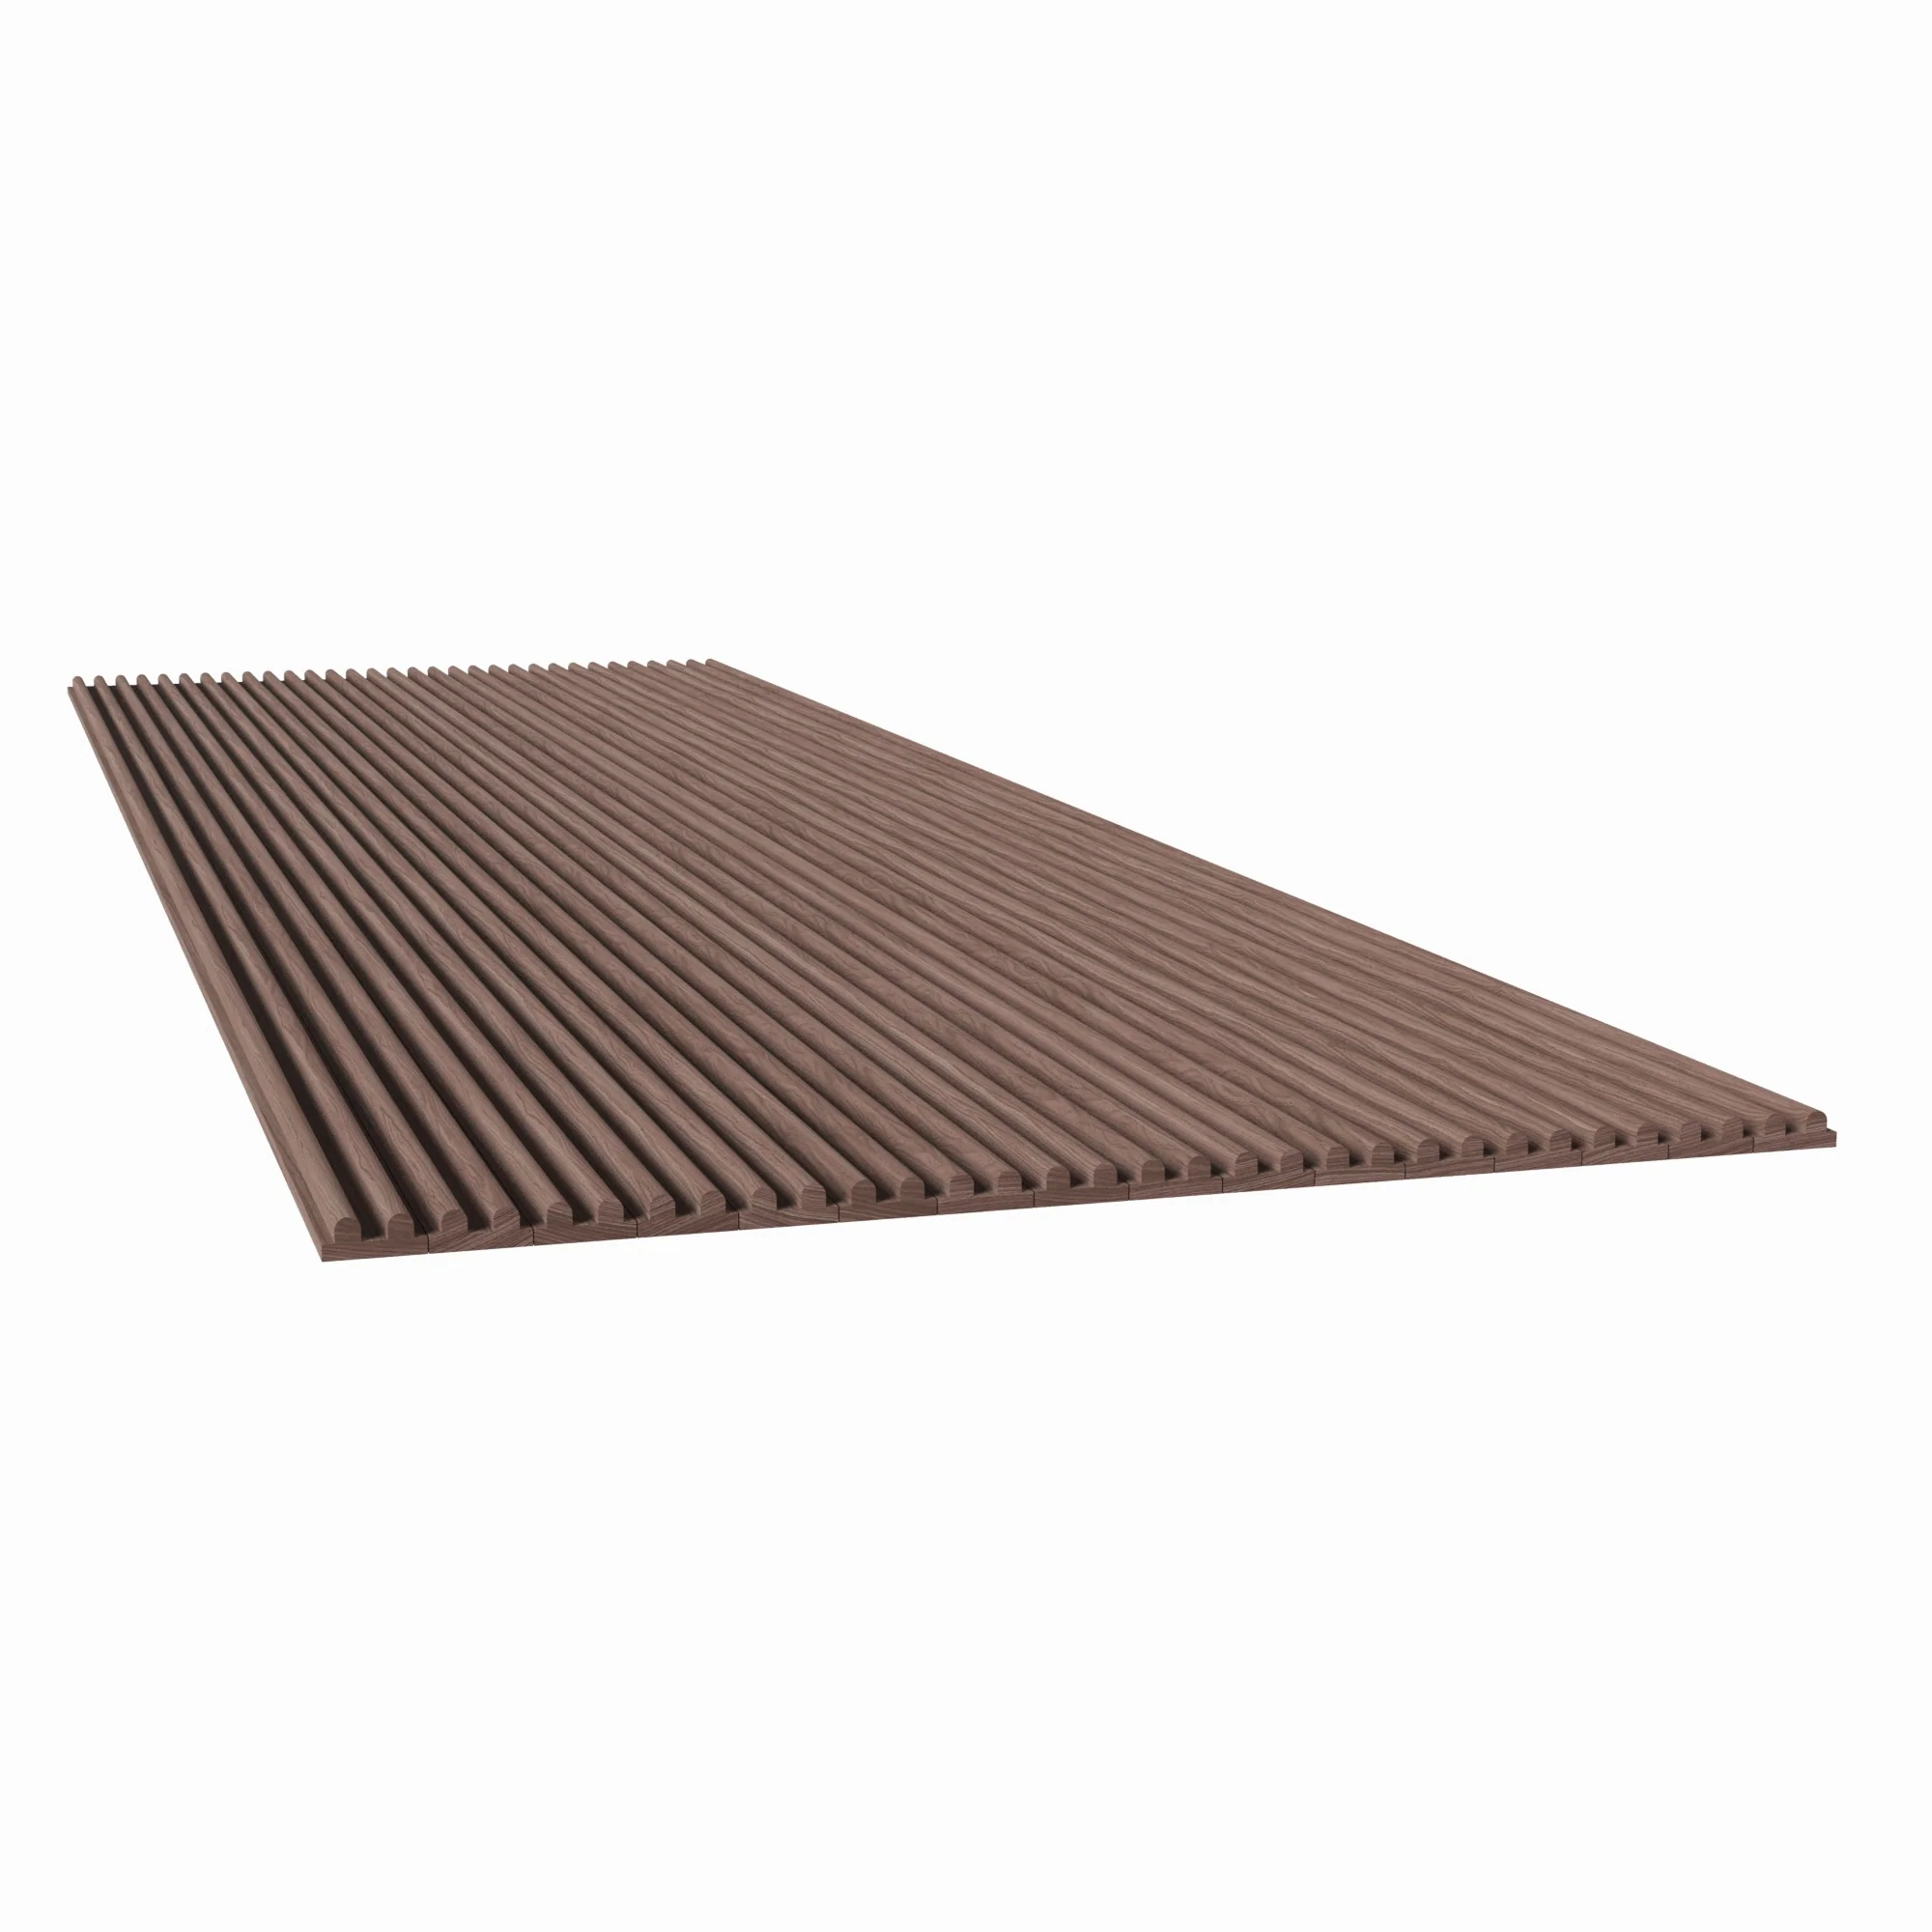
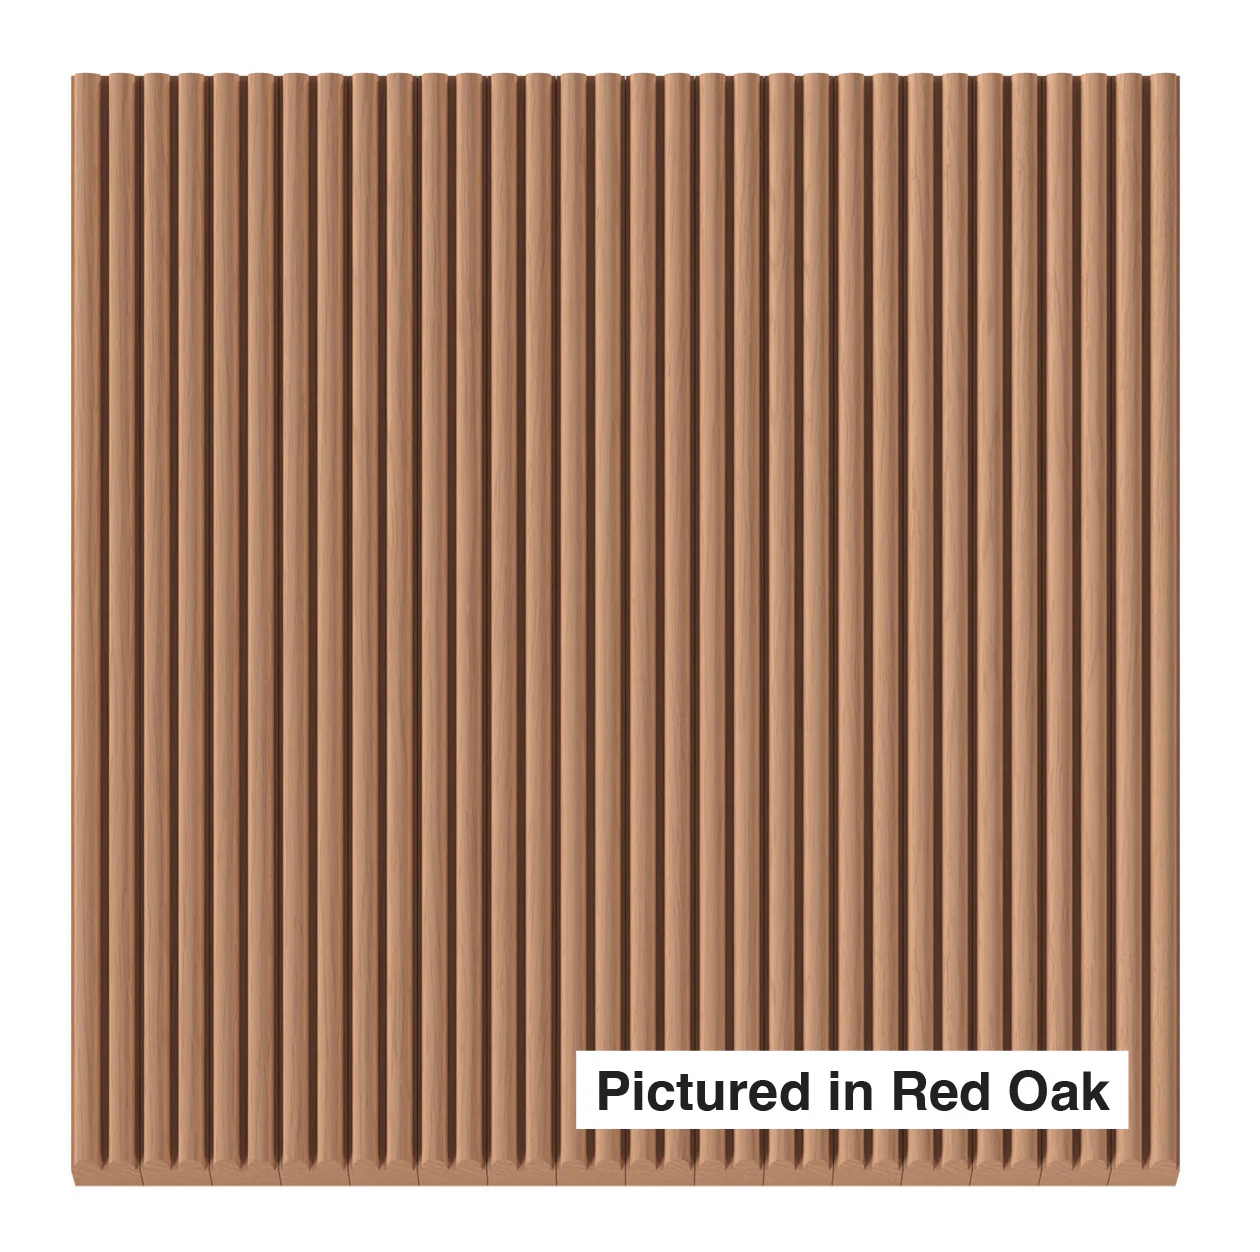
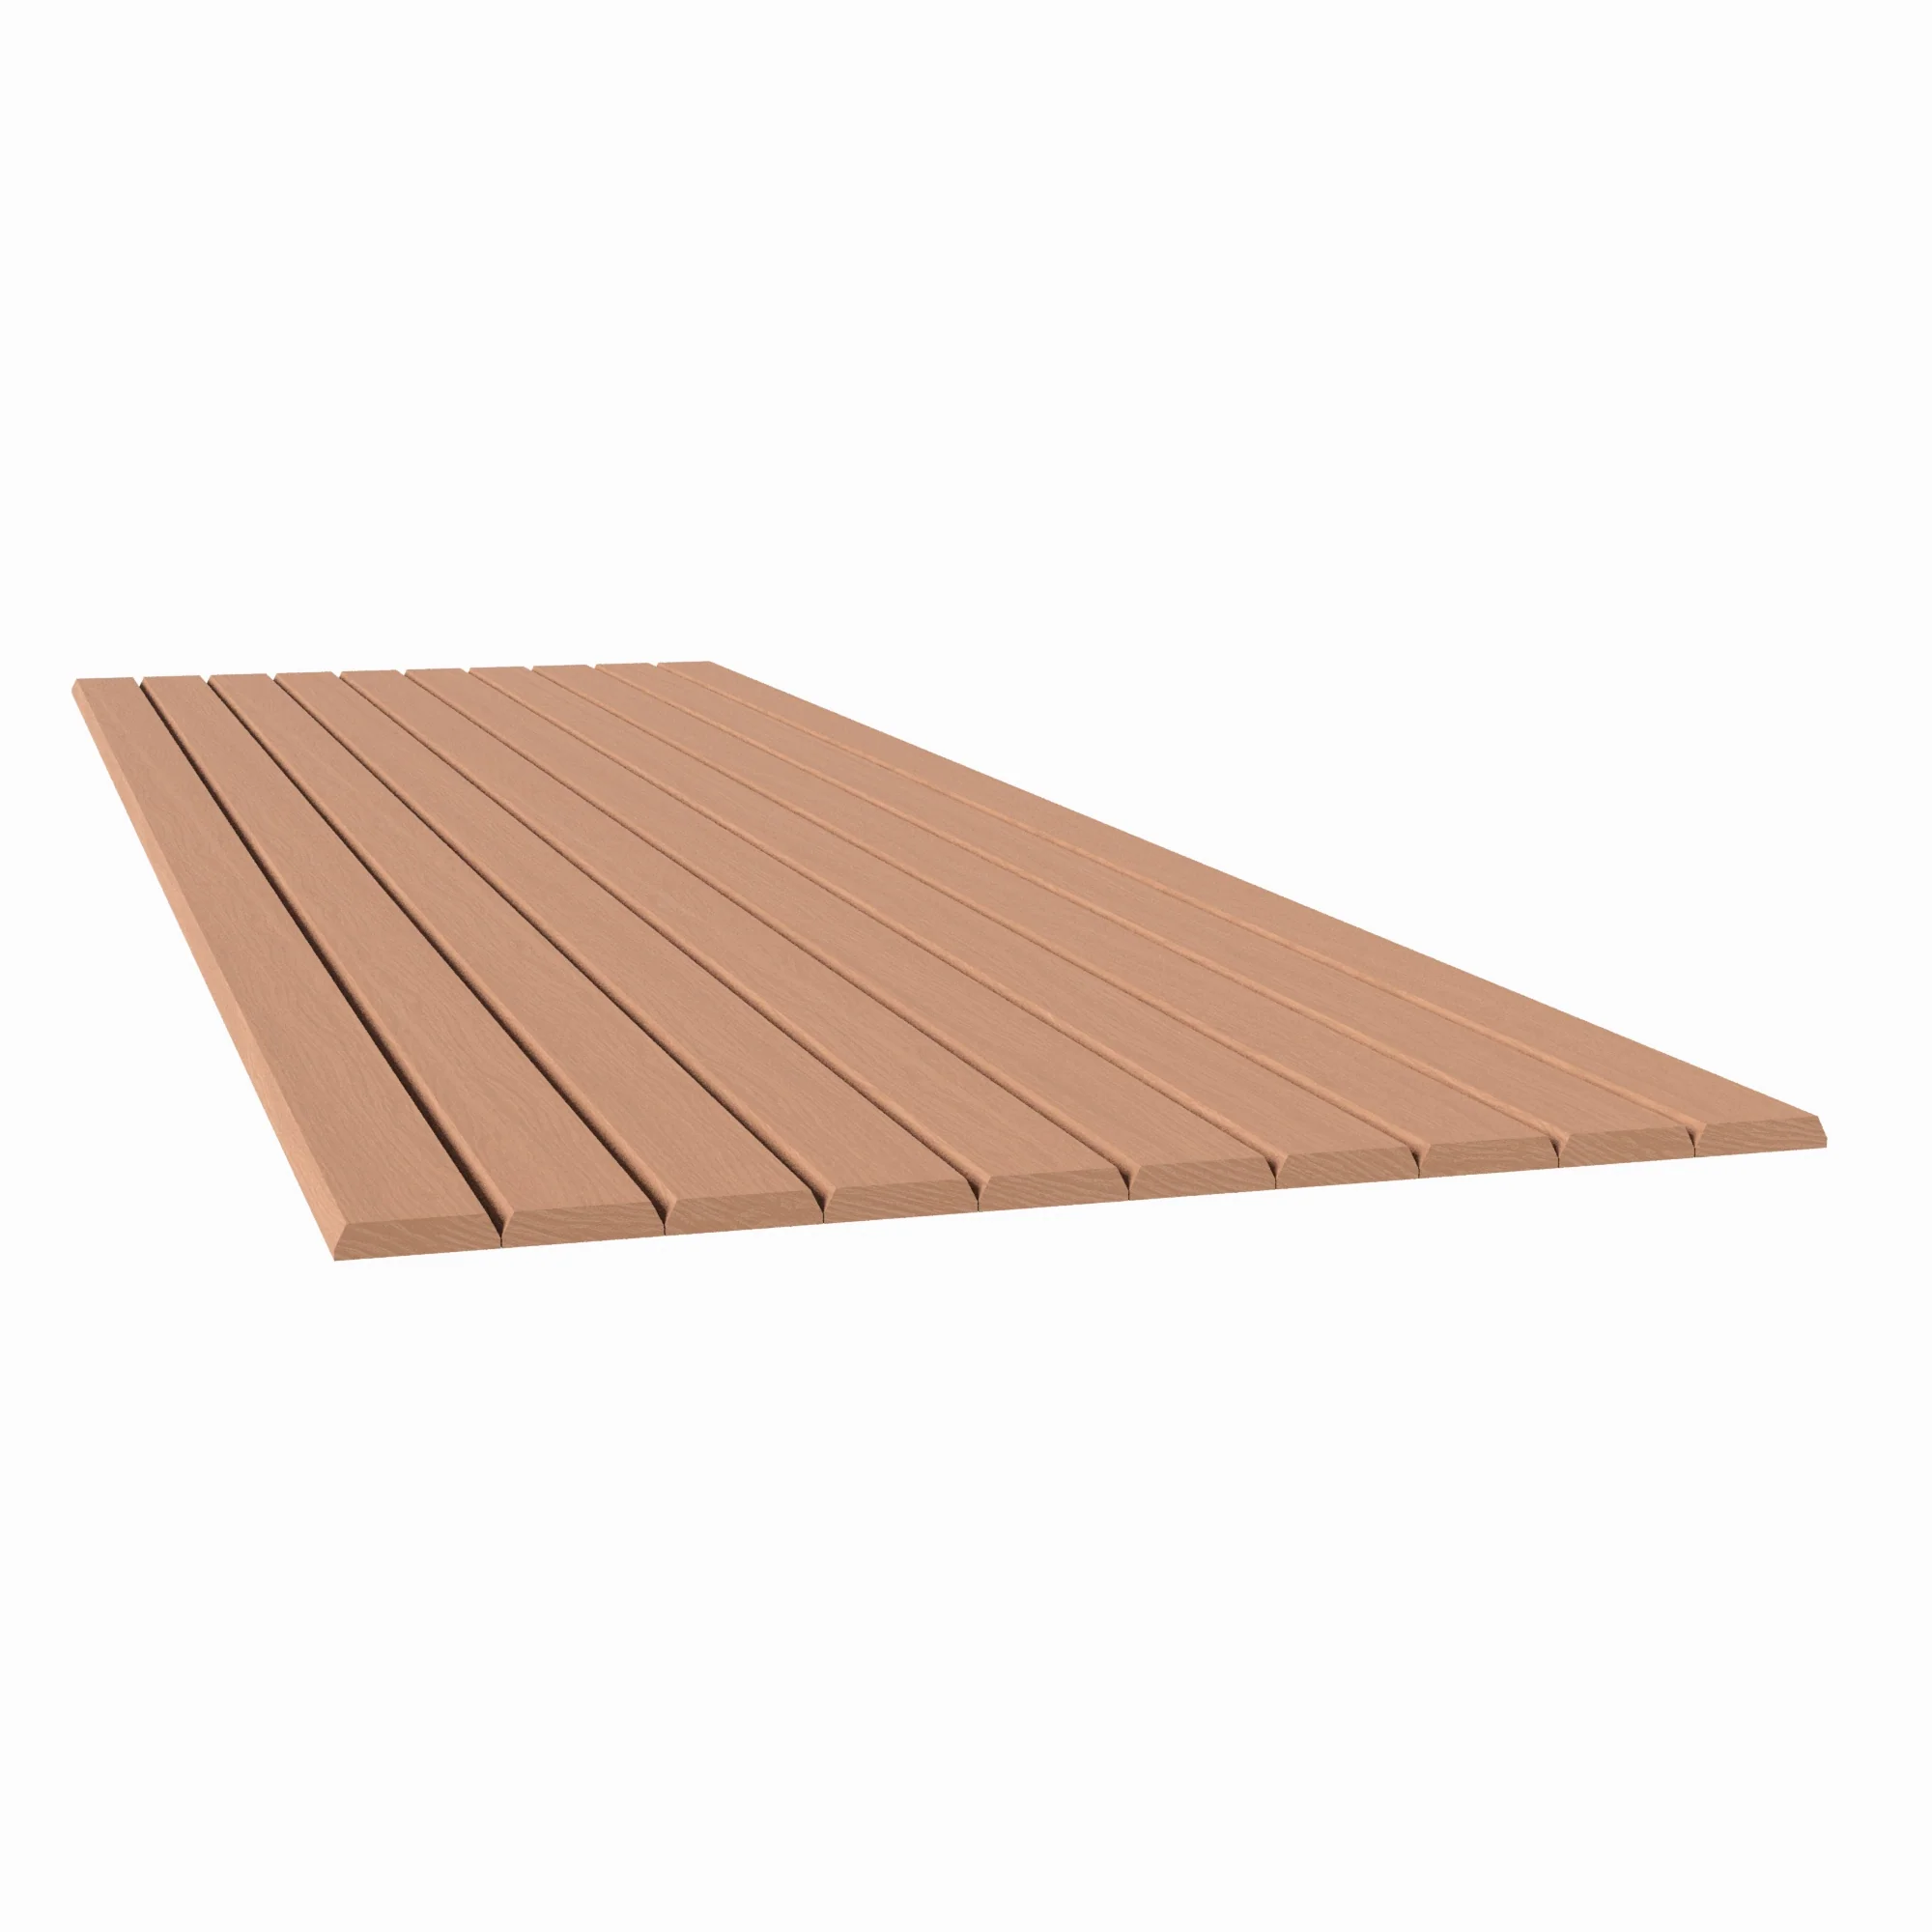
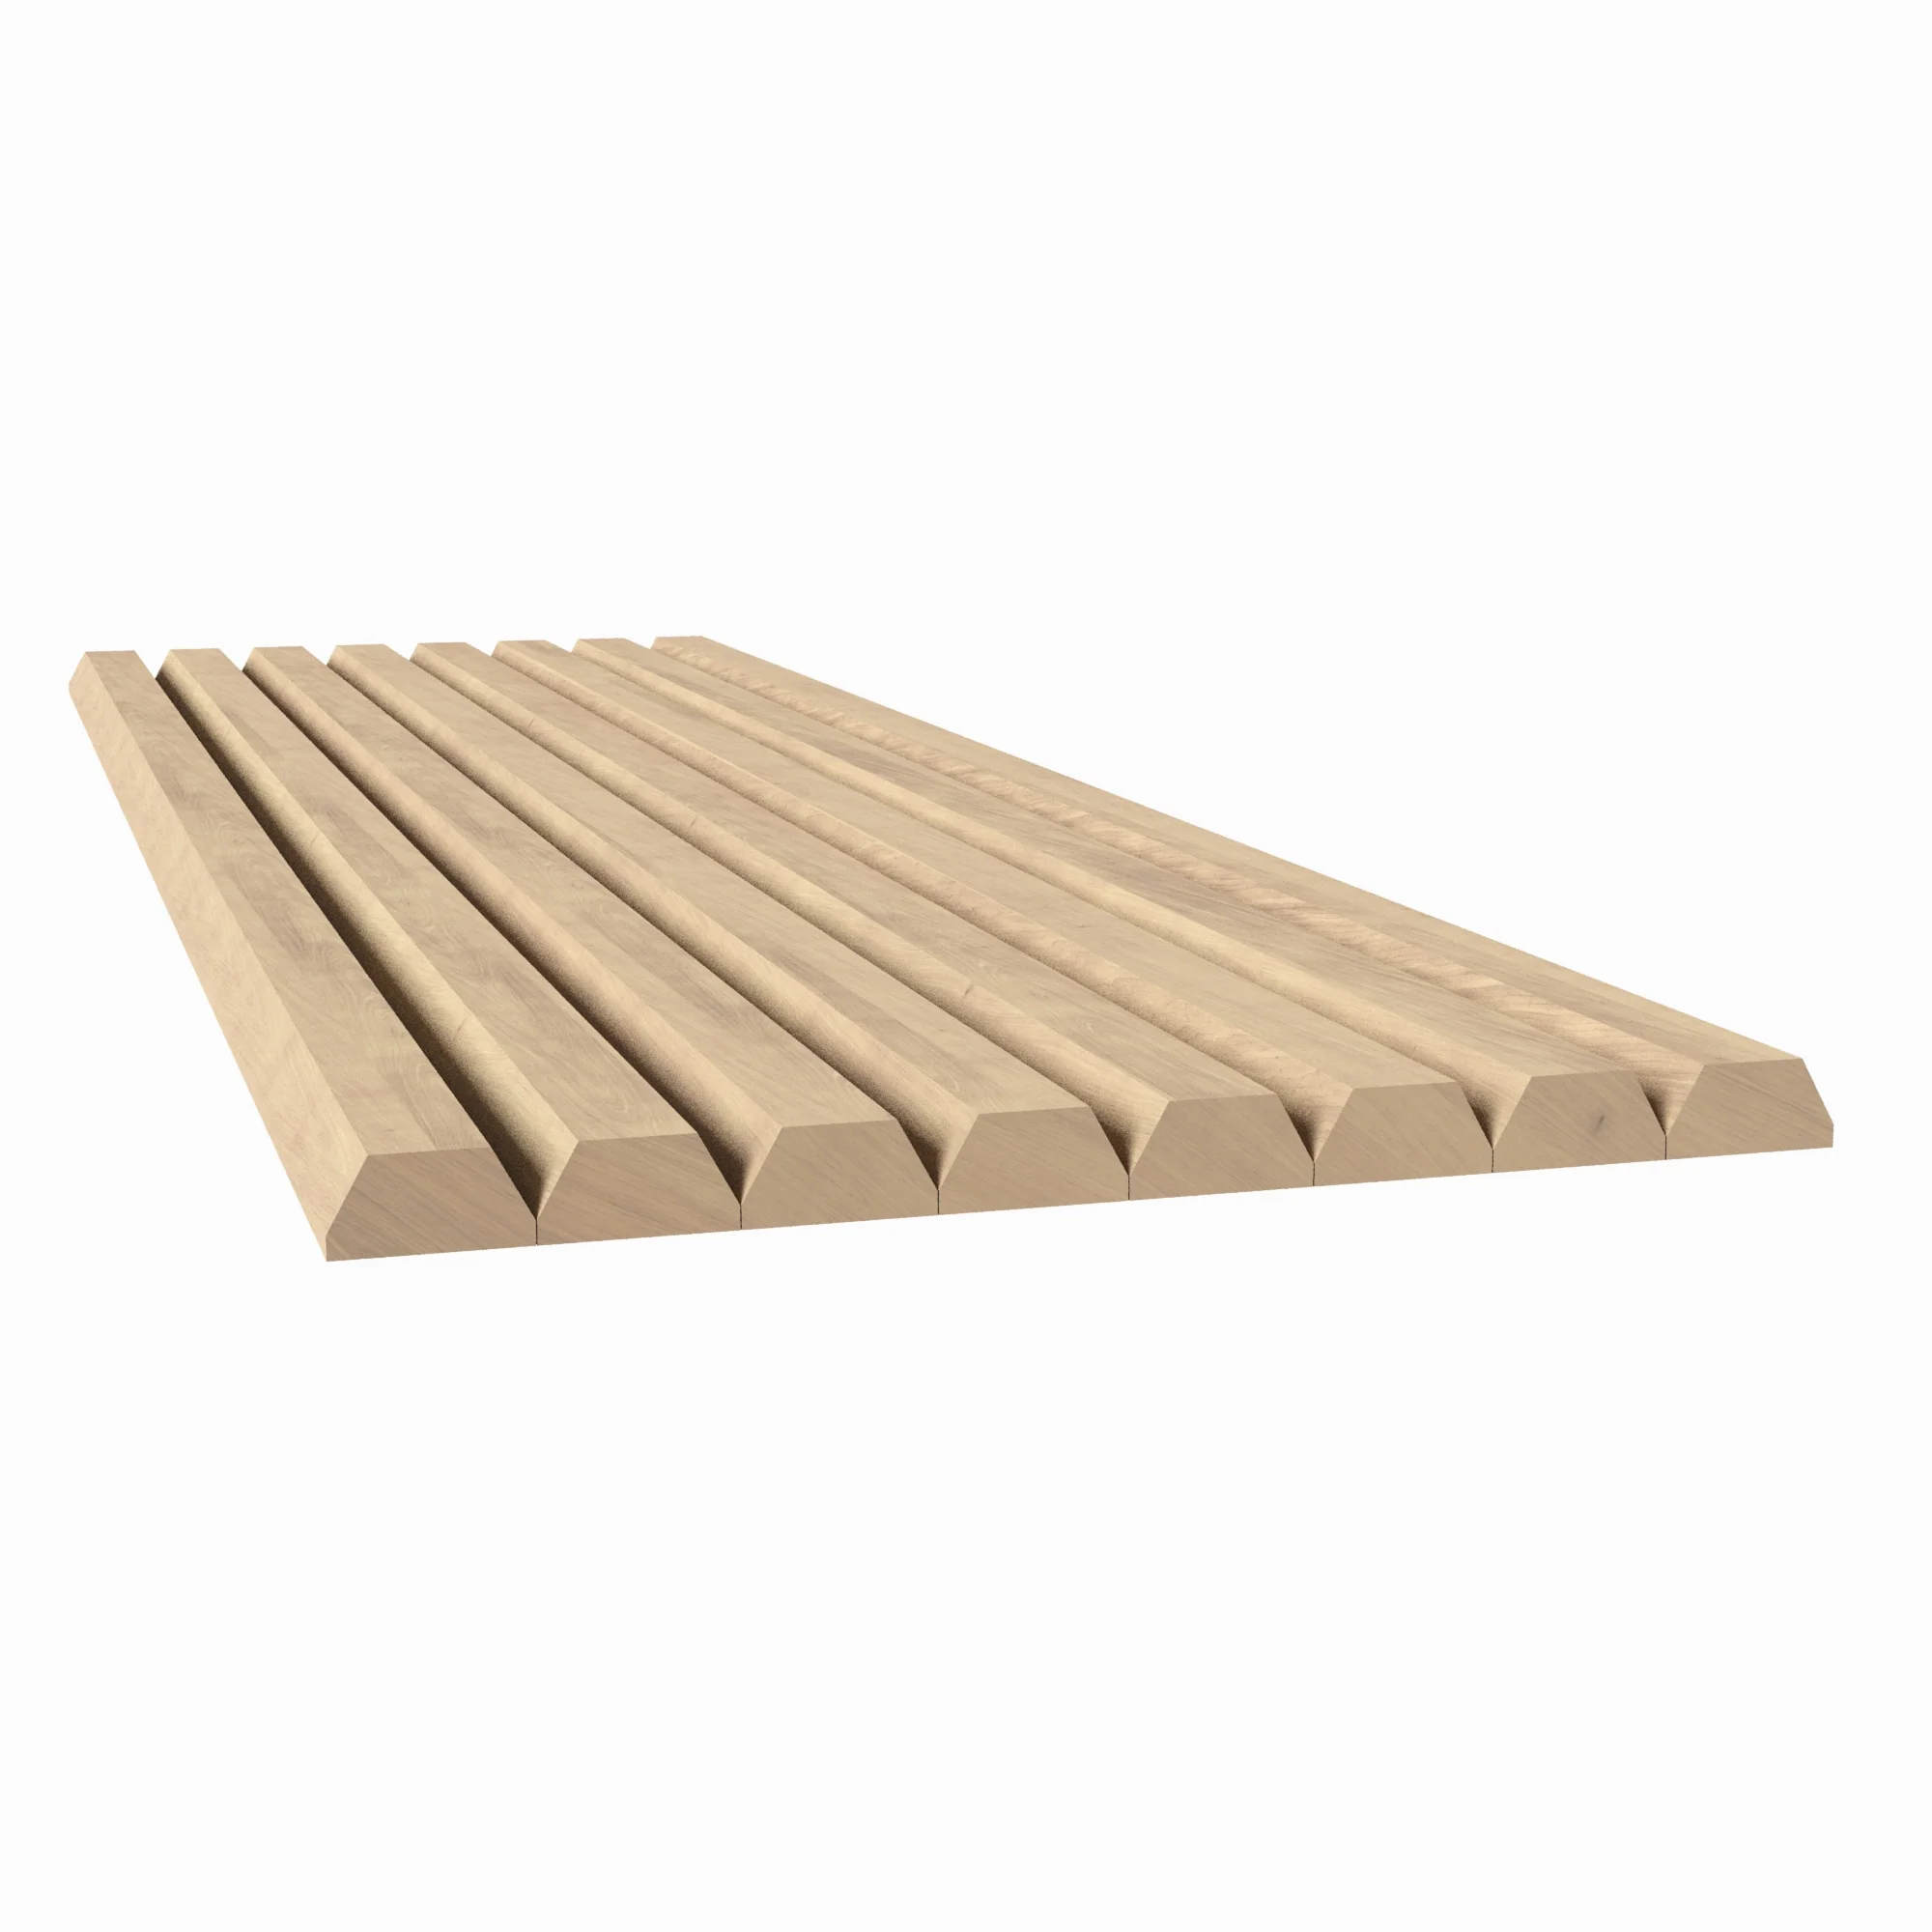
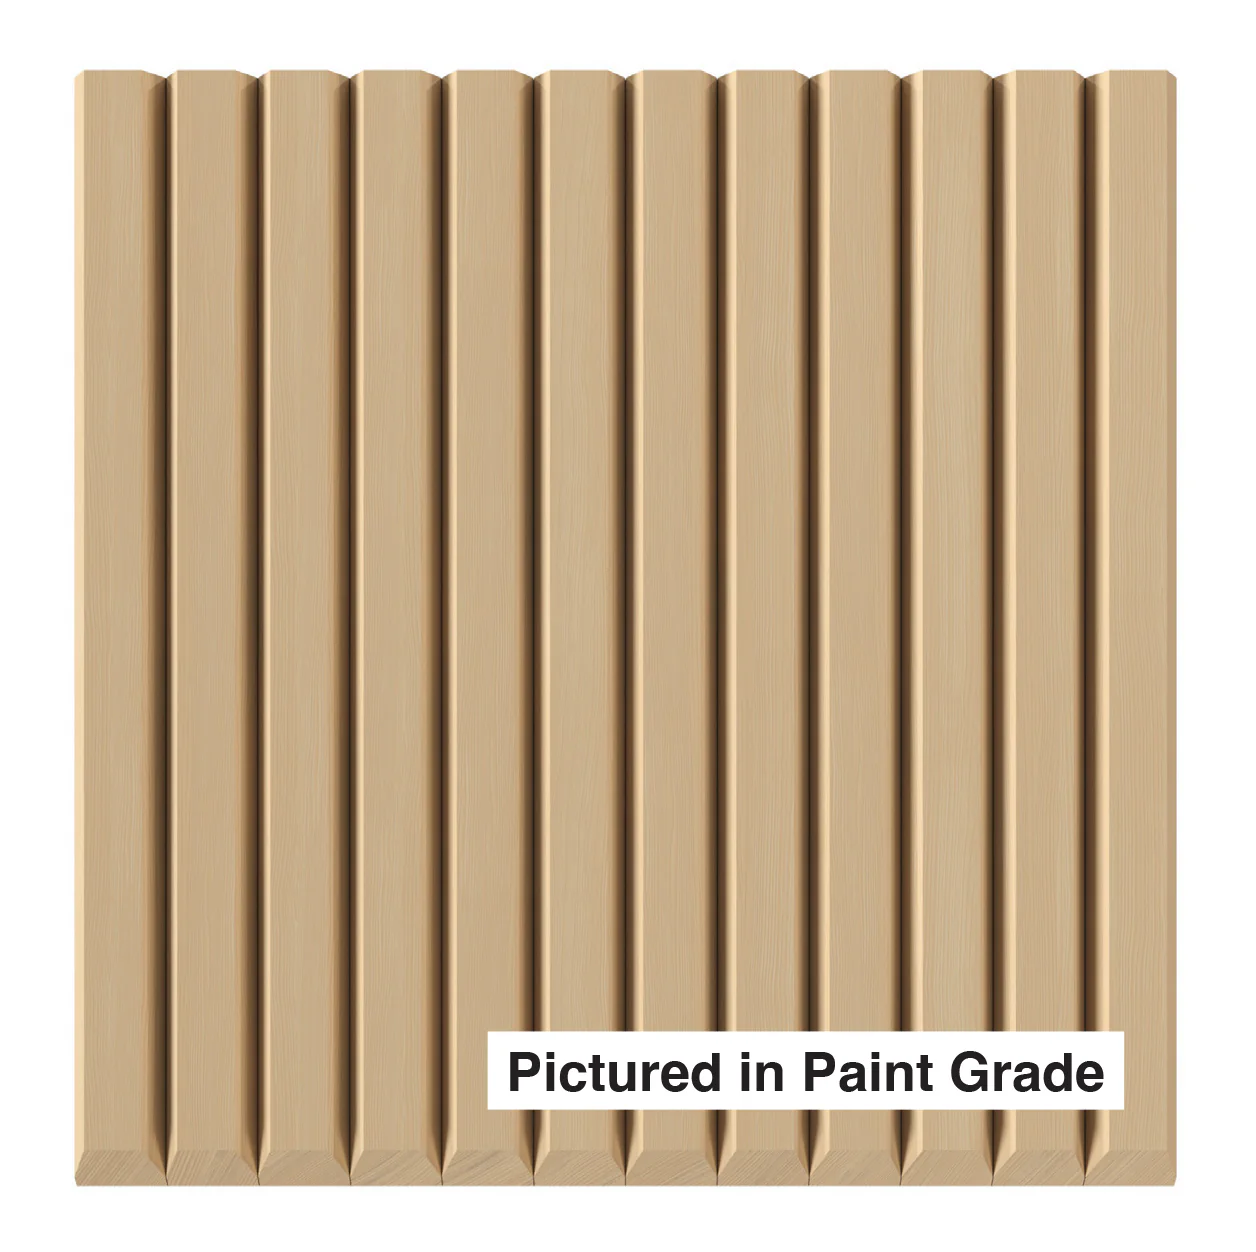
Classic Bevel Slat
The angled face of each 1″ slat catches light and casts shadow in a consistent, satisfying rhythm. The profile works vertically and horizontally with equal effect.
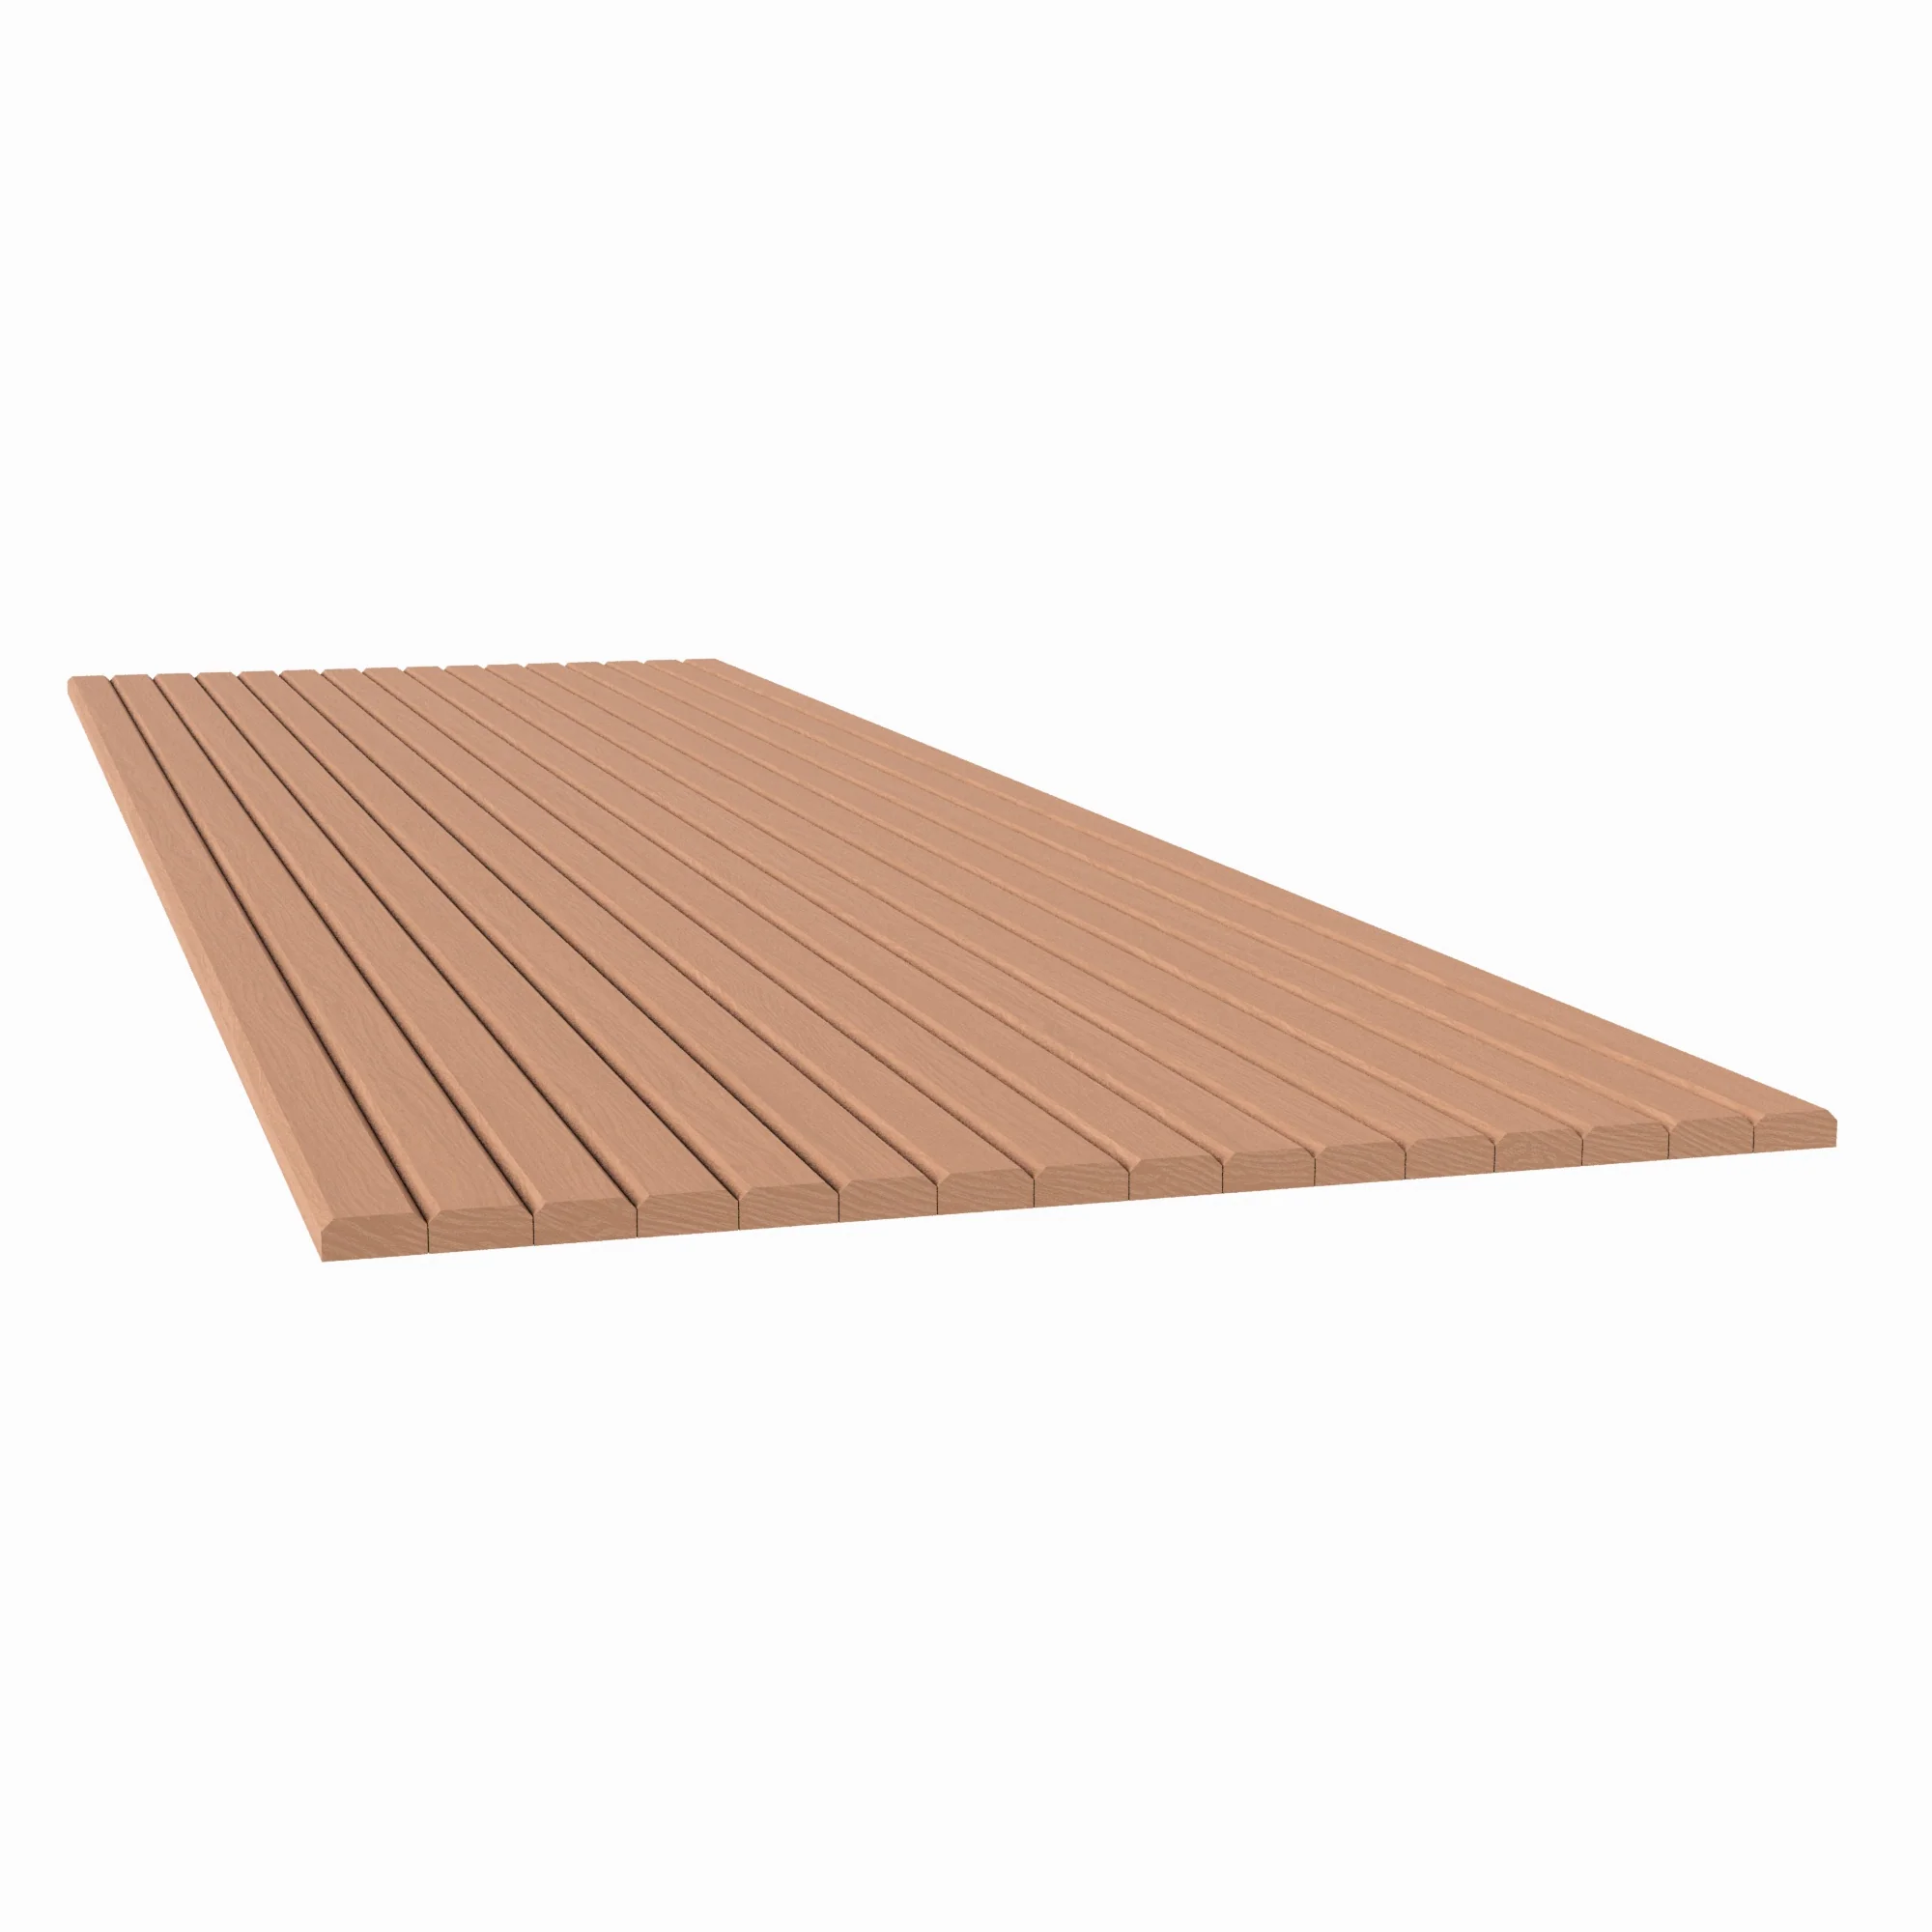
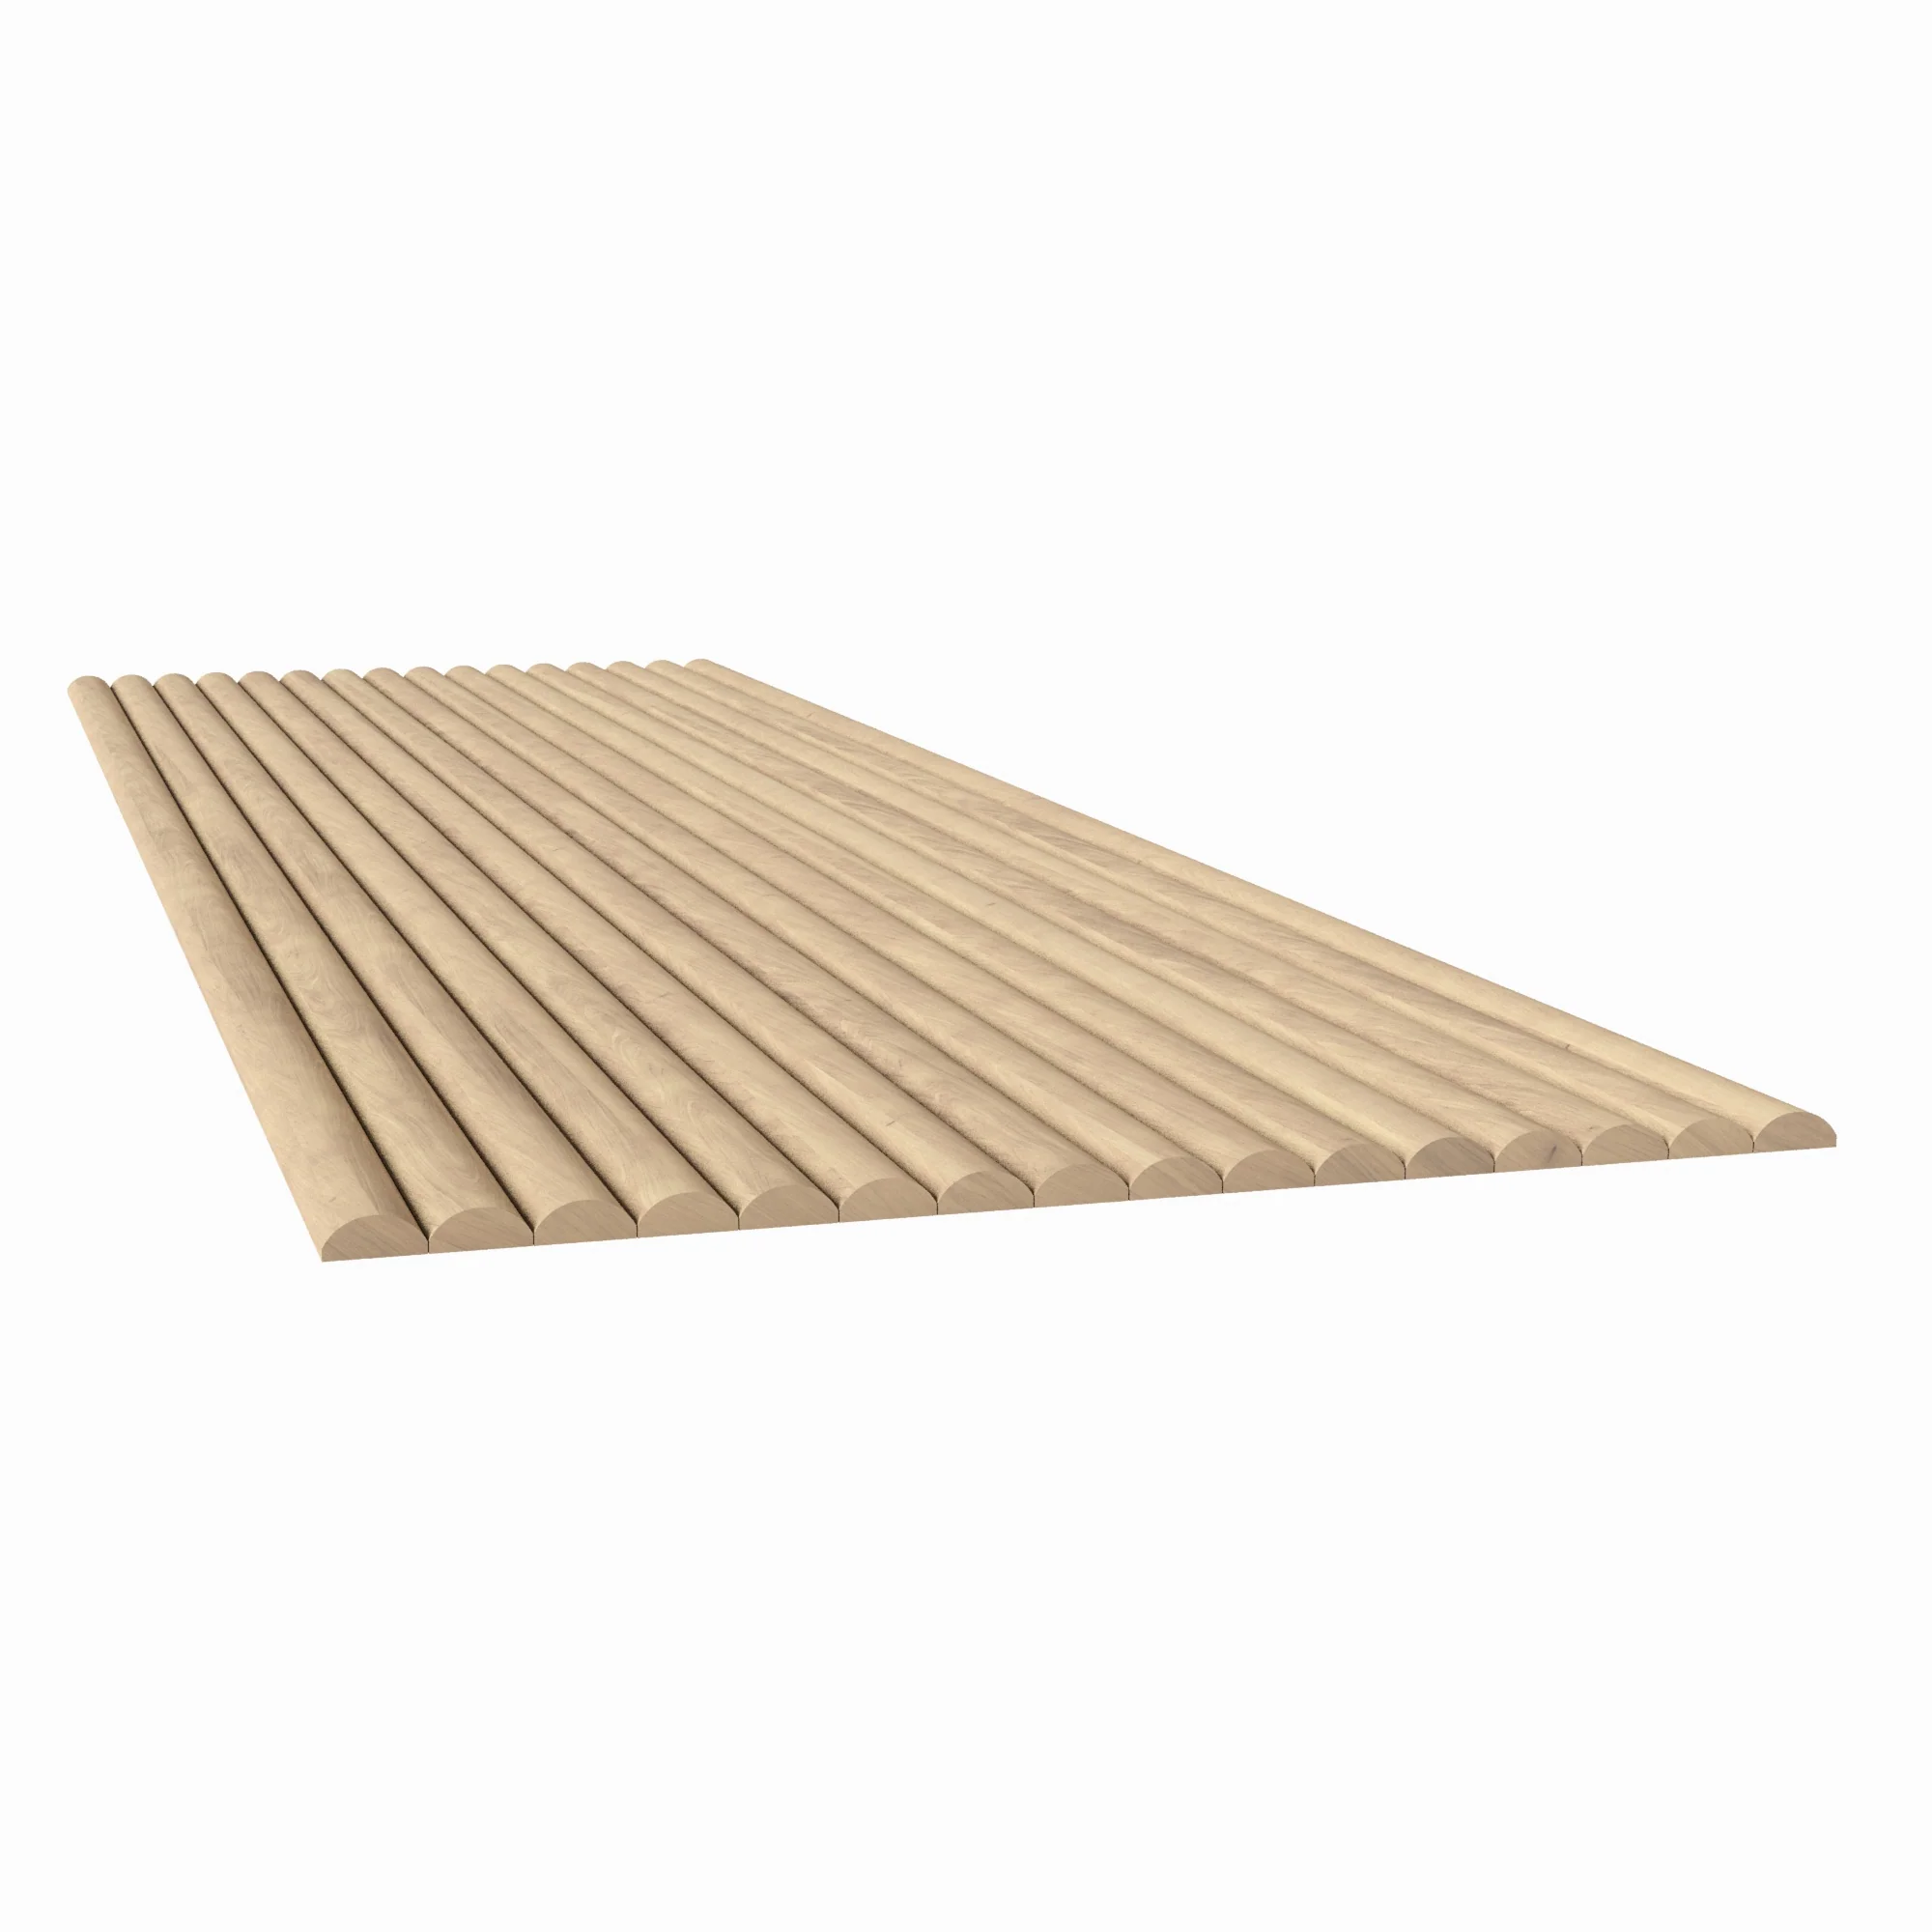
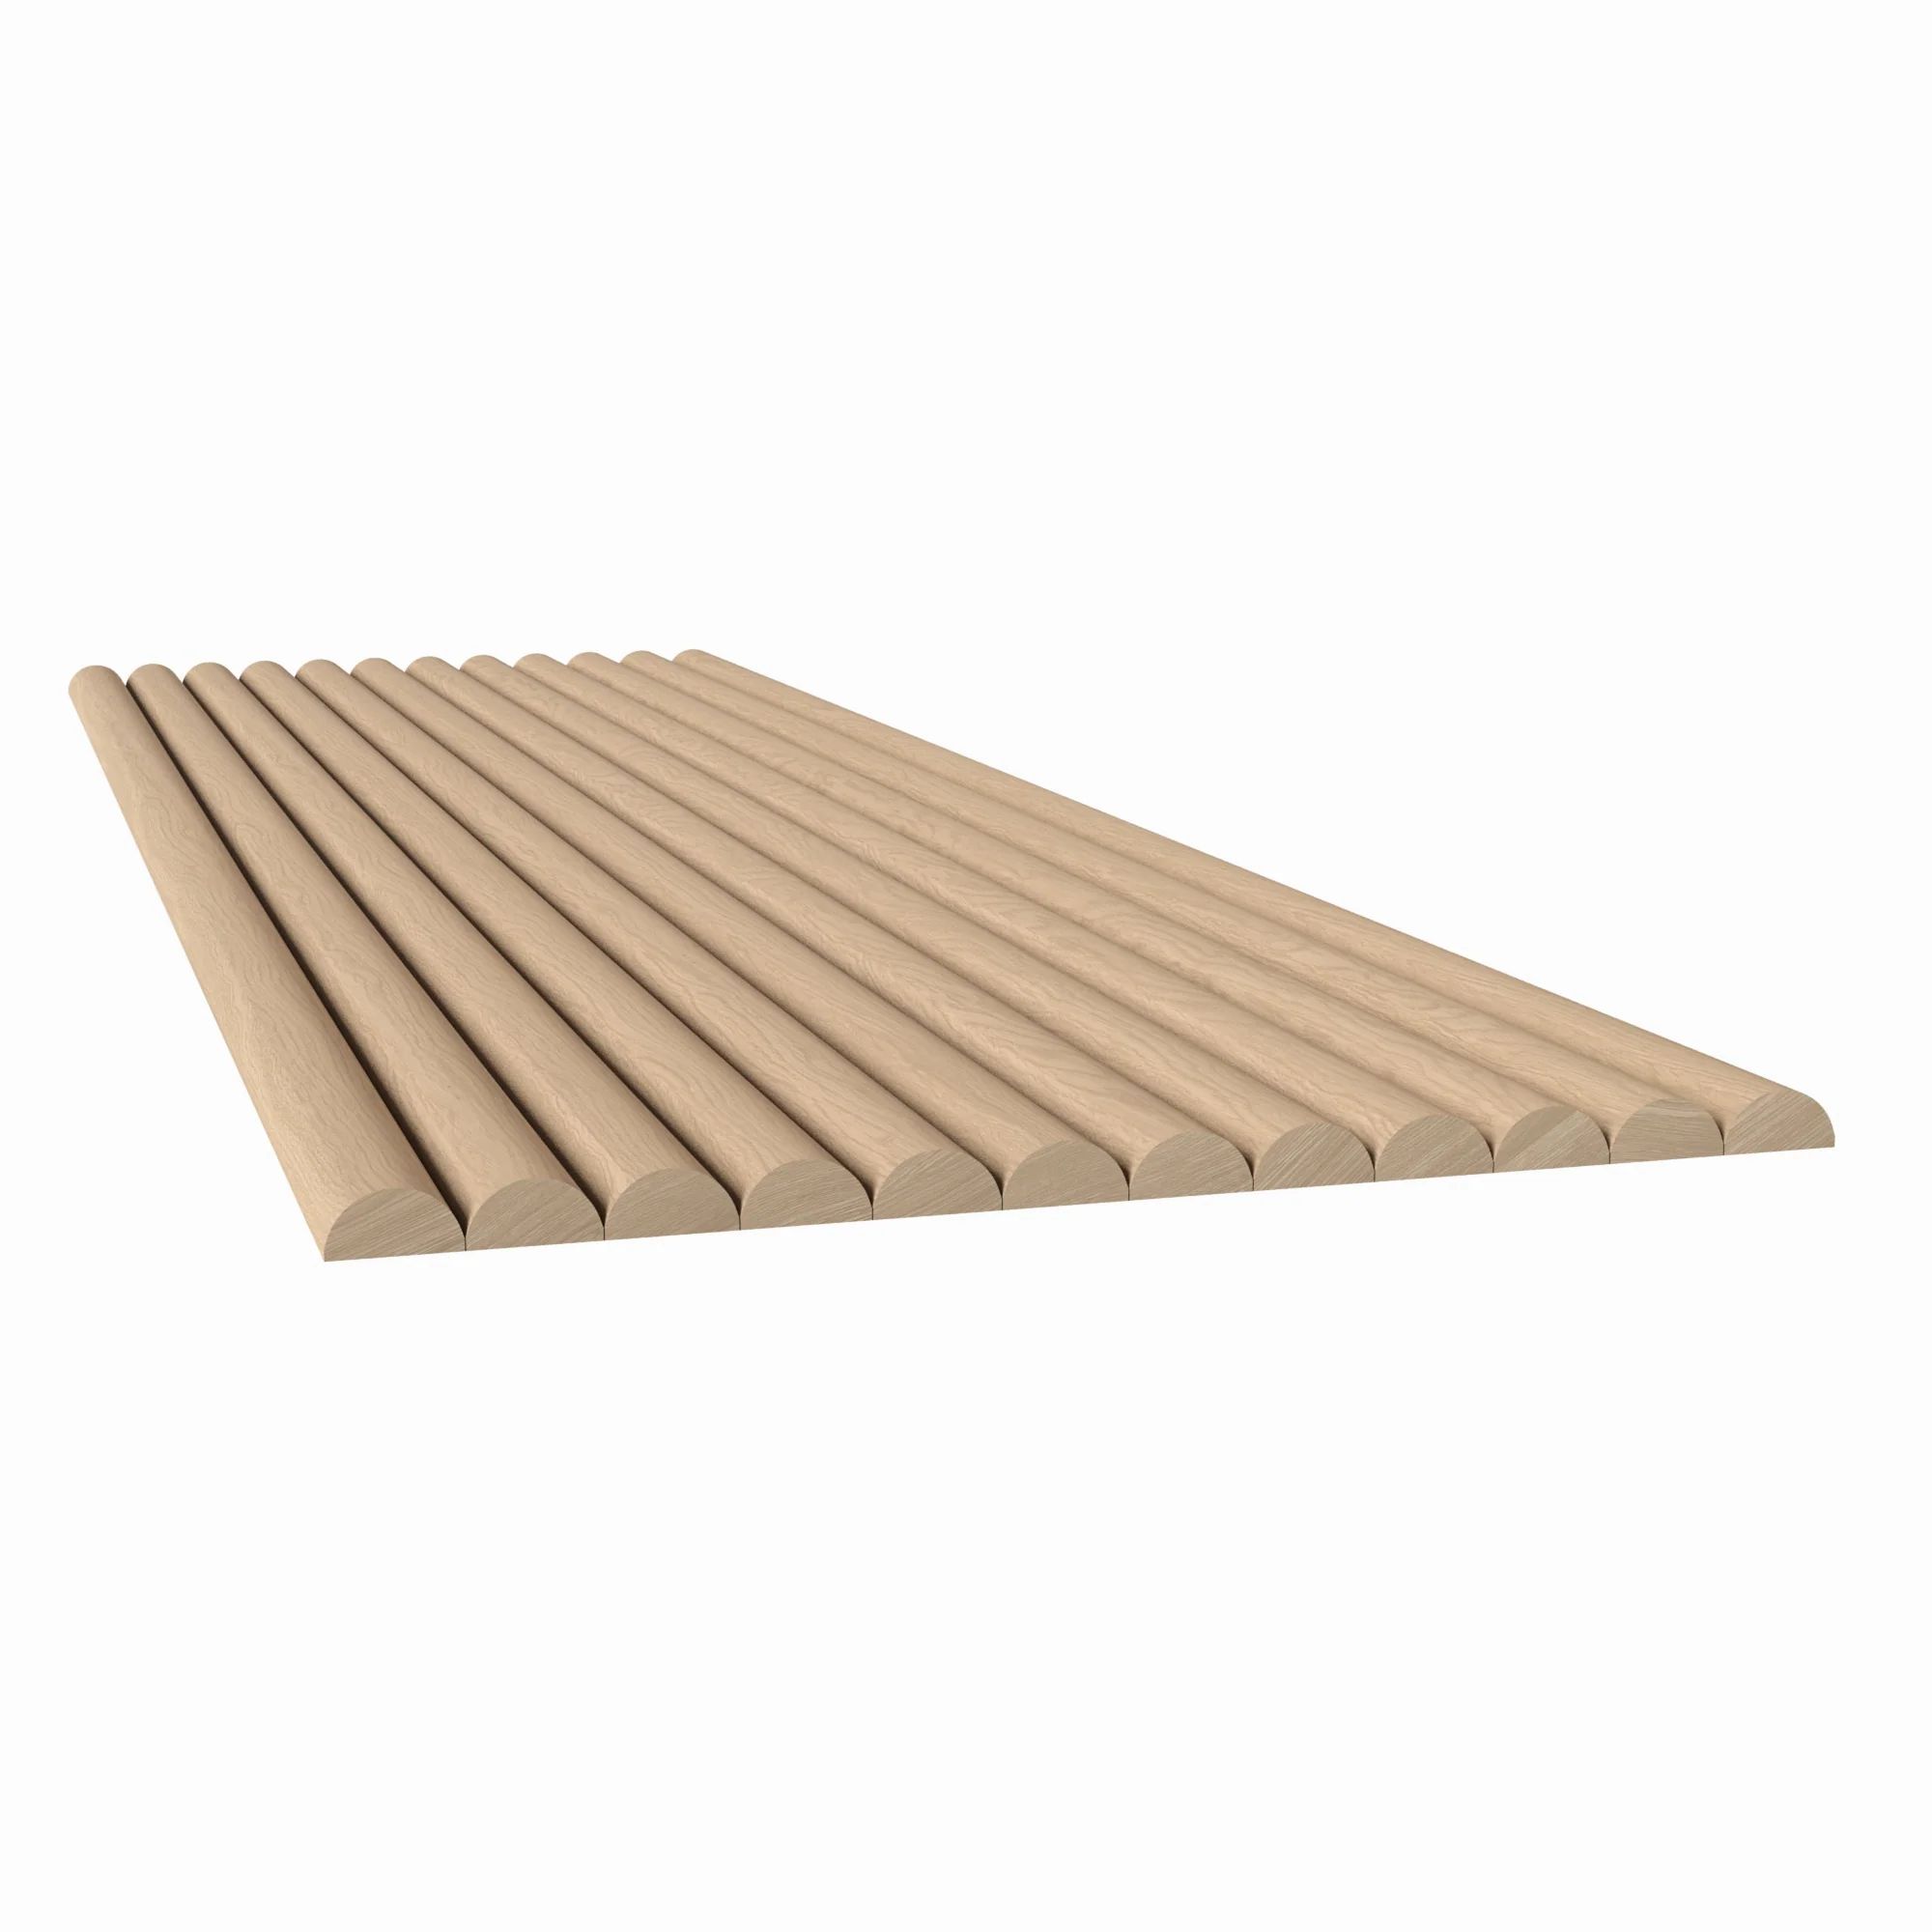
Flexible Backing
Curves, columns, and corner wraps are all accessible with the flexible backing — making this the most versatile bevel slat profile in the range.
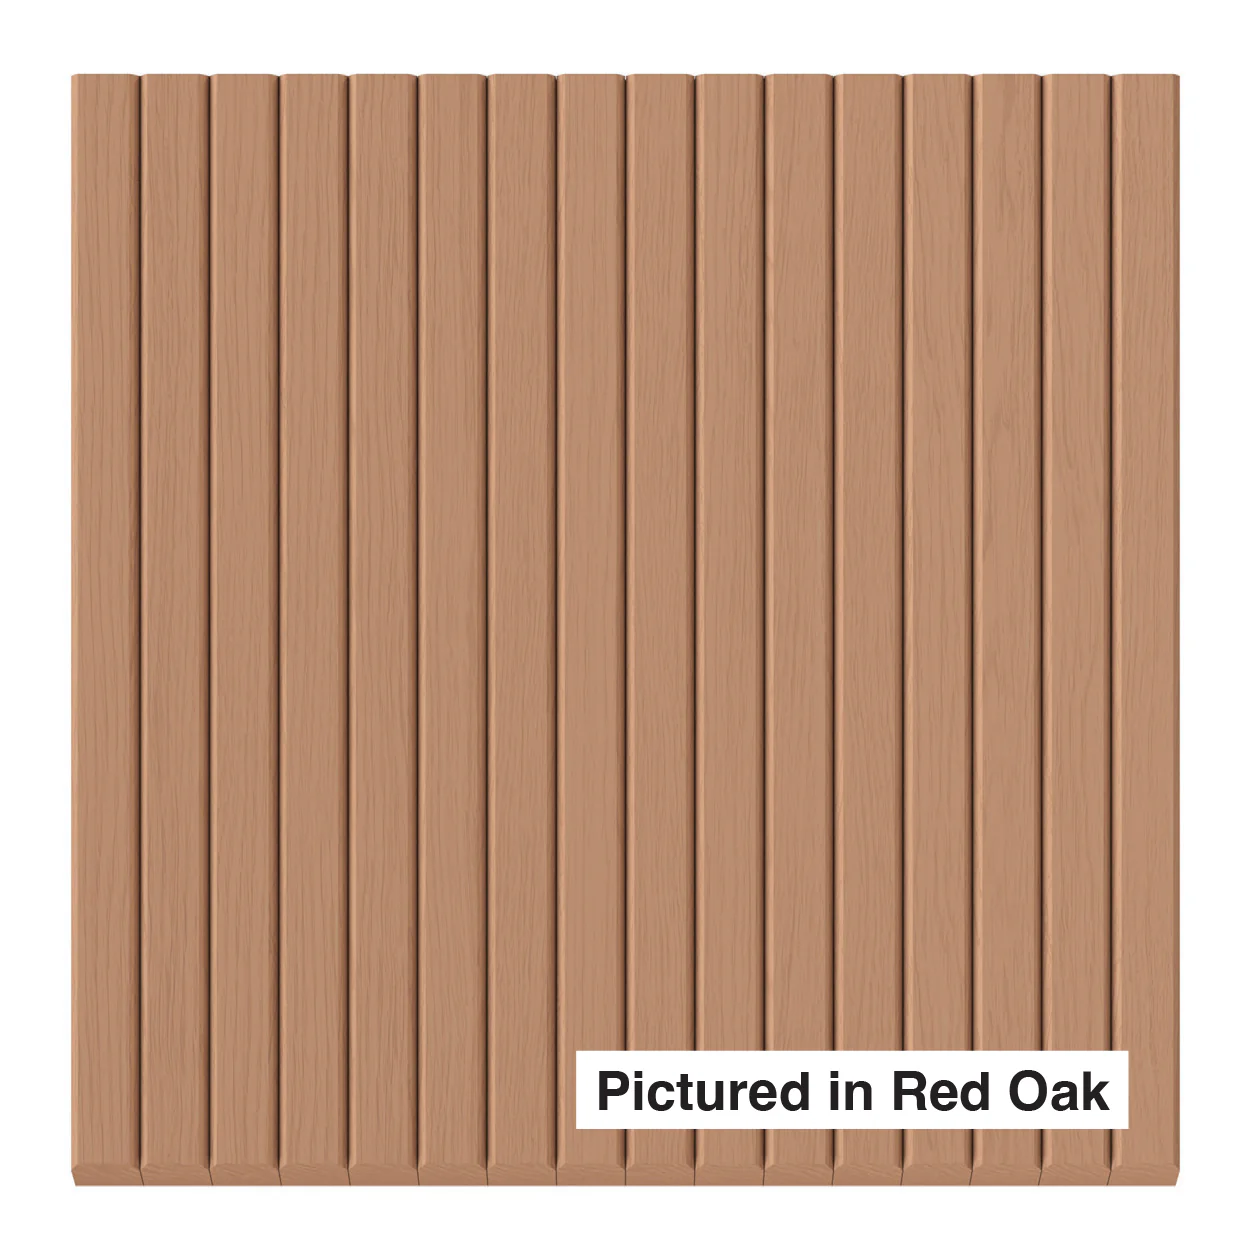
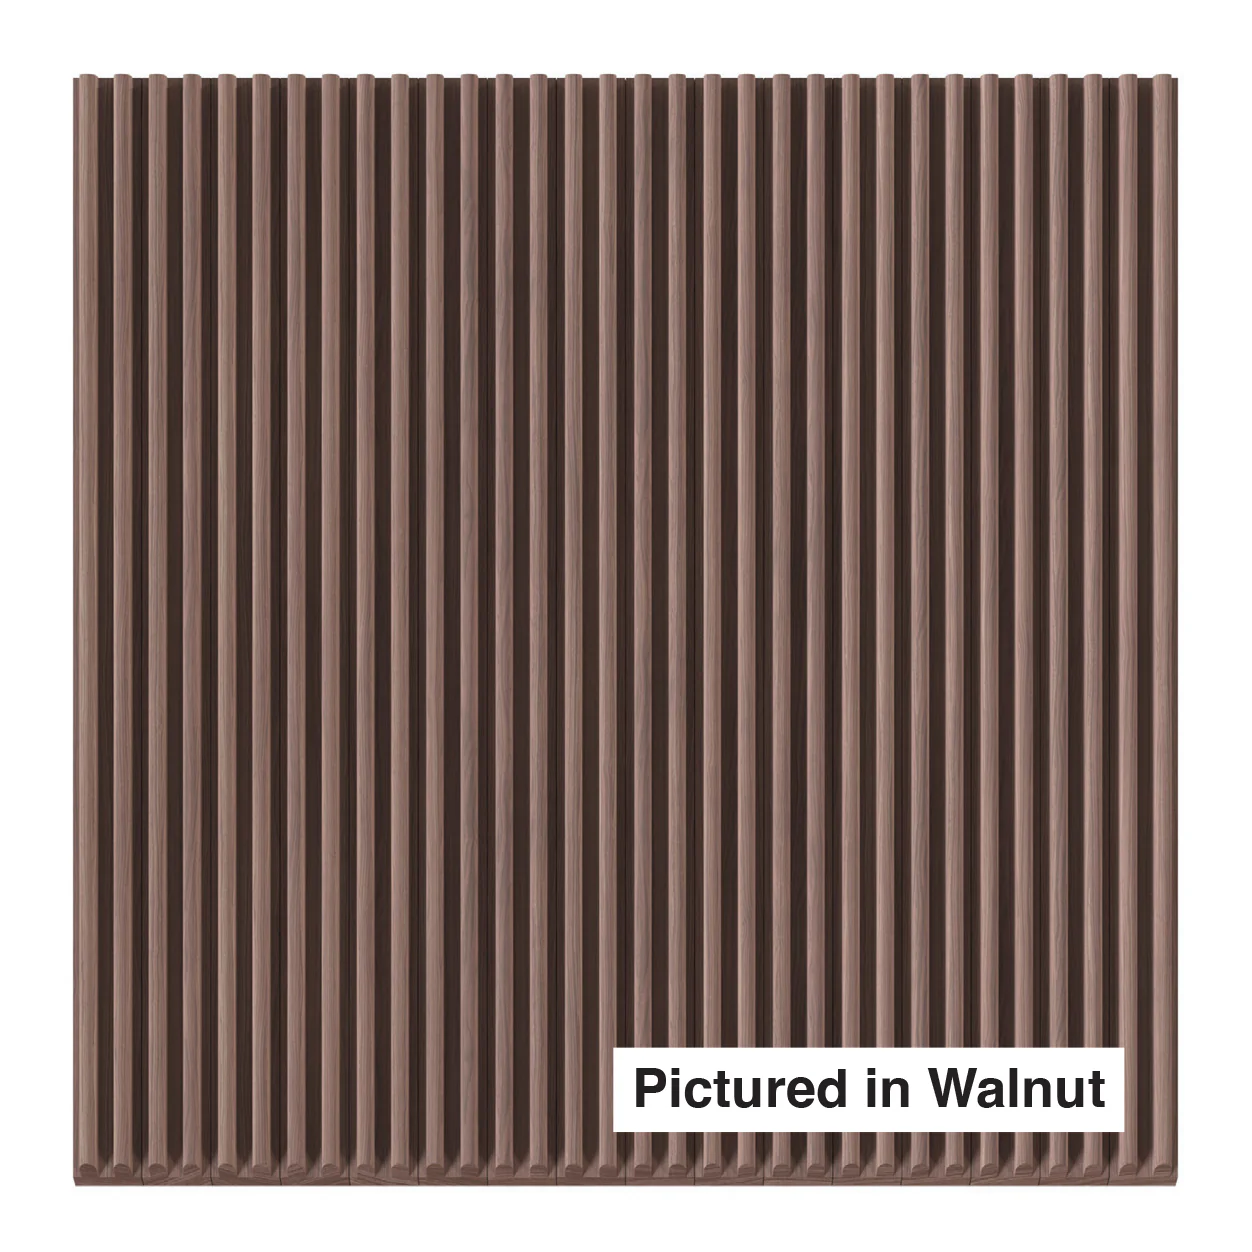
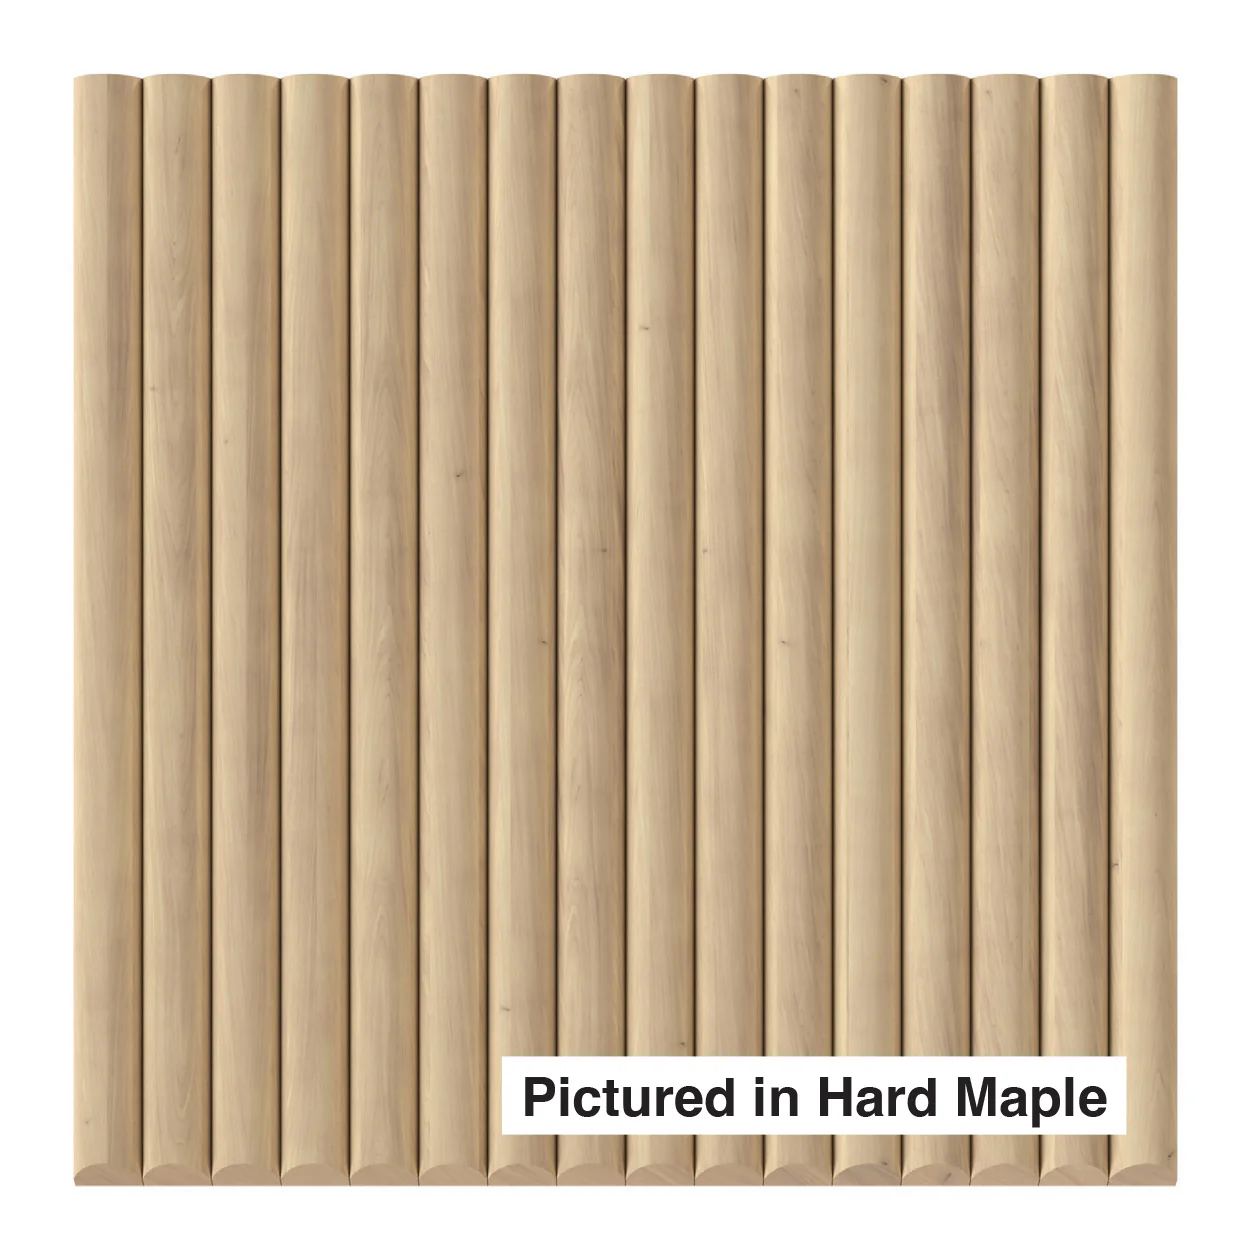
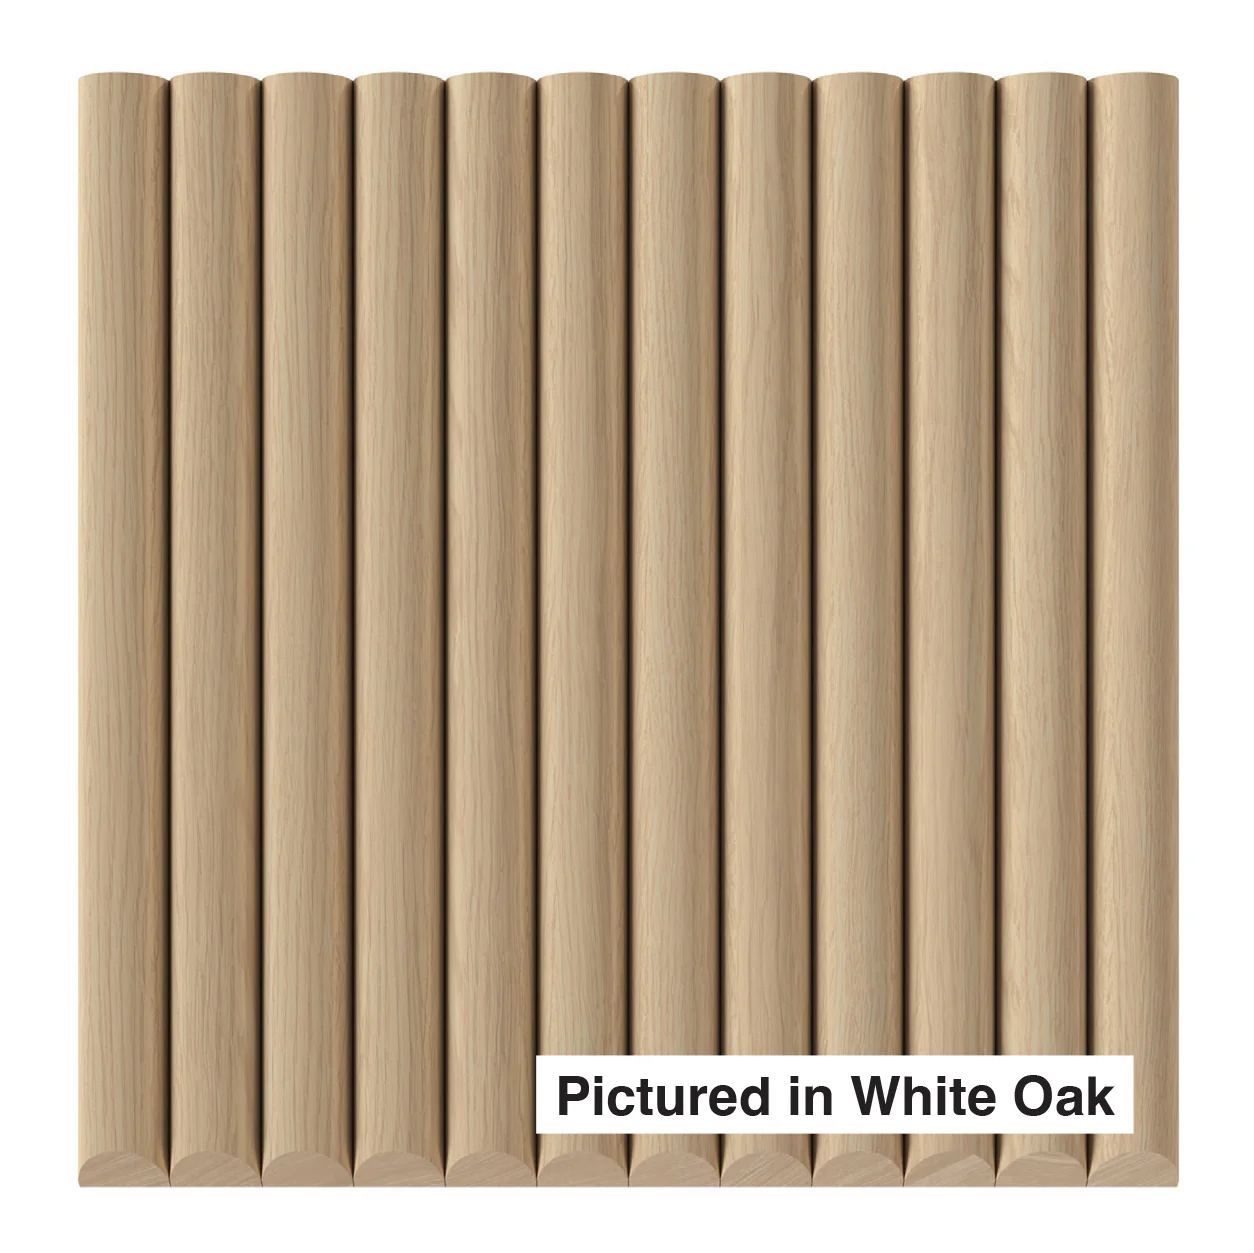
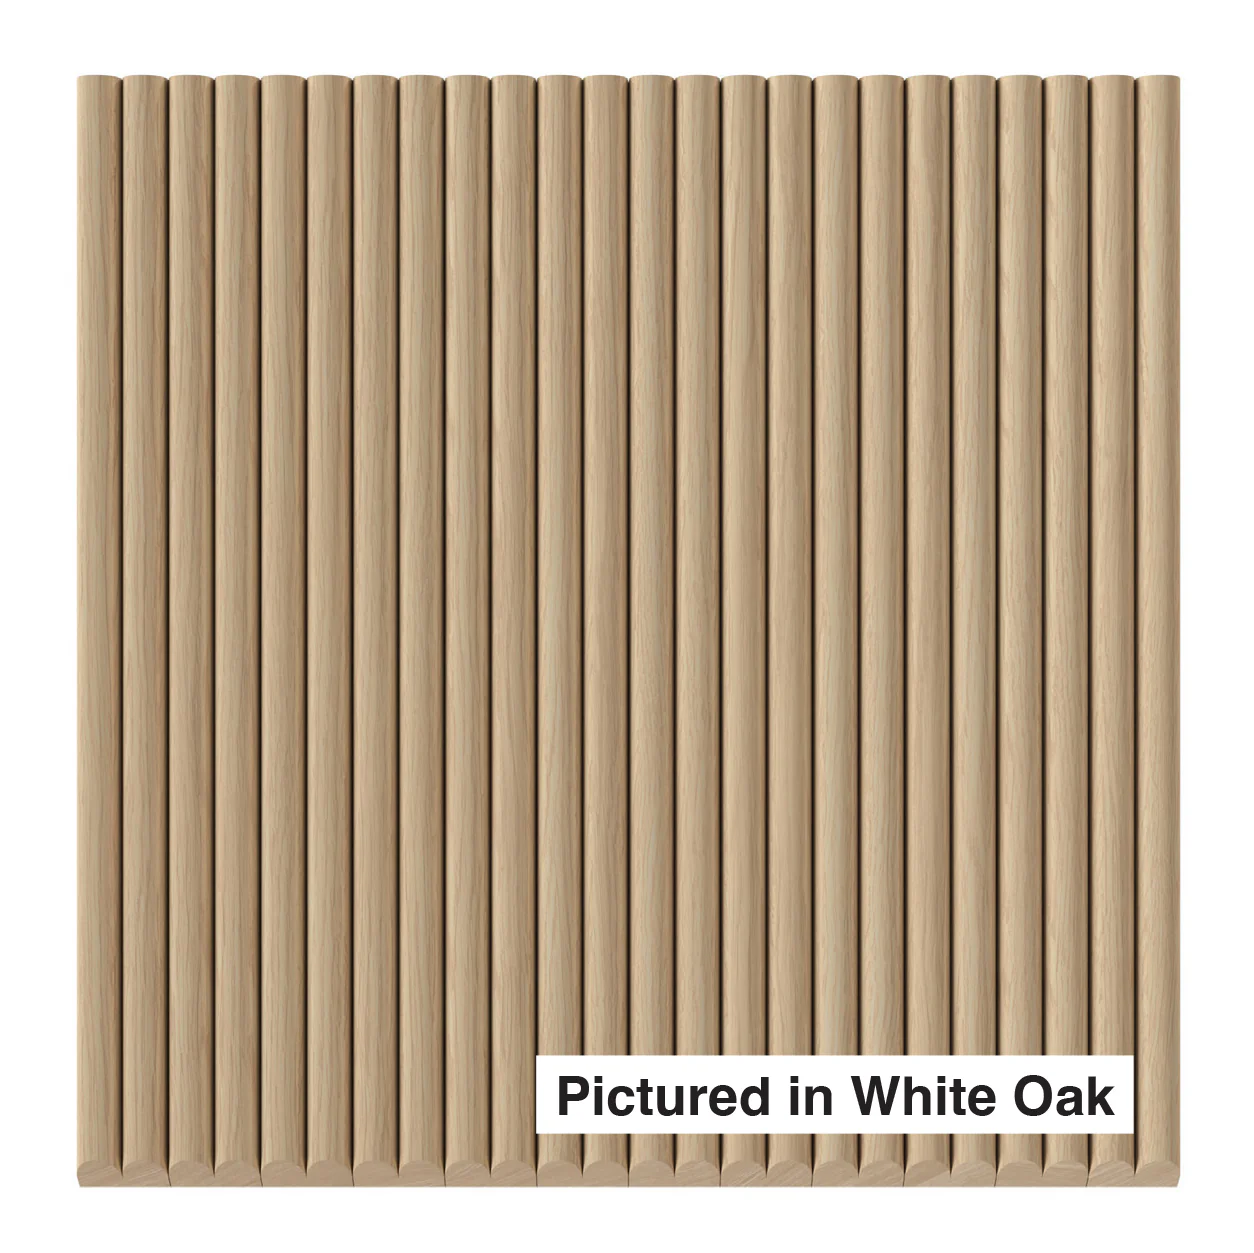
7 Species Available
Red Oak, Paint Grade, Hard Maple, Walnut, White Oak, Cherry, and Alder. The 1″ bevel is a natural pairing with White Oak for a contemporary look.
Specification Proven
The 1″ bevel slat is one of White River's most specified tambour profiles — trusted by designers and architects for its reliable performance and classic proportions.