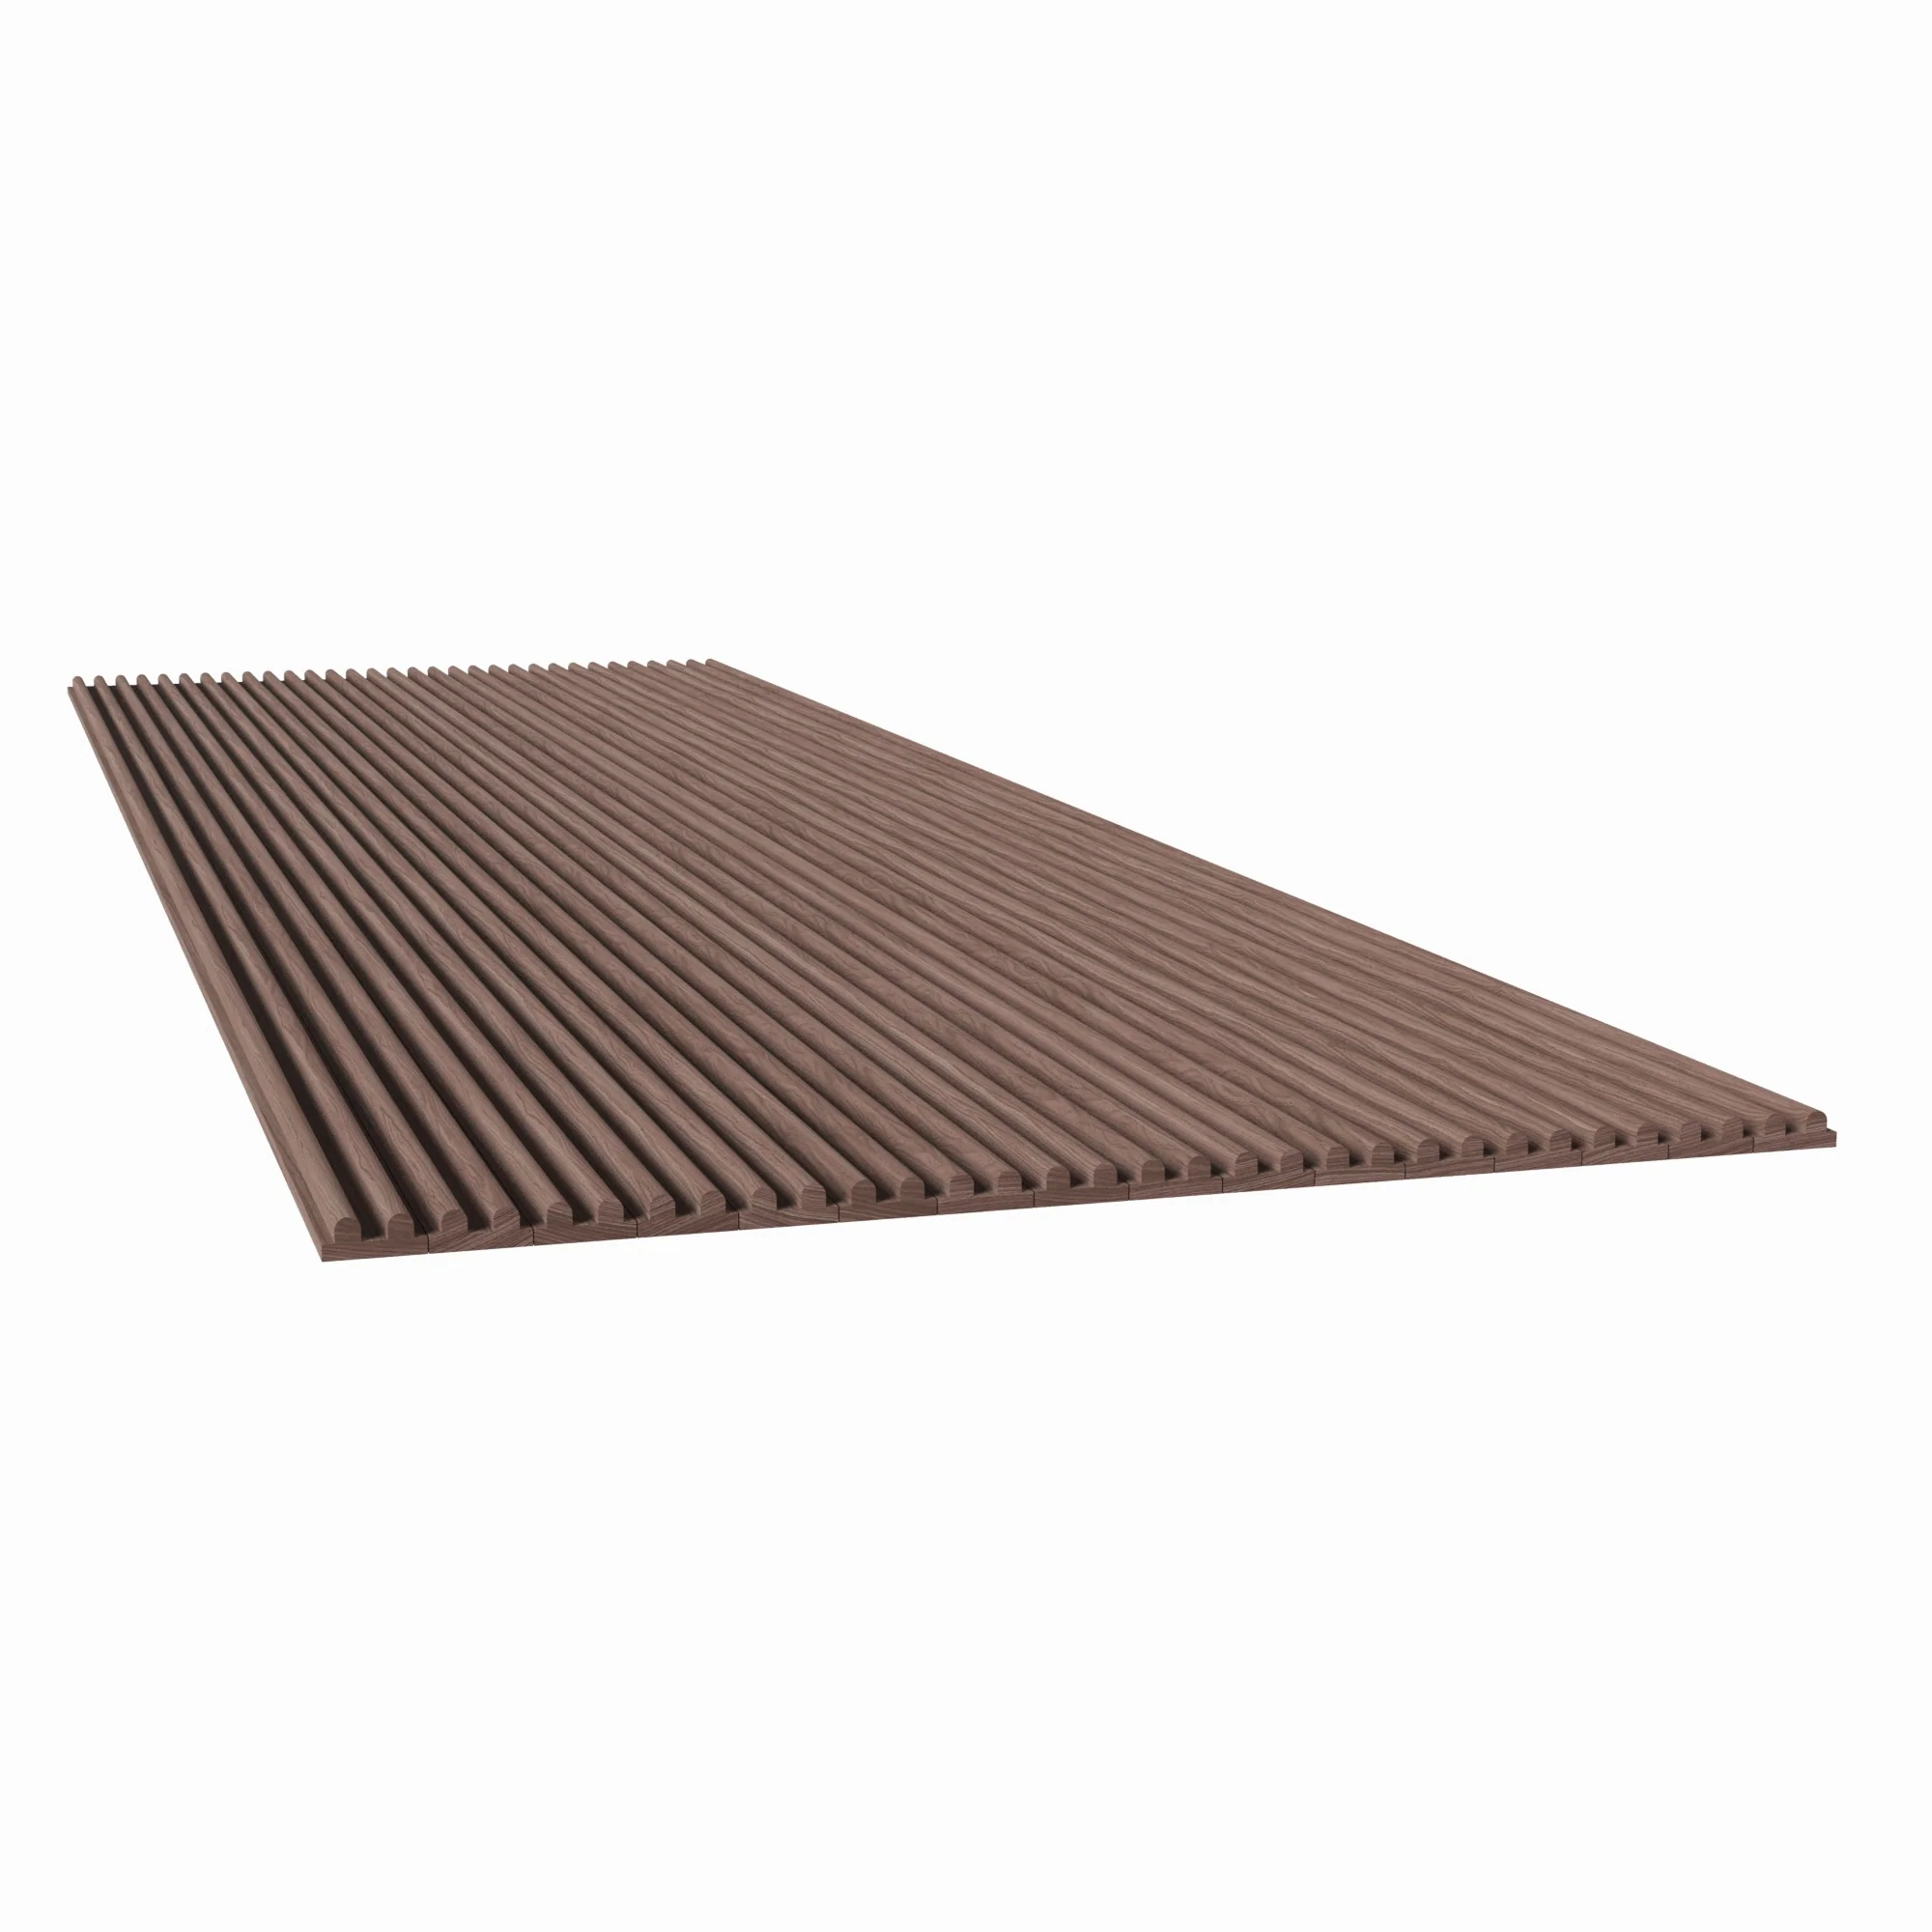
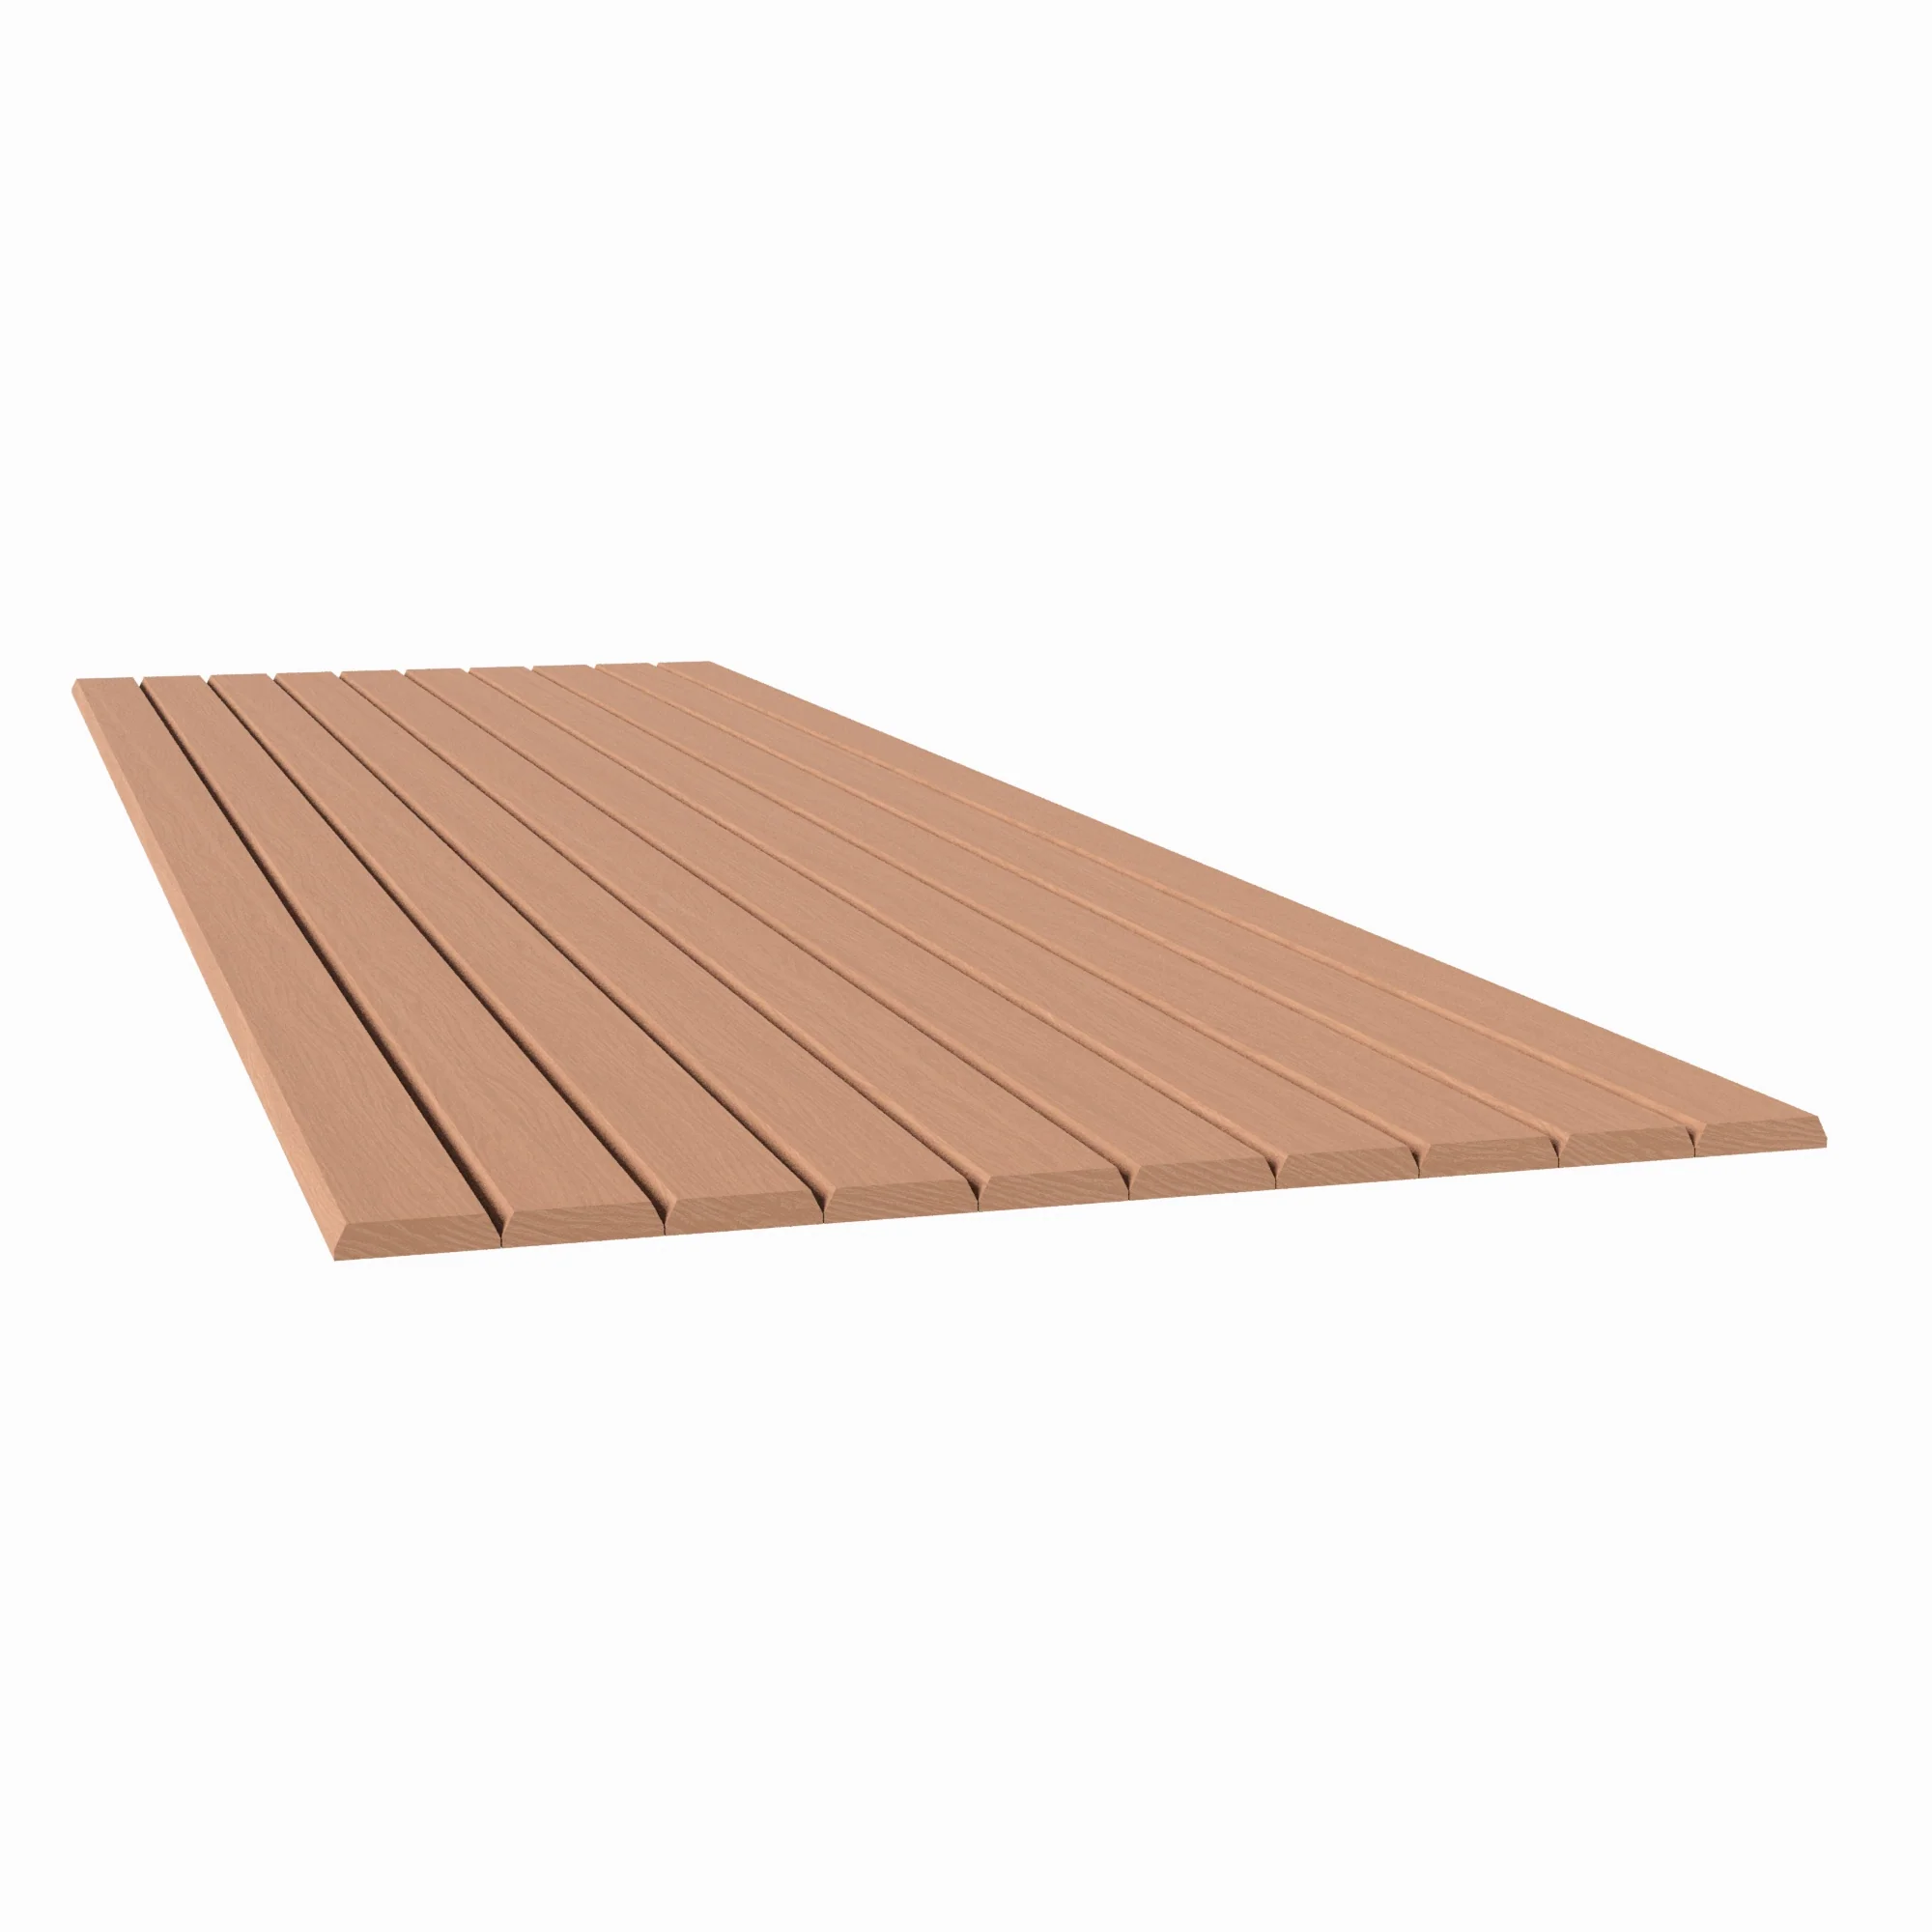
The classic profile, made more flexible — the 1″ bevel slat thin goes where standard thickness cannot.
Available Options
Size & Species
| Size | Backing | Available Species |
|---|---|---|
| 12″W × 48″L | Flexible | Red Oak, Paint Grade, Hard Maple, Walnut, White Oak |
| 12″W × 96″L | Flexible | Red Oak, Paint Grade, Hard Maple, Walnut, White Oak |
| 24″W × 48″L | Flexible | Red Oak, Paint Grade, Hard Maple, Walnut, White Oak |
| 24″W × 46″L | Solid Backing — Does Not Flex | Red Oak, Paint Grade, Hard Maple, Walnut, White Oak, Cherry, Alder |
* Cherry and Alder are exclusively available in the 24″W × 46″L Solid Backing format.
Why This Profile
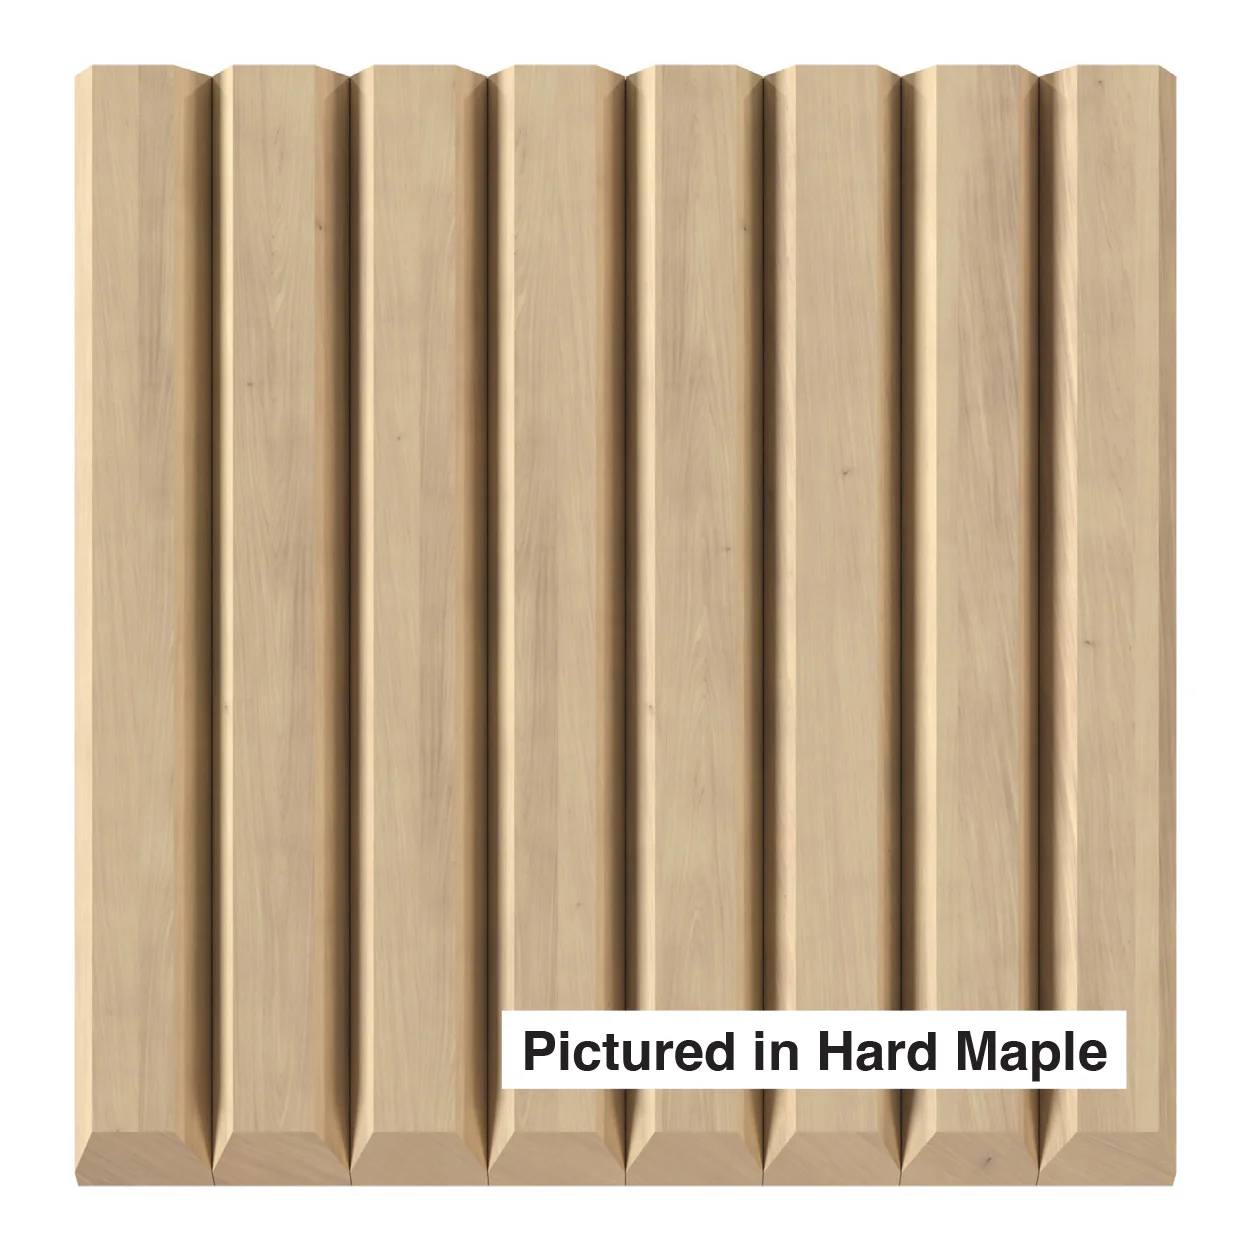
The Profile in Detail
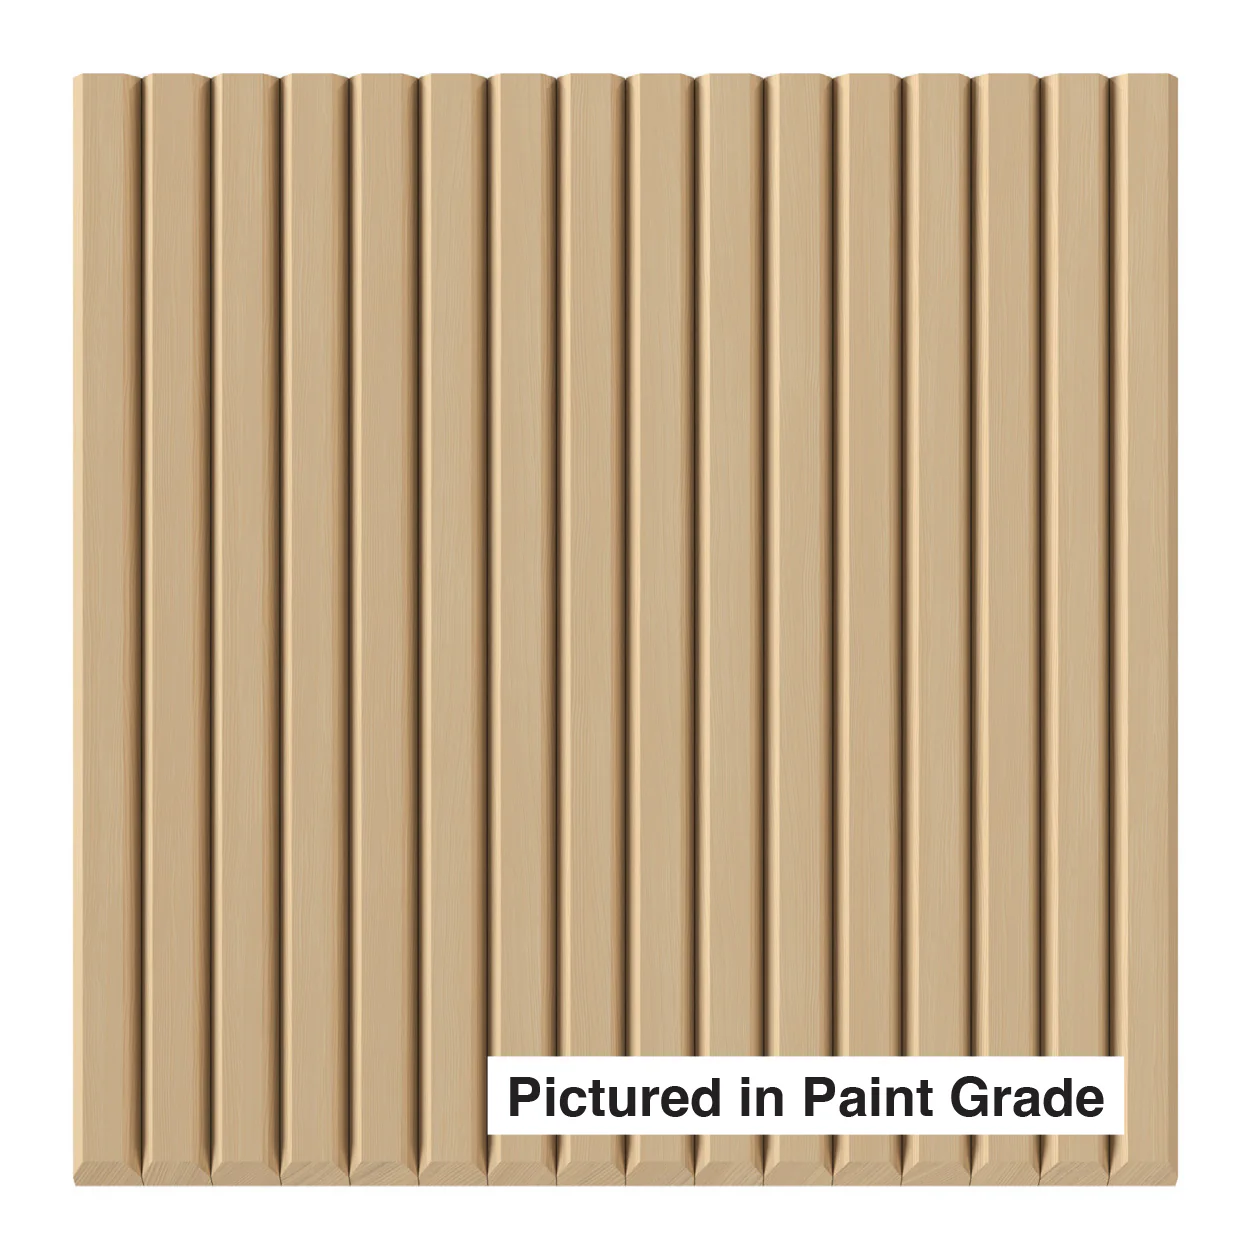
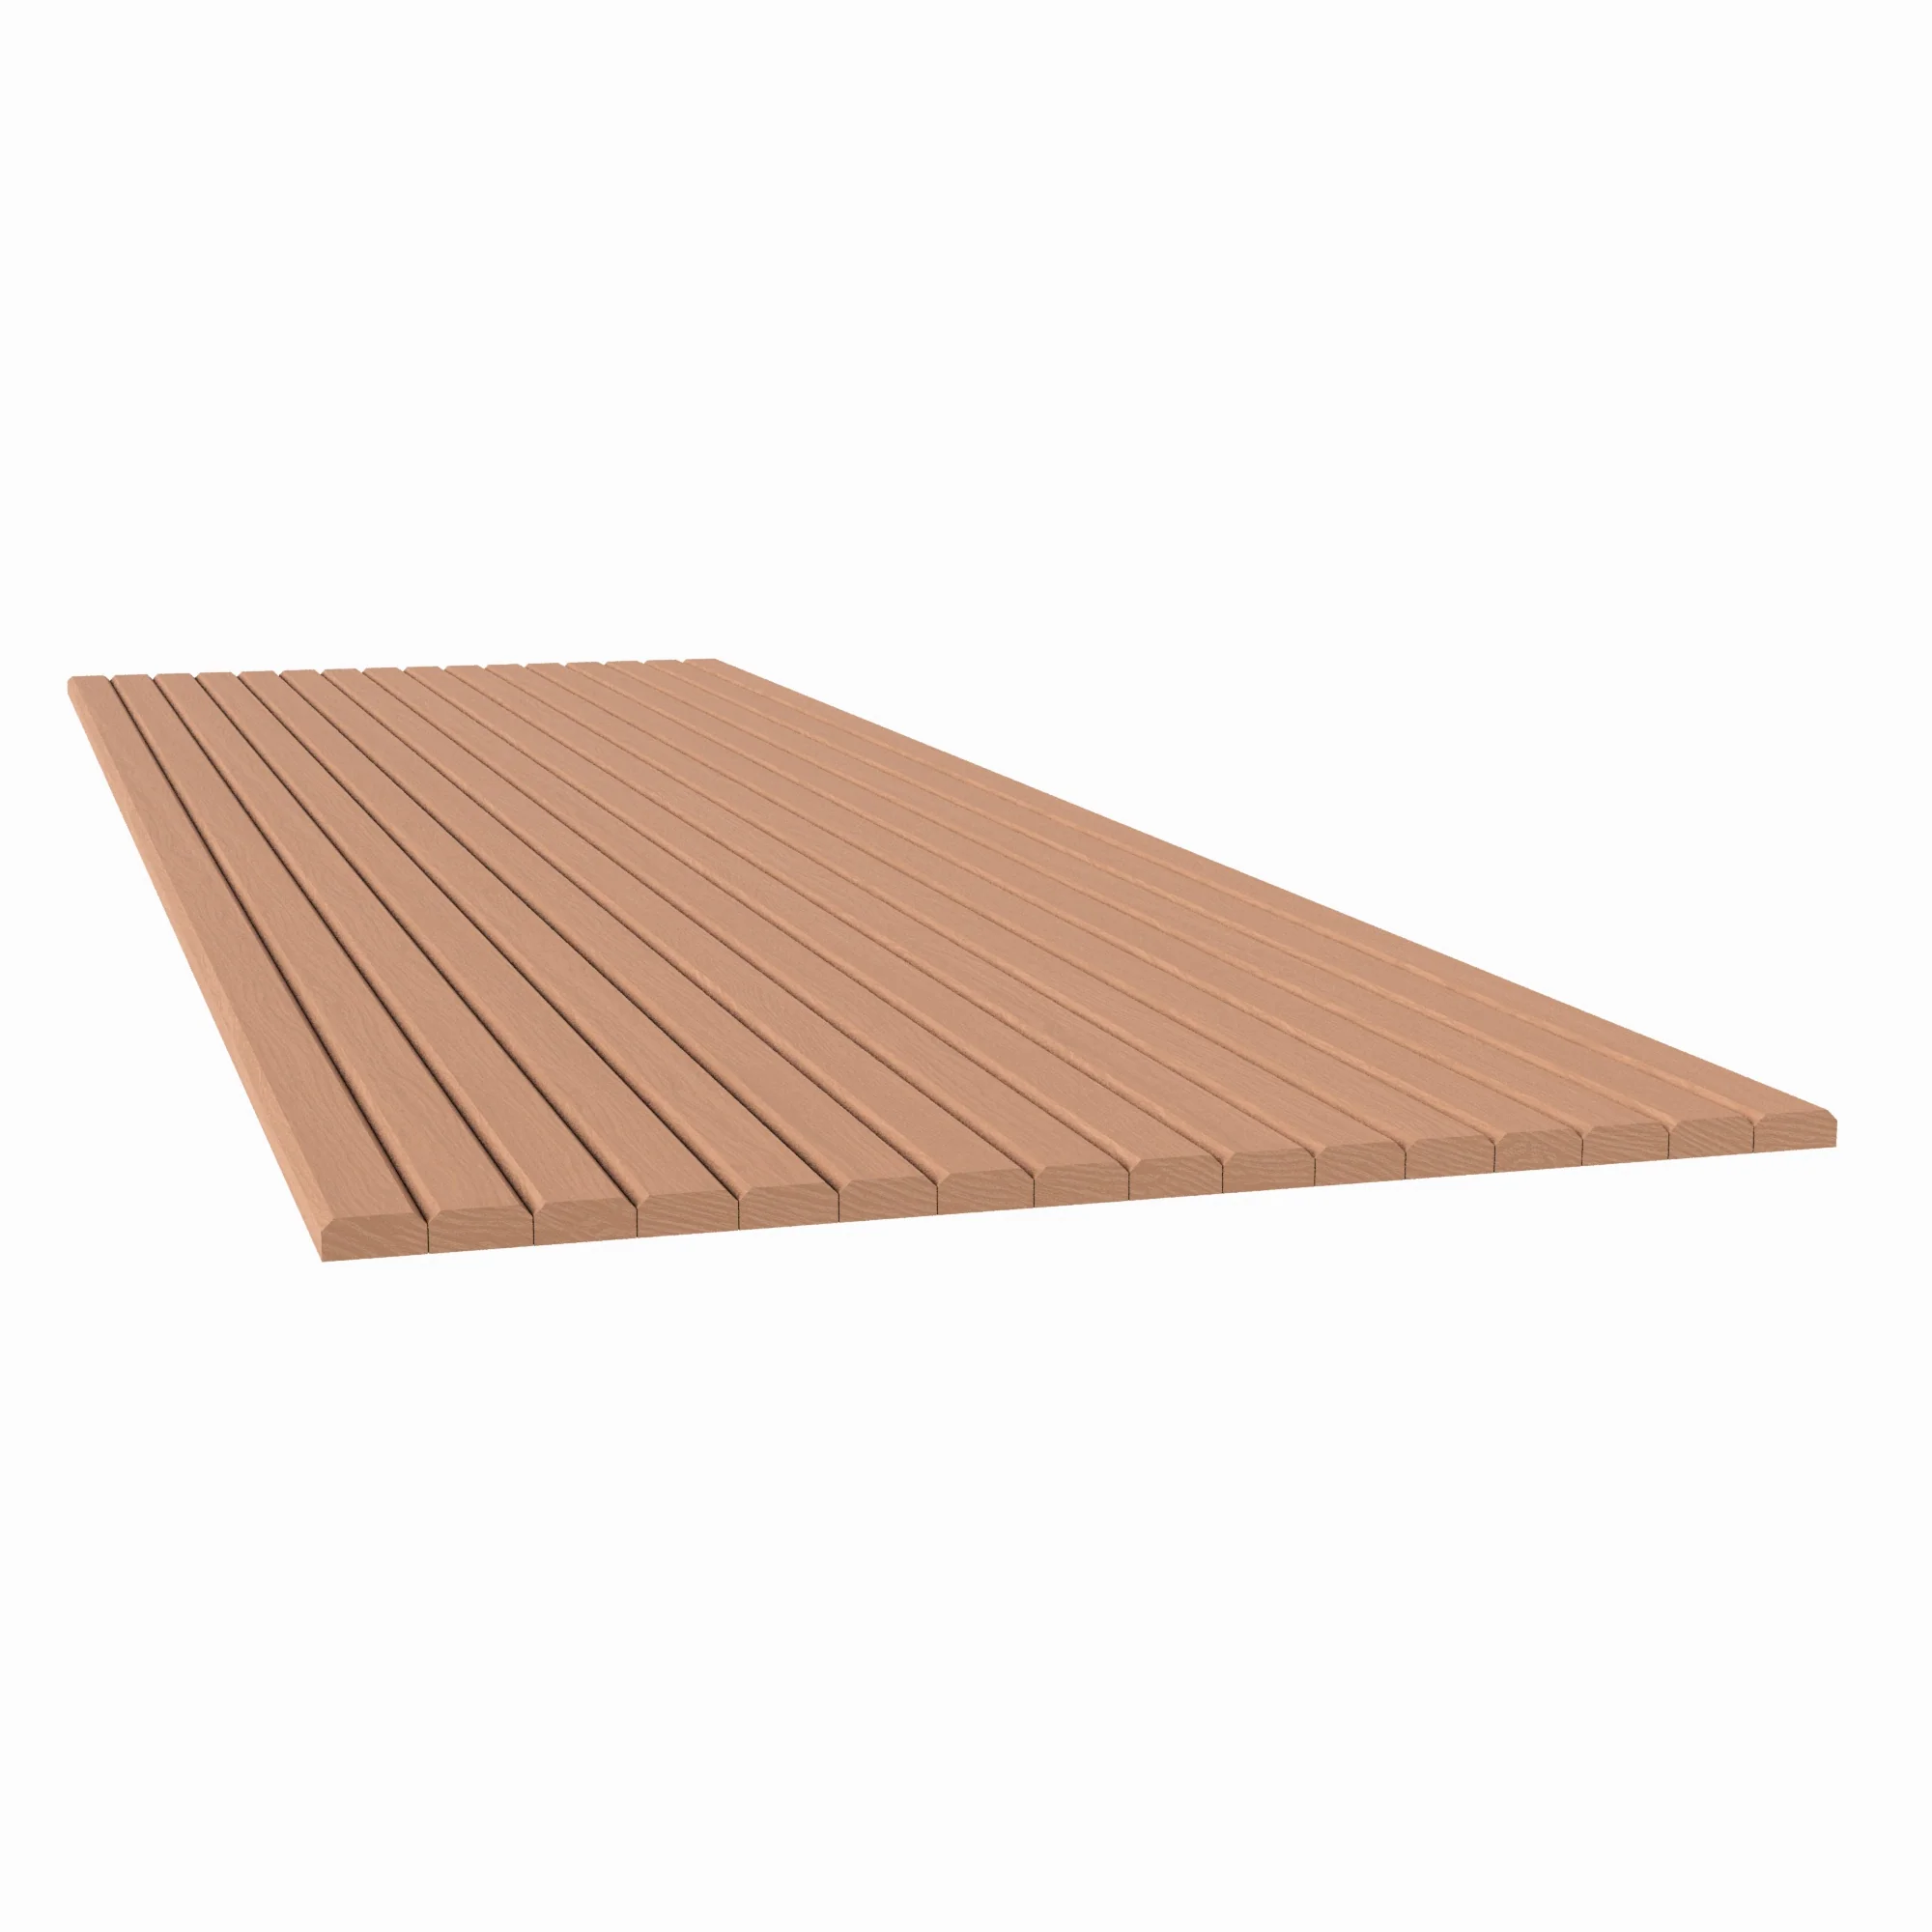
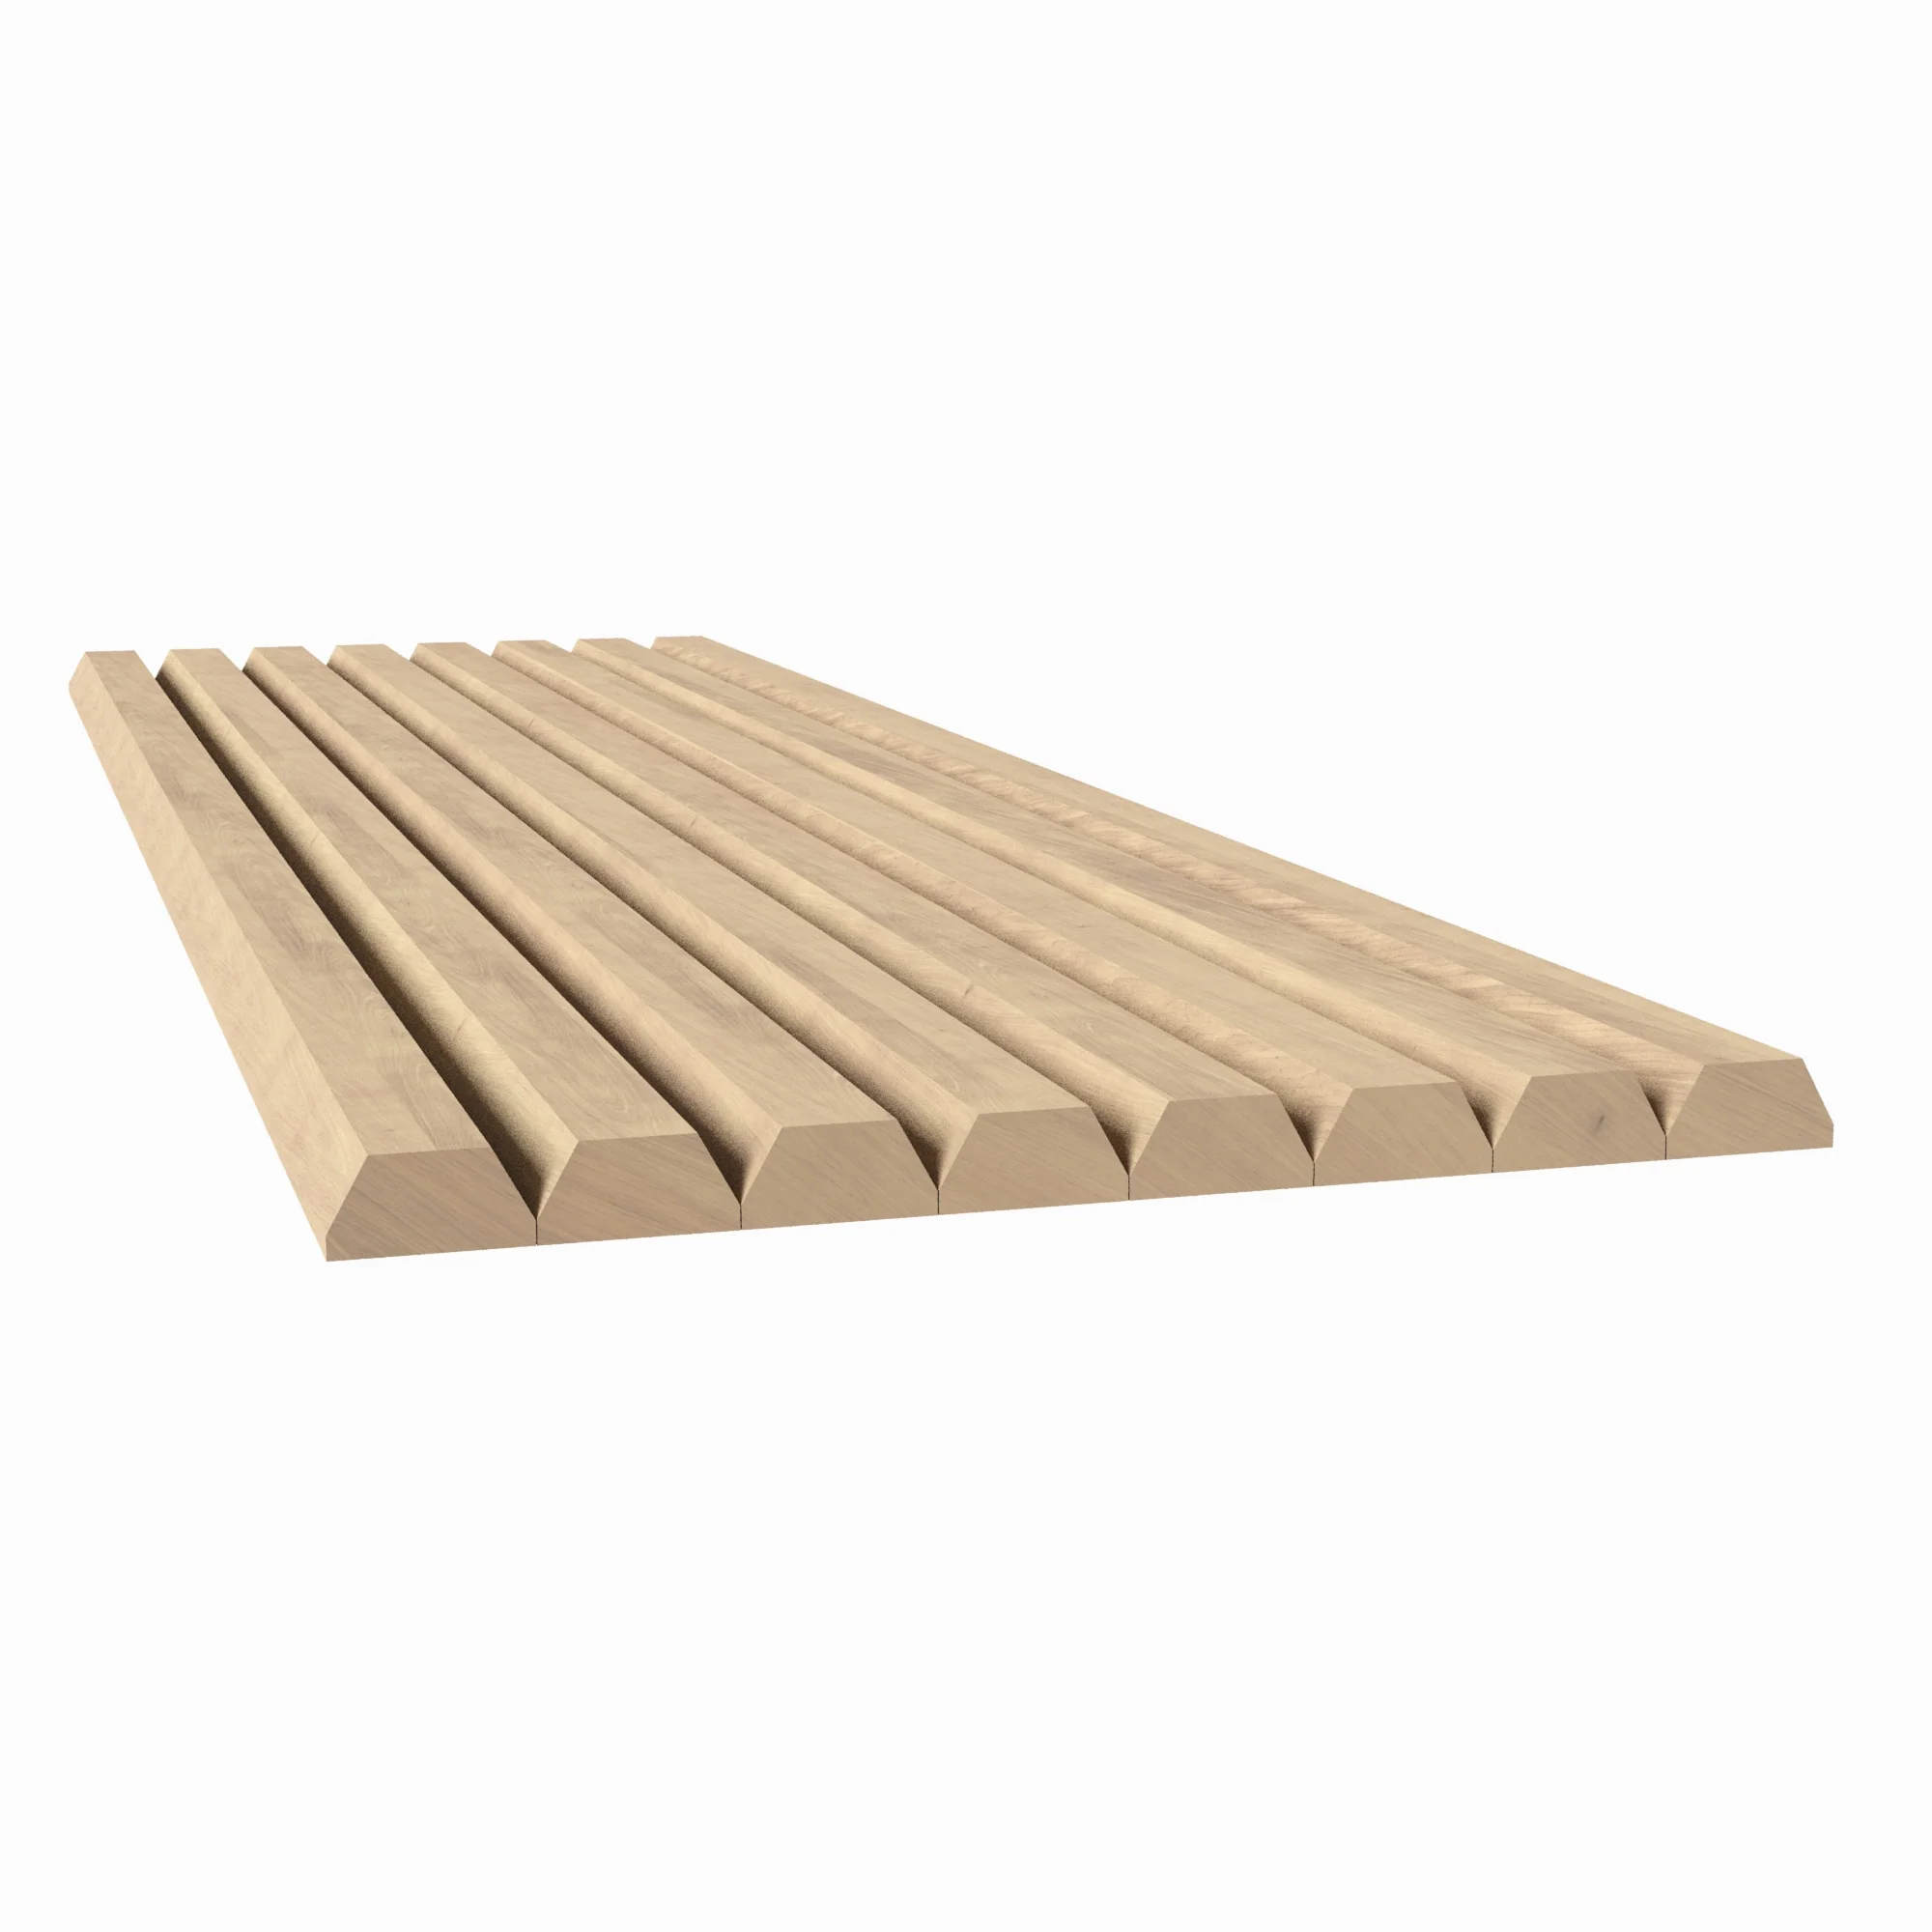
Classic Bevel, Thin Build
All the visual character of the standard 1″ bevel slat with reduced thickness for greater flexibility — the right choice when curves are part of the design.
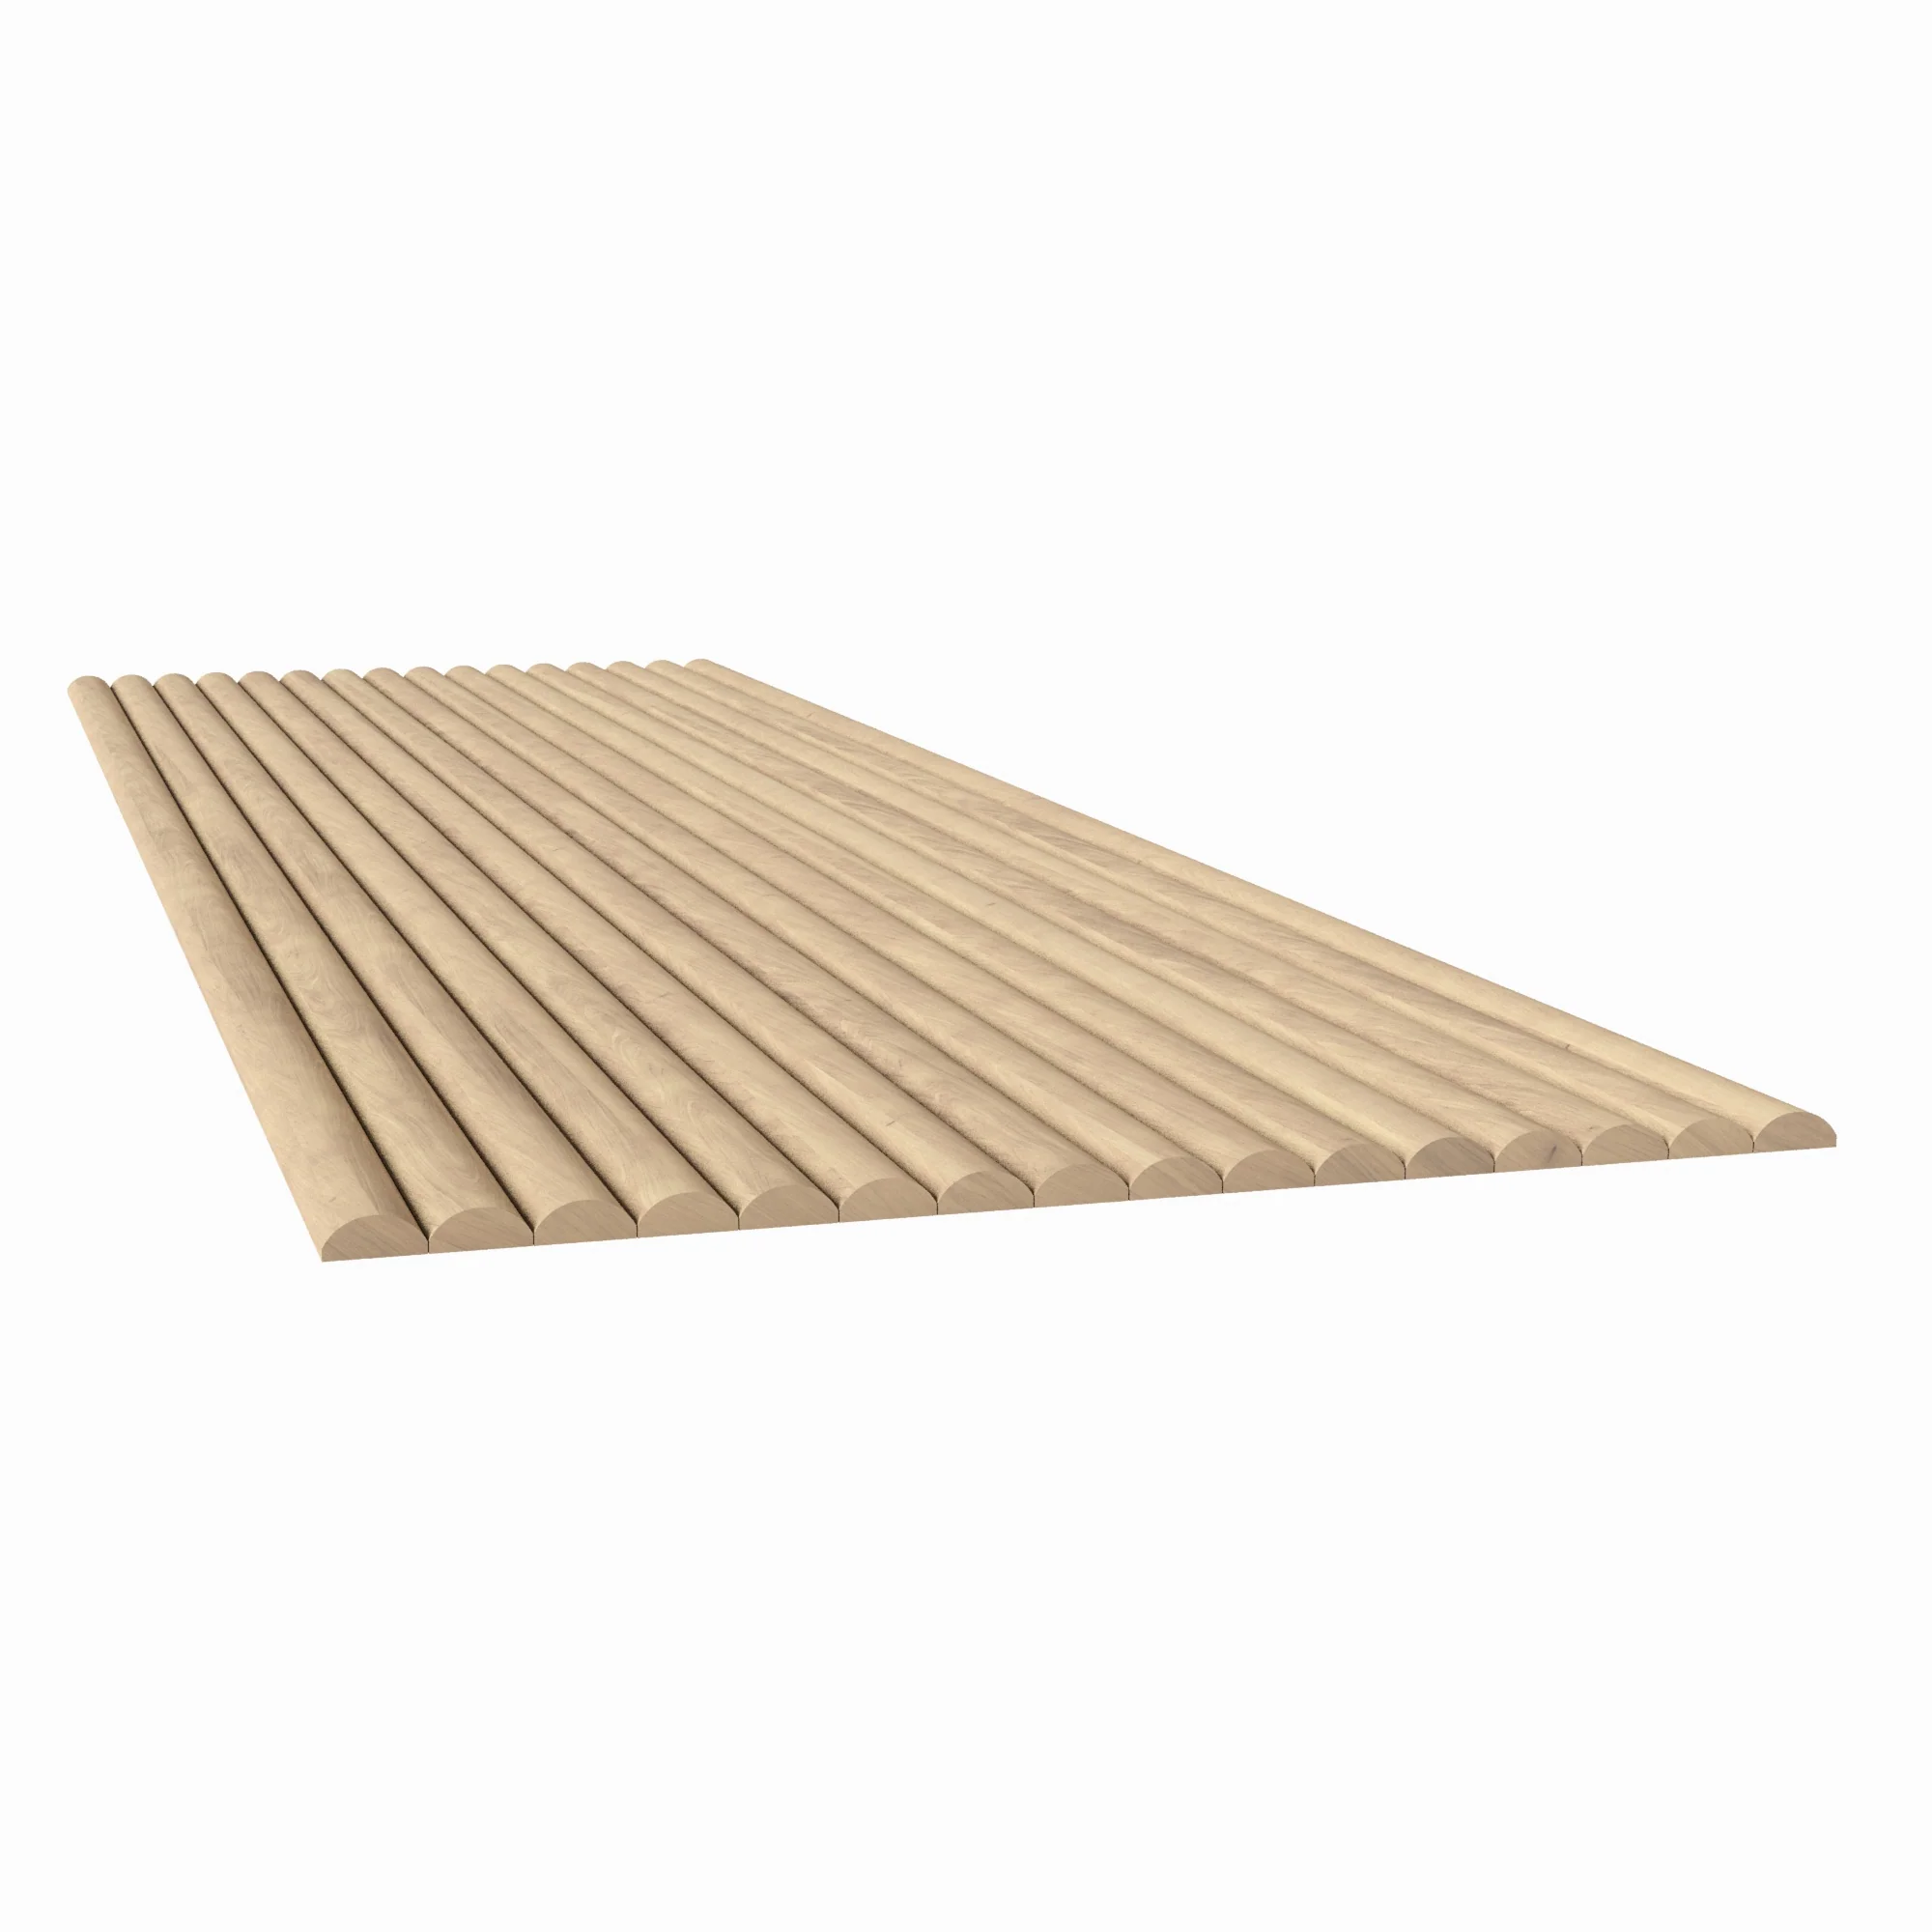
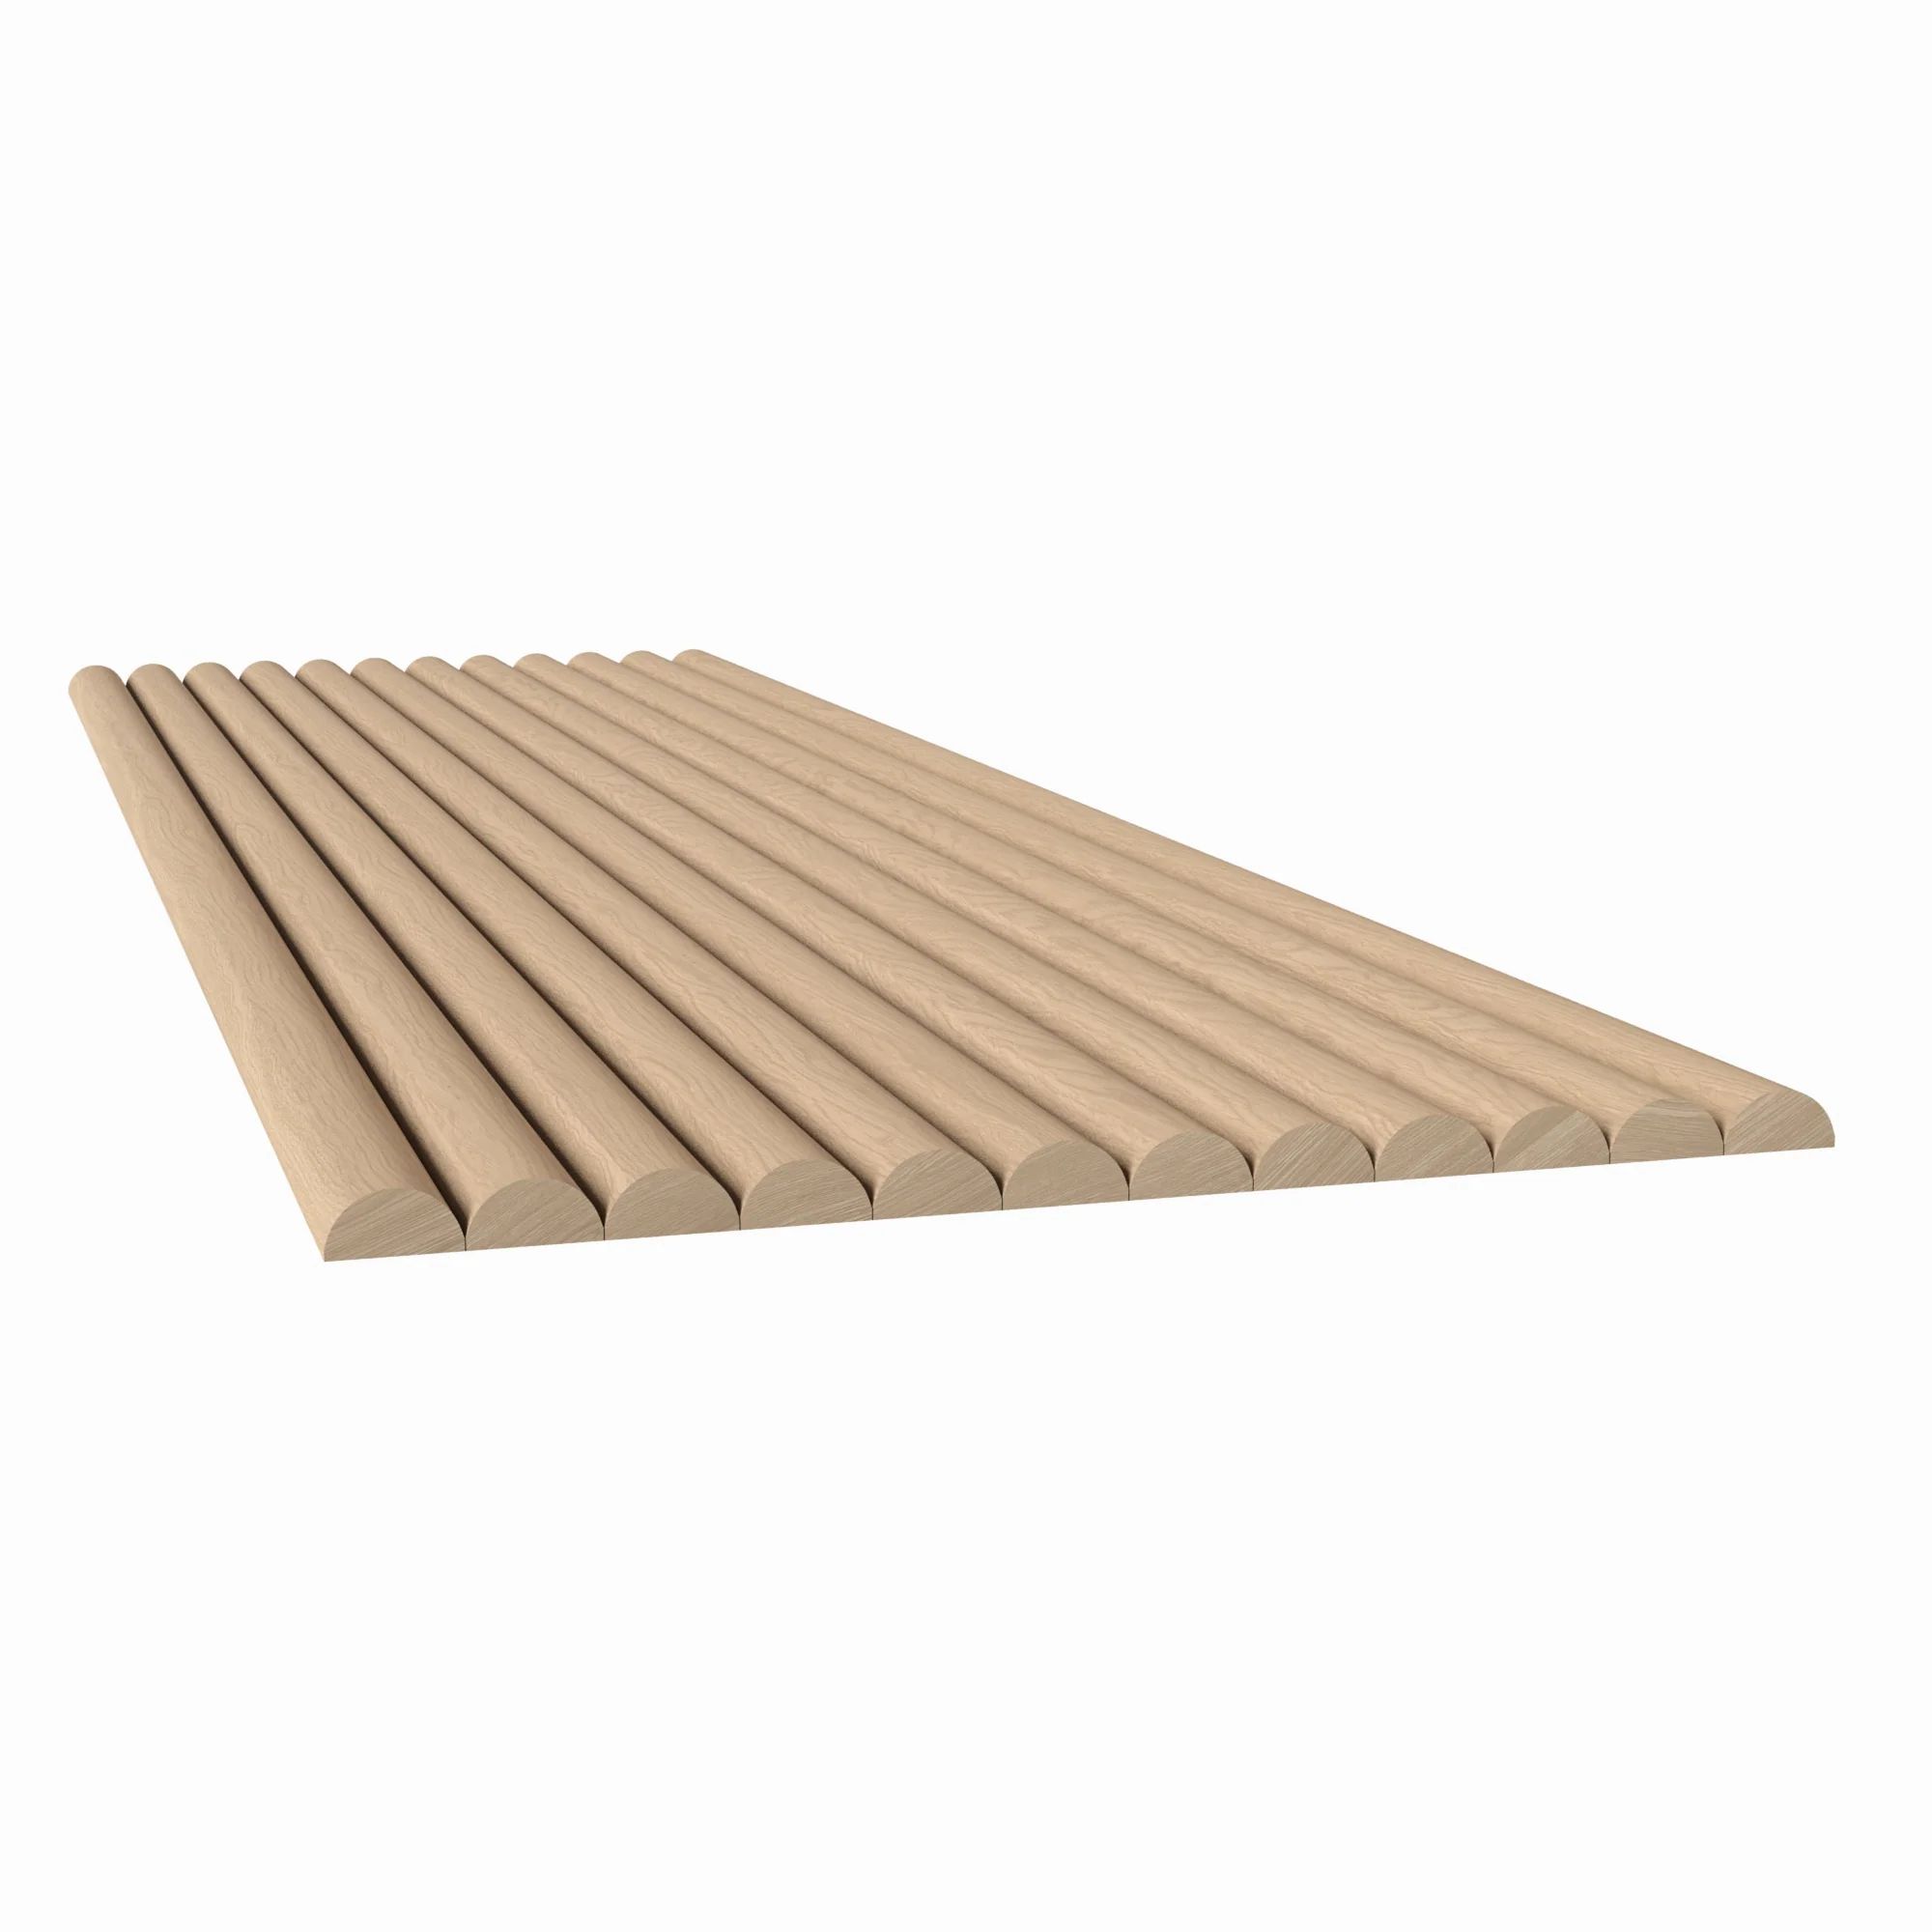
Enhanced Flexibility
The thin profile allows tighter bend radii than the standard bevel slat, expanding the range of curved architectural applications available.
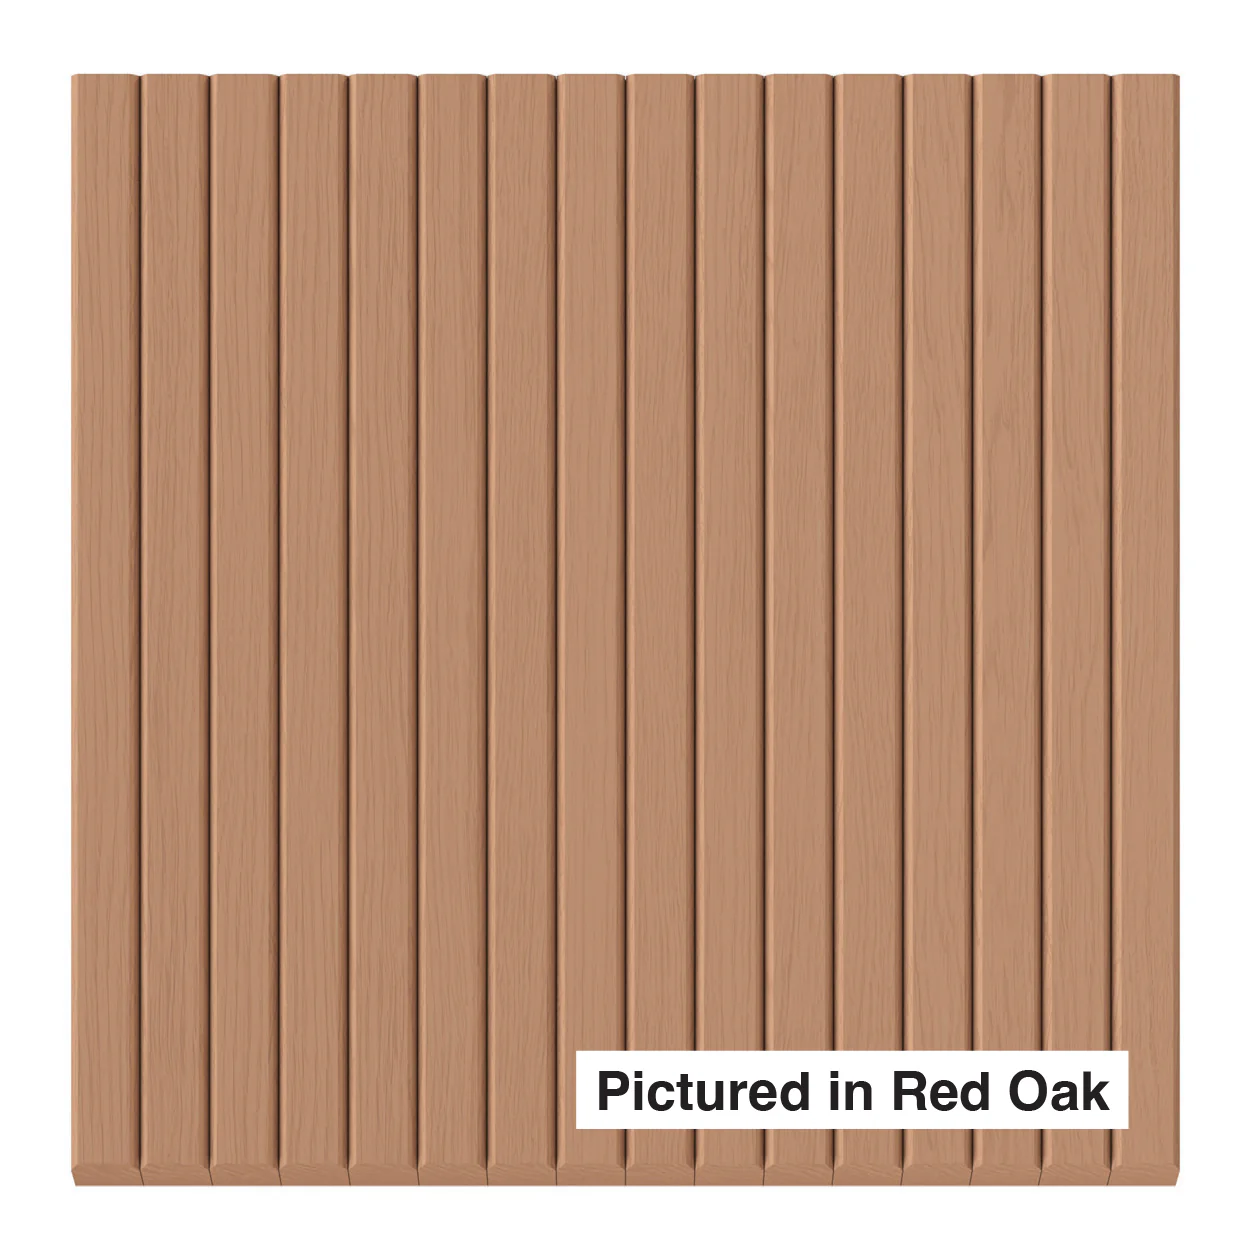
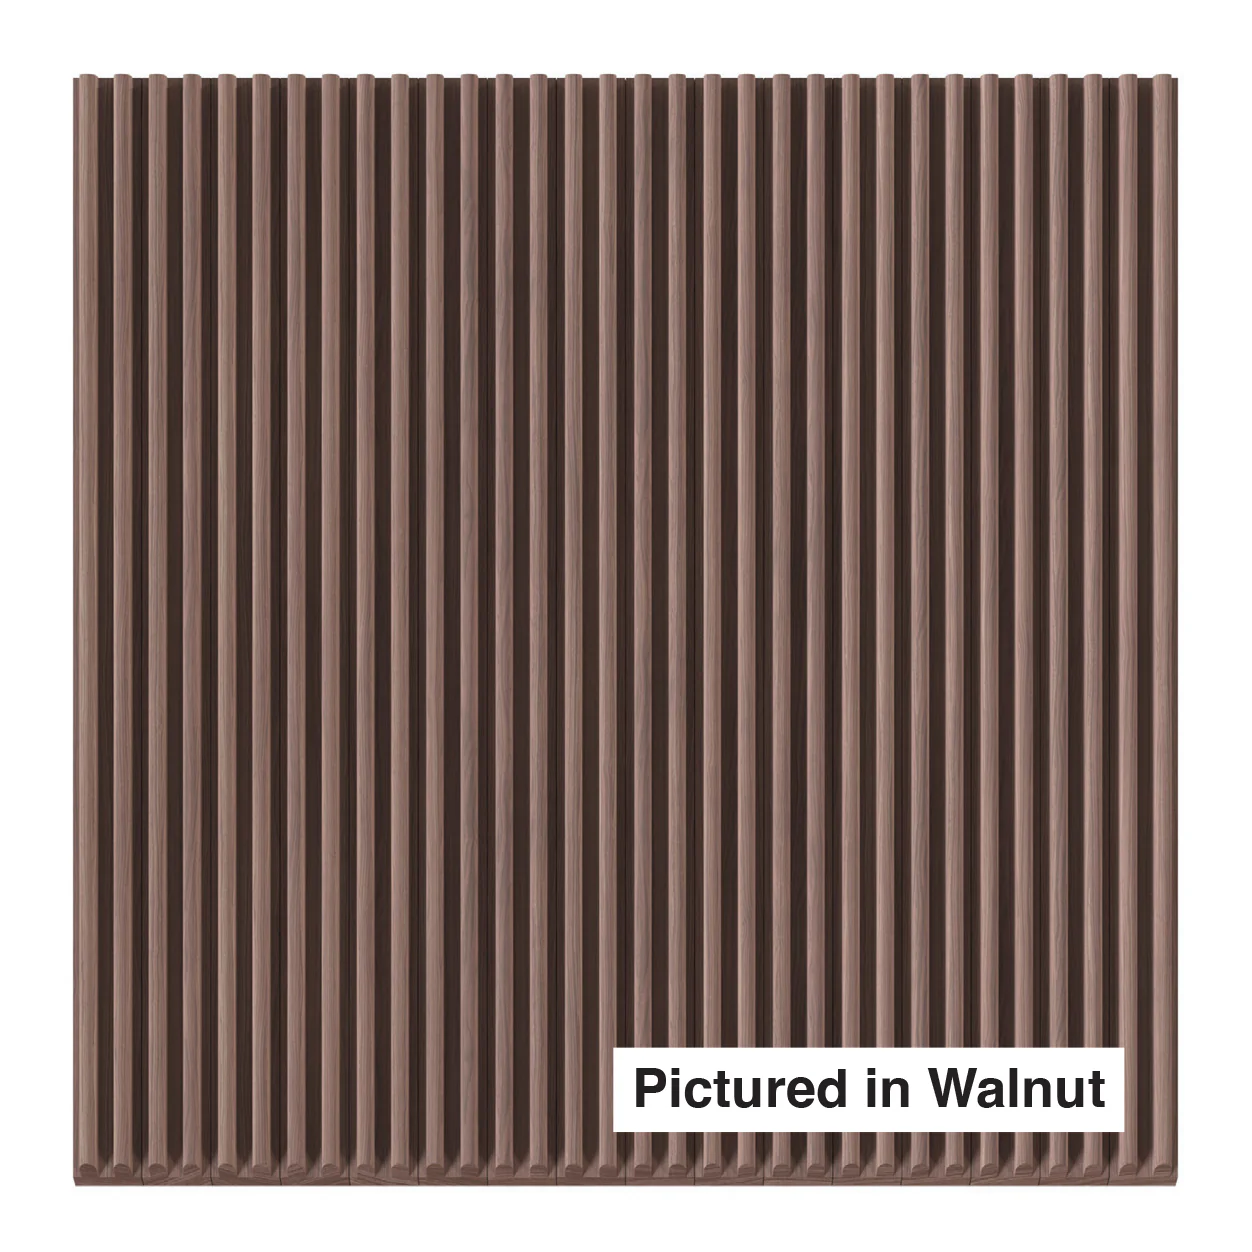
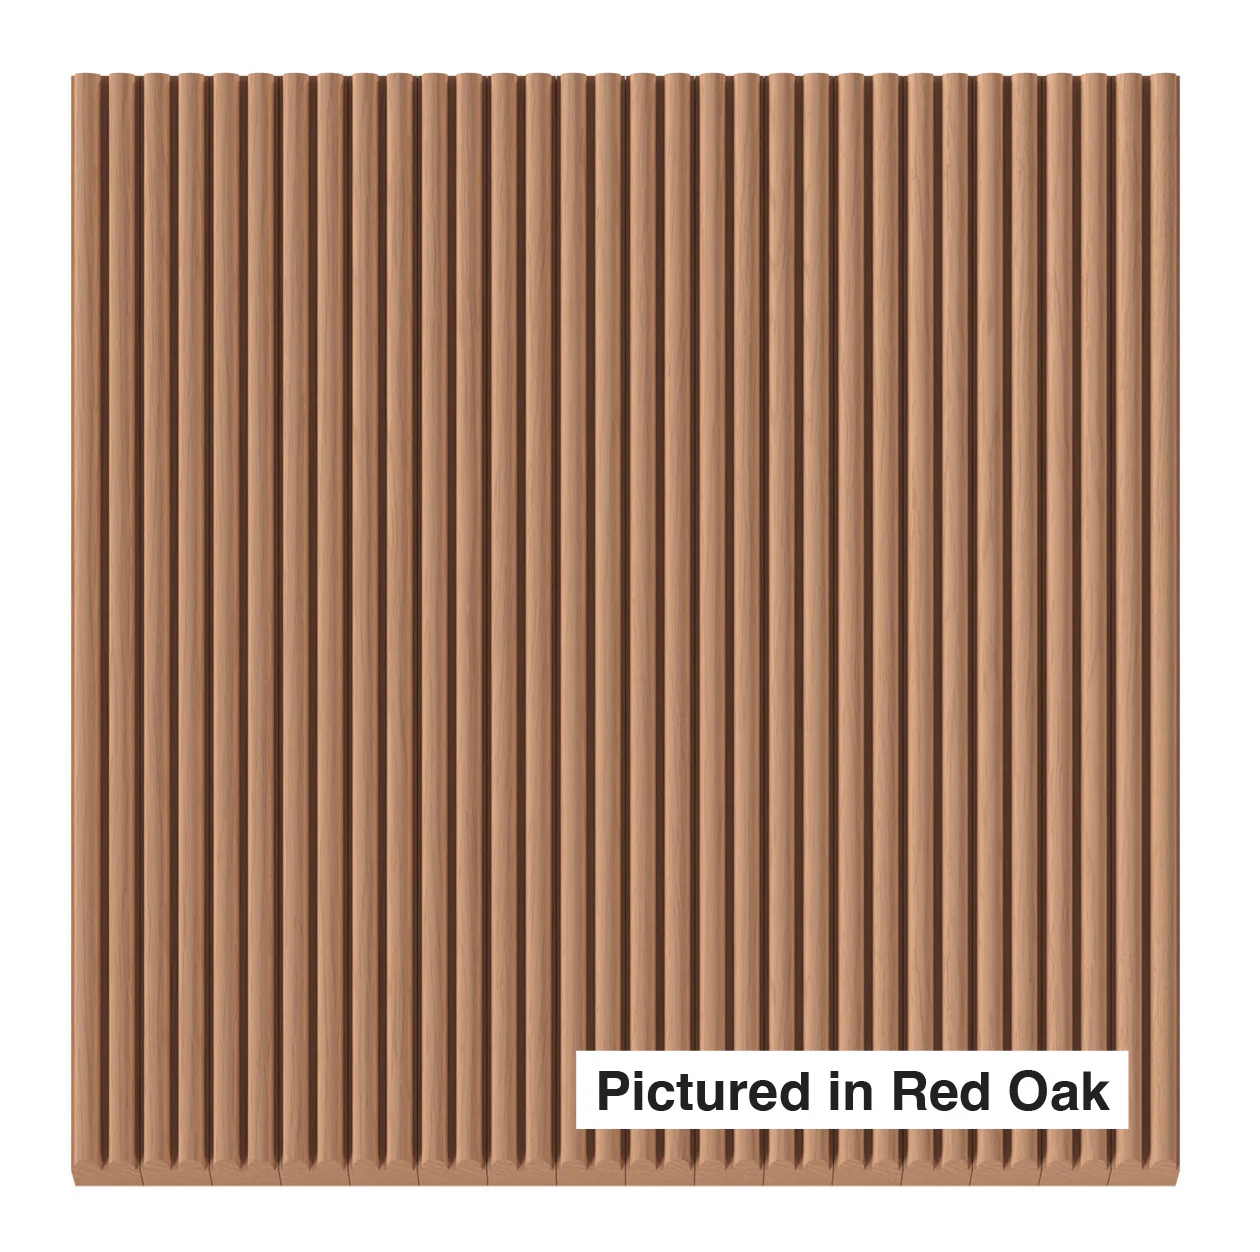
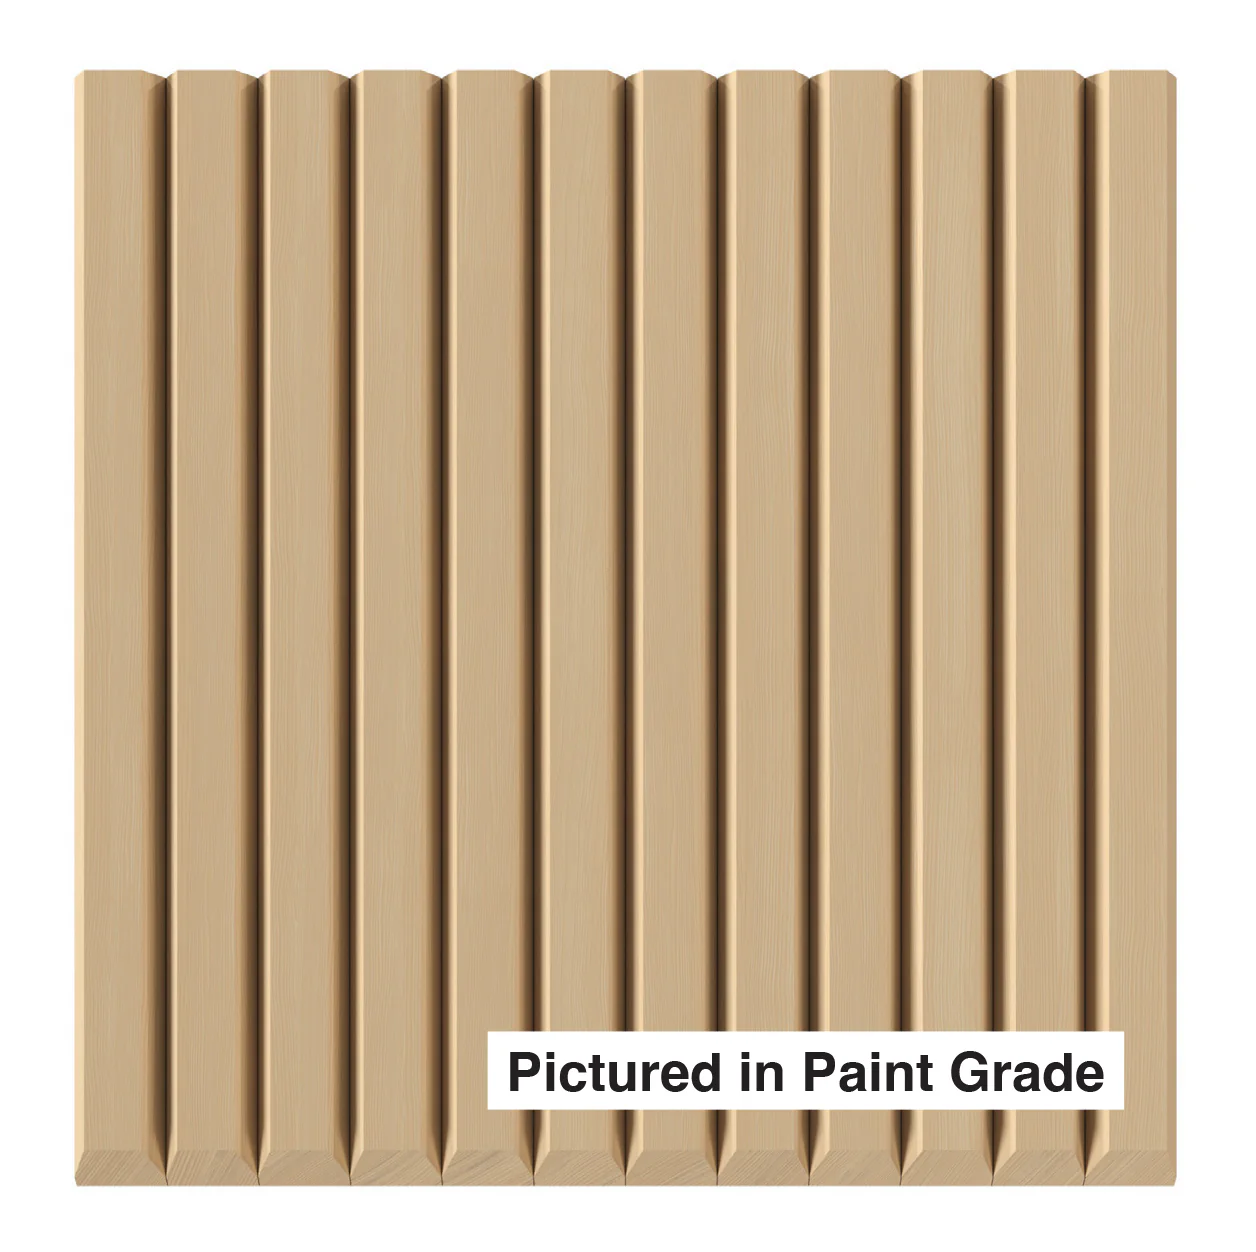
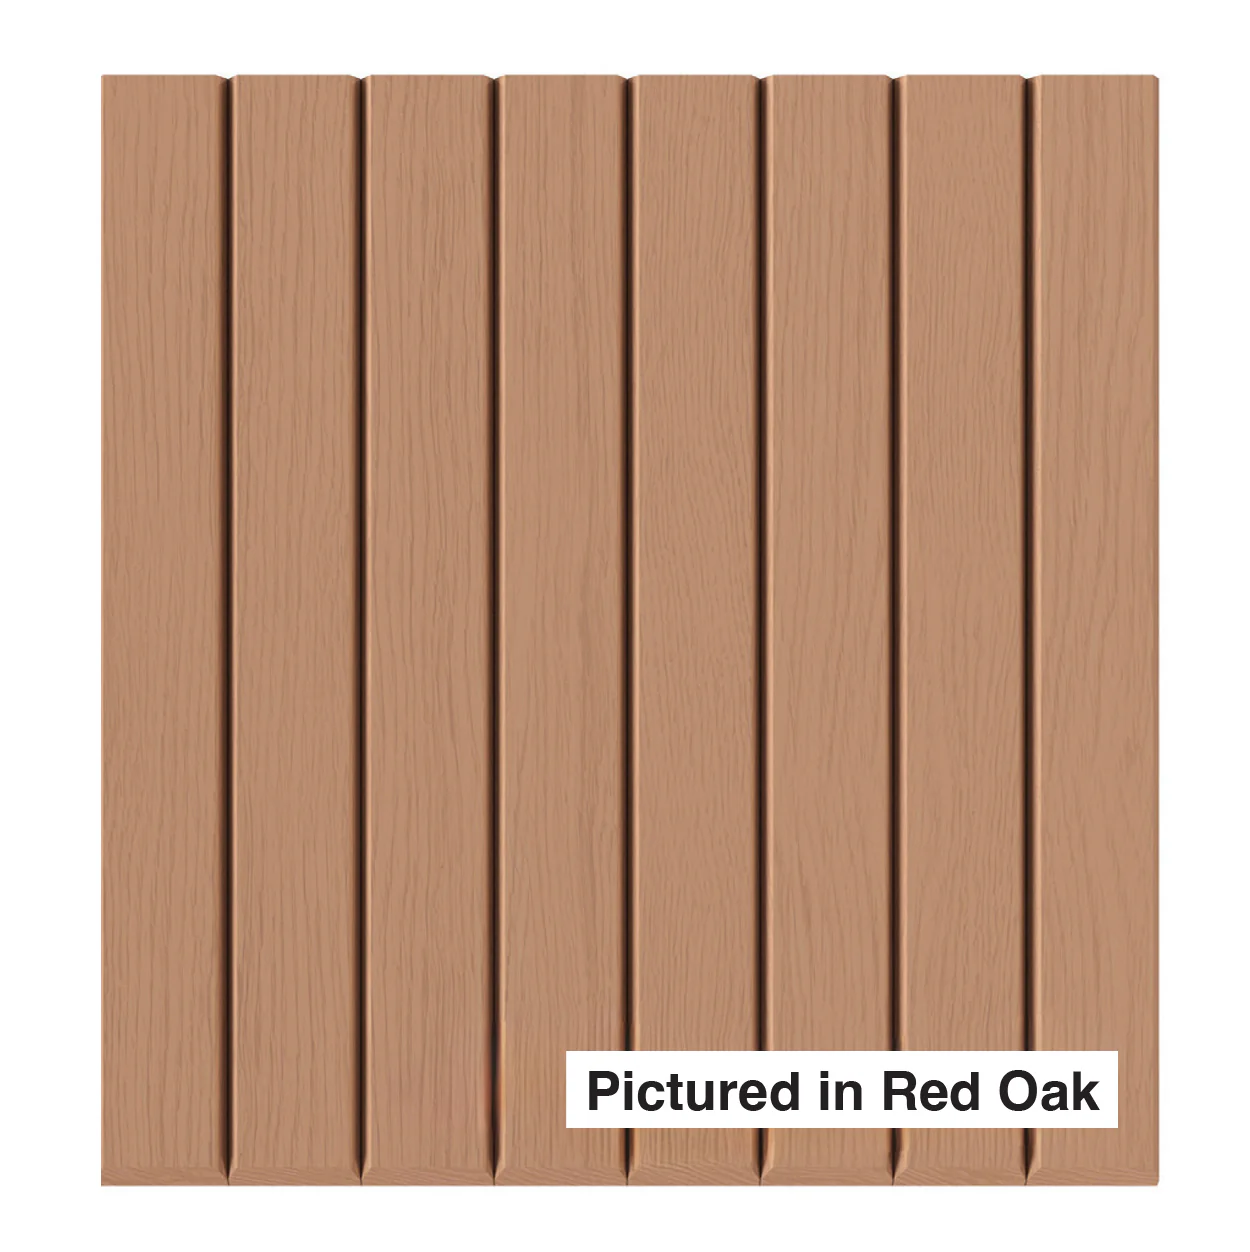
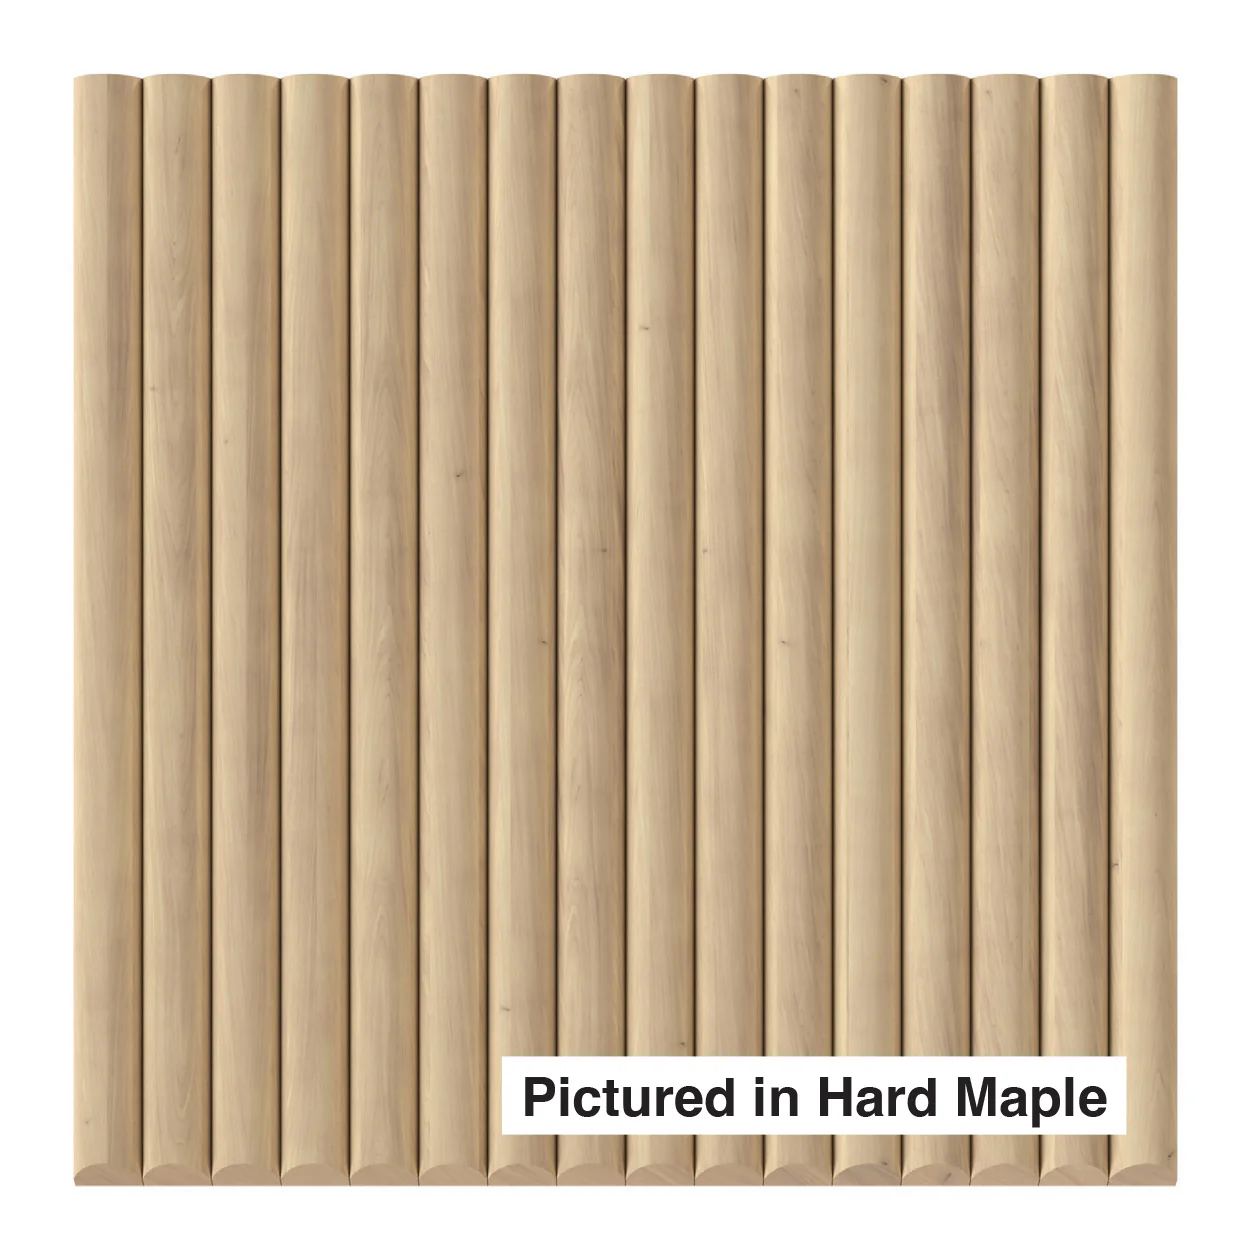
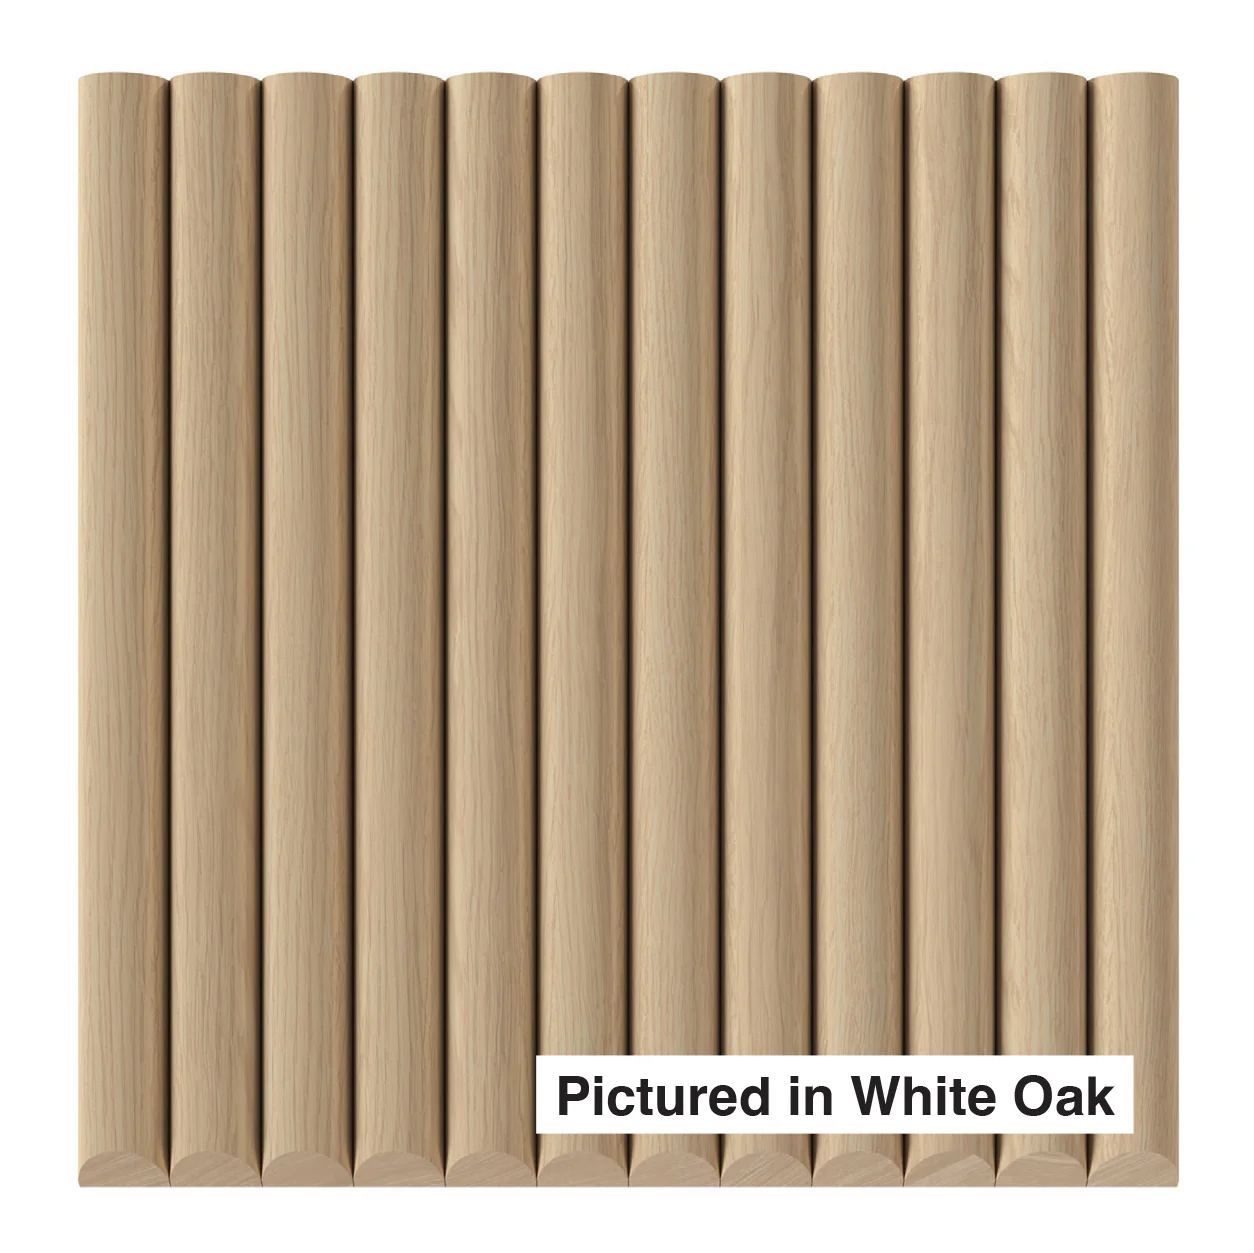
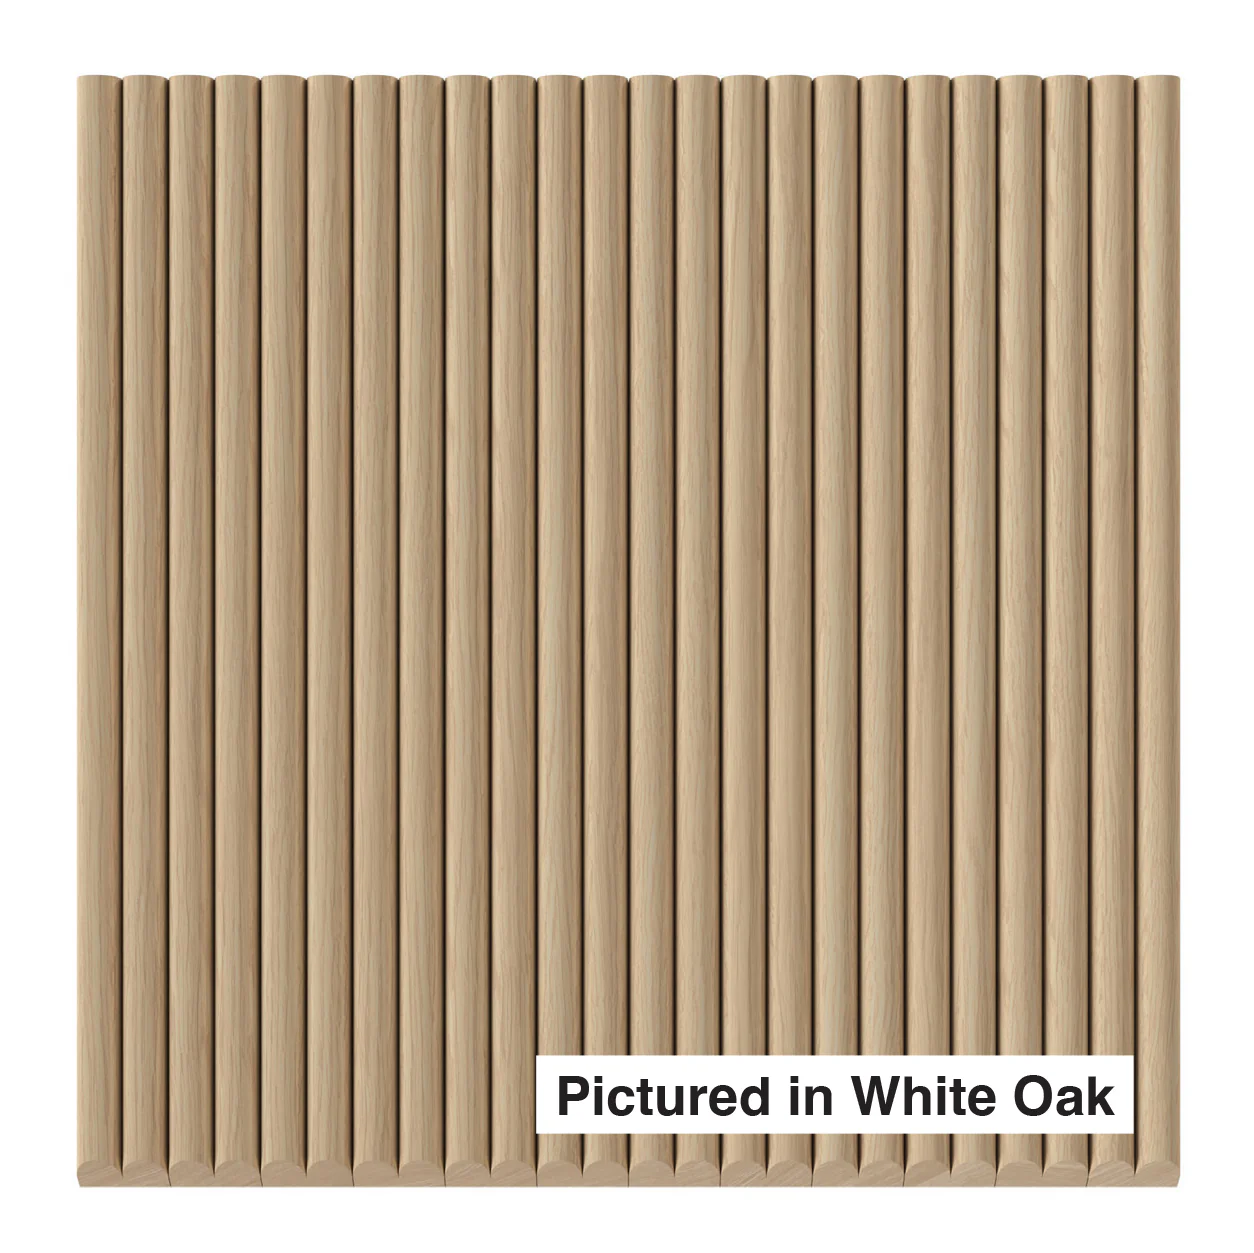
7 Species Available
Red Oak, Paint Grade, Hard Maple, Walnut, White Oak, Cherry, and Alder. The 1″ bevel thin in White Oak is a particularly popular contemporary specification.
Specifier's Choice
When the 1″ bevel slat standard profile needs to navigate a curve, this is the specification. Consistent geometry, reliable performance, flexible format.