White River Hardwoods · Tracery Panels · Made in the USA
Tracery Ceiling Tip
SKU CLGPAN221-TIP-Resin · Set of 8 · Cast Resin
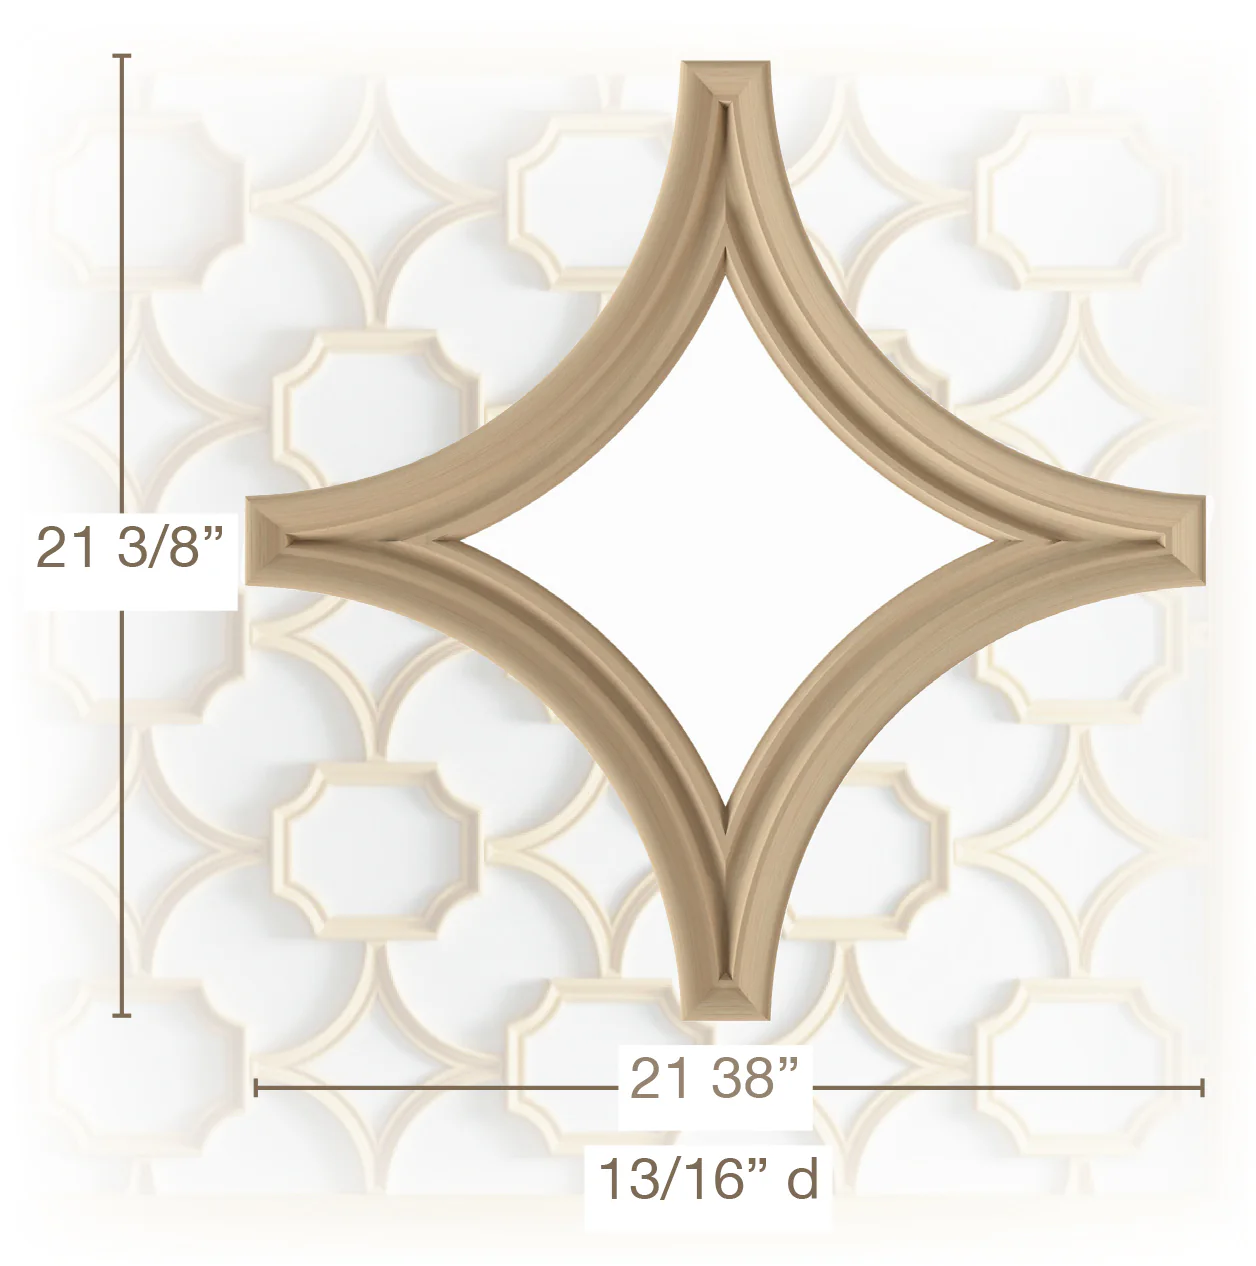
3 3/4″W × 3 1/2″H × 13/16″D · Trim to Fit · Unfinished
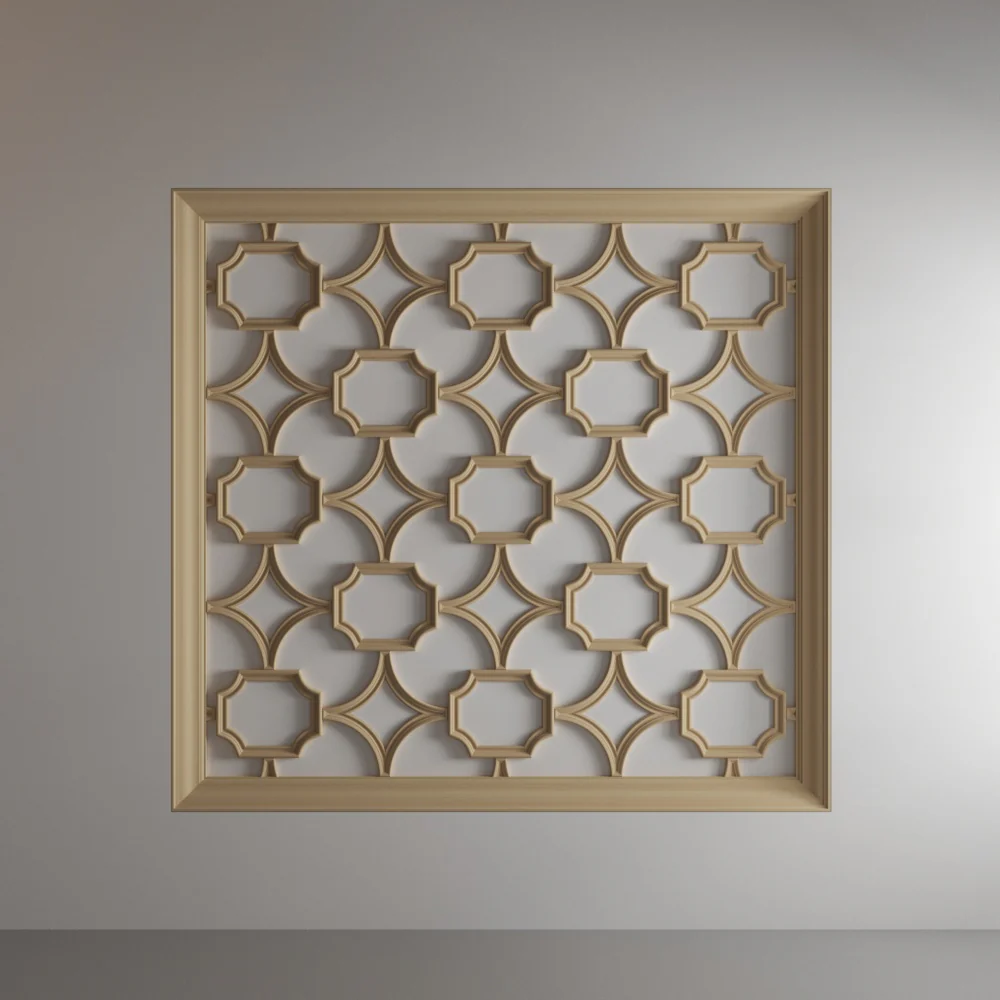
The finishing detail of a complete tracery ceiling. Precision-cast resin tips that fill the intersections between Diamond and Coved Corner panels — the final piece that makes the pattern seamless.
It is the smallest piece in the system — and the one that makes everything else look intentional.
Product Details
Dimensions & Specifications
| SKU |
Width |
Height |
Depth |
Material |
Sold As |
Pairs With |
| CLGPAN221-TIP |
3 3/4″ |
3 1/2″ |
13/16″ |
Cast Resin |
Set of 8 |
CLGPAN221, CLGPAN218 |
* Can be trimmed to fit on site. Unfinished — ready to paint, gild, or finish. Standard layout: 6 × CLGPAN221-TIP + 8 × CLGPAN221 + 7 × CLGPAN218.
Why Tracery Panels
The Detail That Completes the Pattern
✦
Intersection Detail
The Ceiling Tip fills the geometric intersections where Diamond and Coved Corner panels meet. Without the tip, the pattern reads as unfinished. With it, the system looks like a single continuous design executed across the full ceiling.
▣
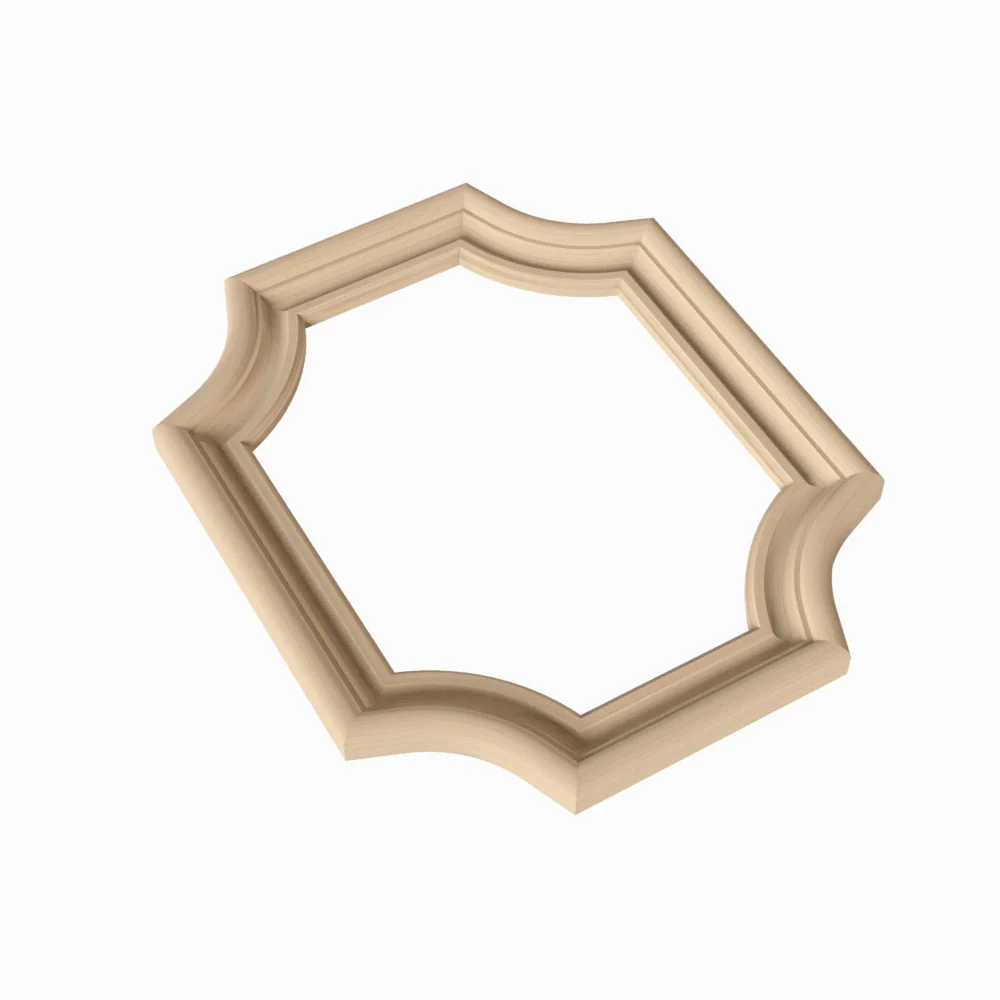
Cast Resin Construction
Precision-cast from durable resin to match the depth and surface quality of the CLGPAN221 and CLGPAN218 panels. The consistent casting ensures the tip sits flush and aligns cleanly with the adjacent panel profiles.
✂
Trim to Fit on Site
Designed to be trimmed to fit at the job site. Resin cuts cleanly with a fine-tooth blade — trim to the exact fit required by your layout without special tools or techniques.
⊞
Sold as a Set of 8
Sold in sets of 8 — enough for a standard tracery ceiling bay. The standard layout requires 6 tips per bay. The extra 2 in each set provide material for trimming and any off-cuts at the ceiling perimeter.
Installation
Installing the Ceiling Tips
1
Install Main Panels First
All Diamond (CLGPAN221) and Coved Corner (CLGPAN218) panels must be fully set and adhesive cured before installing the tips. The tips install last.
2
Dry Fit Each Tip
Dry fit each tip at its intersection before applying adhesive. Confirm the tip sits flush with the adjacent panel faces and that the depth matches. Trim if needed.
3
Trim to Fit if Needed
Use a fine-tooth blade to trim tips at perimeter intersections or anywhere the standard size needs adjustment. Resin cuts cleanly — score and snap for small trims, saw for larger reductions.
4
Apply Adhesive & Set
Apply construction adhesive to the back of each tip. Press firmly into the intersection. Hold or support briefly while adhesive grabs — tips are small and light so support is minimal.
5
Caulk & Fill
Once all tips are set, caulk any remaining seams. Fill fastener holes if nails were used for temporary hold. Sand smooth once dry.
6
Finish the Full System
Apply finish to the entire ceiling — panels and tips together — for a unified result. A single finish pass over the completed system ensures consistent sheen and color across all pieces.
Standard Layout Formula
To recreate the standard tracery ceiling pattern shown in our examples: 6 × CLGPAN221-TIP + 8 × CLGPAN221 + 7 × CLGPAN218. Each set of 8 tips covers one standard bay with material to spare. Contact our sales team for help calculating quantities for your specific ceiling dimensions.
Shipping
Tracery ceiling tips ship via standard carrier. Lead time is approximately 7–10 business days from order confirmation, subject to availability. Contact our sales team at 1-800-558-0119 to order the full three-piece system together.
CLGPAN221-TIP — Tracery Ceiling Tip, Set of 8. The detail that completes the pattern.