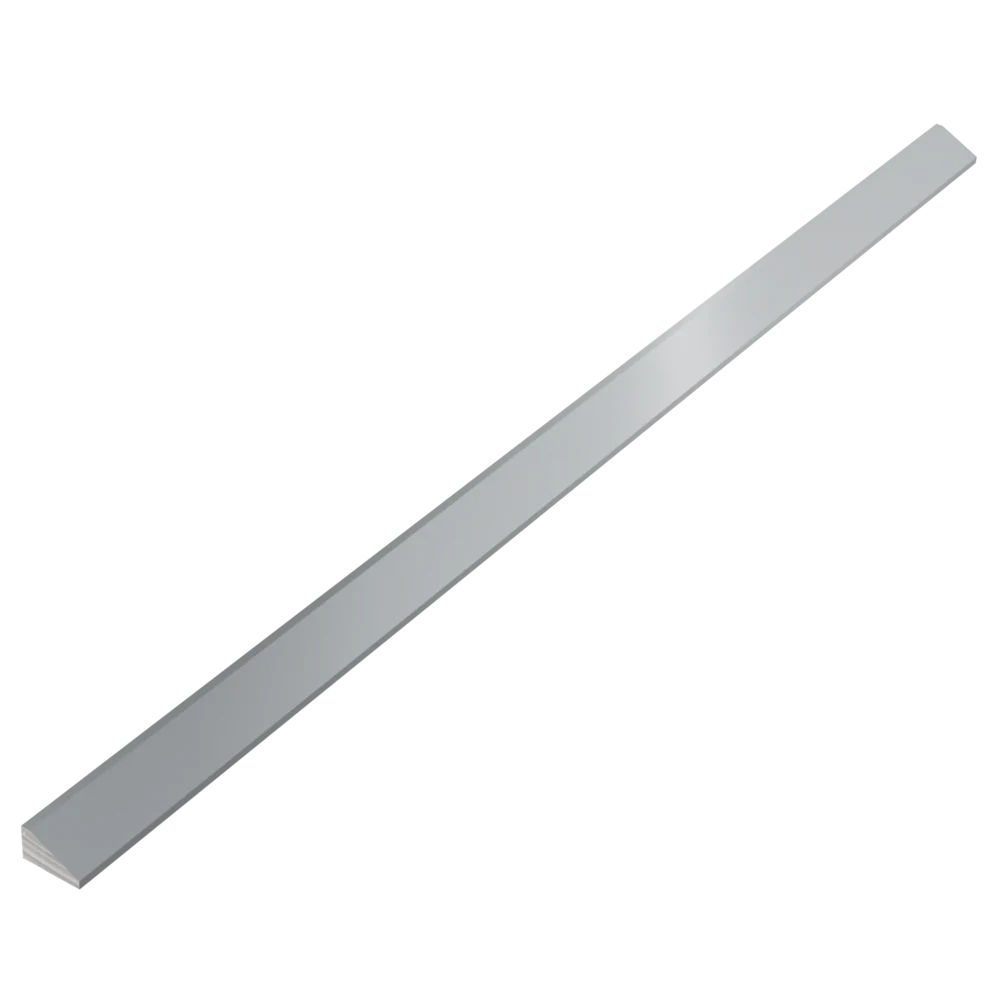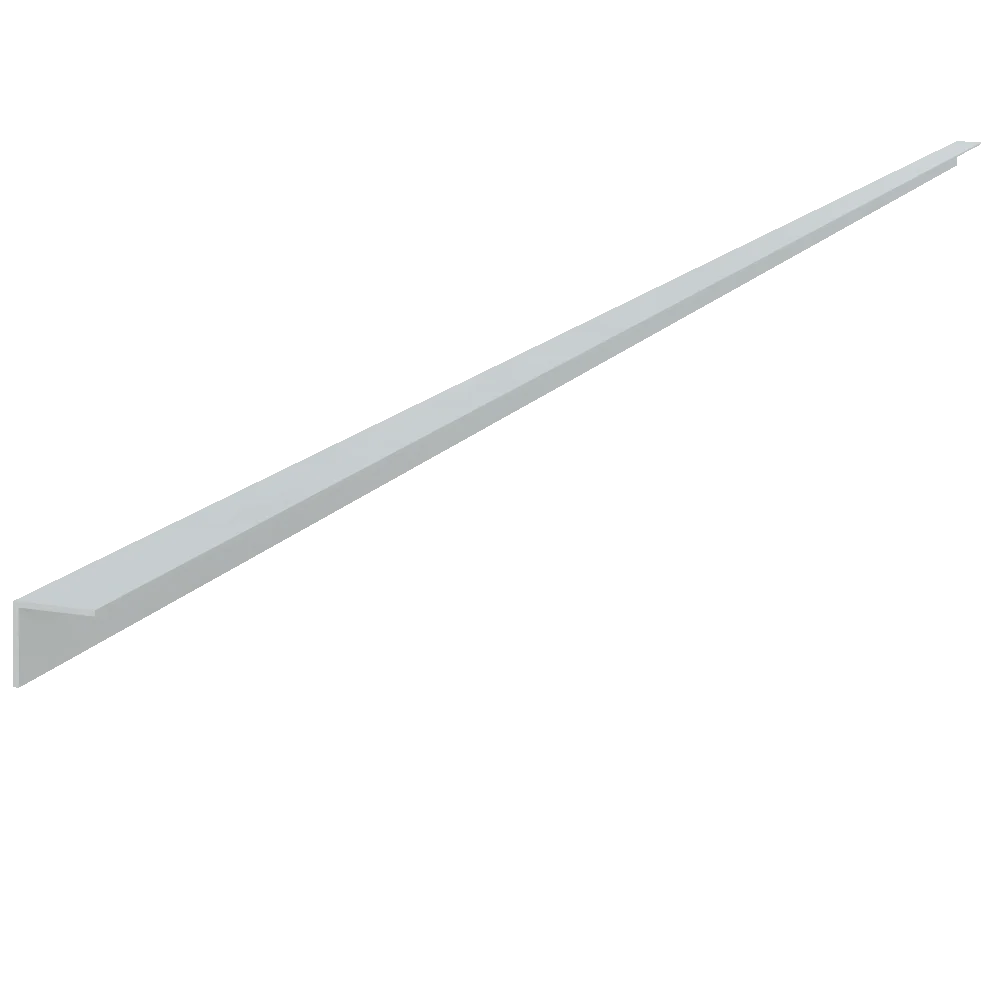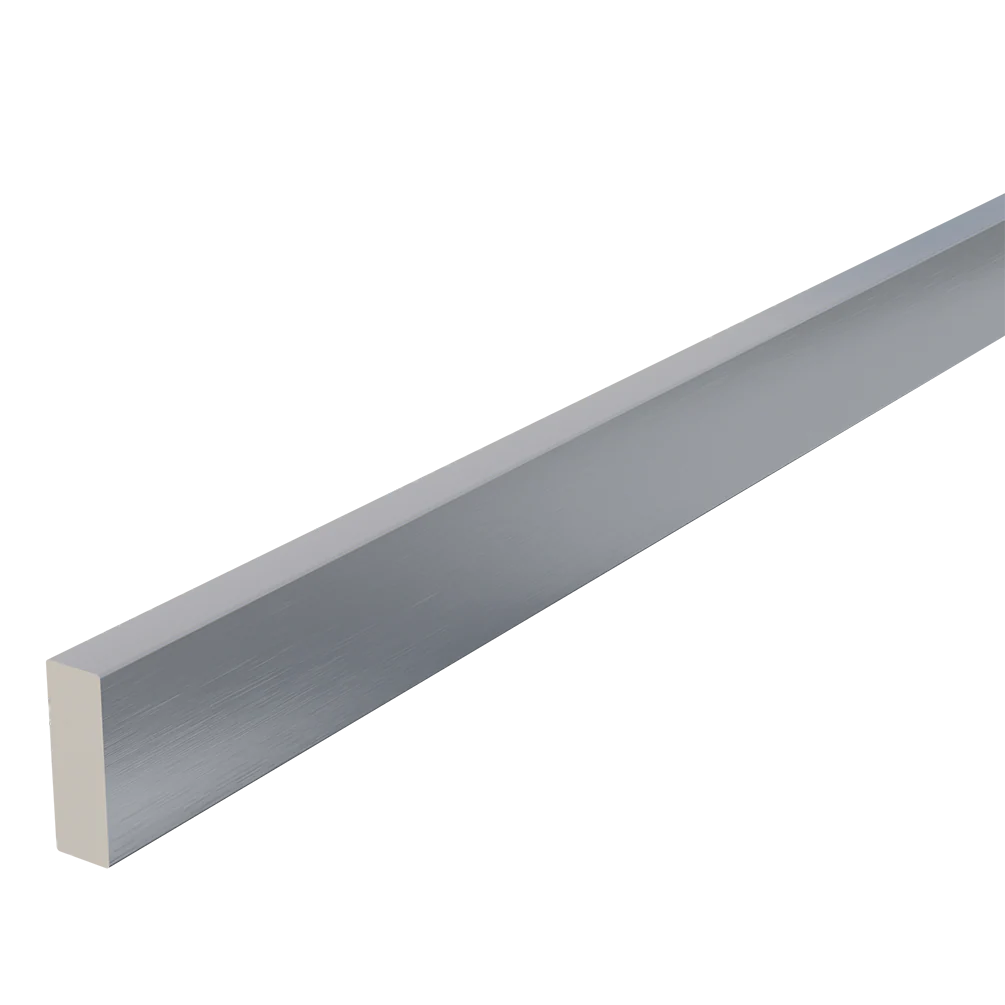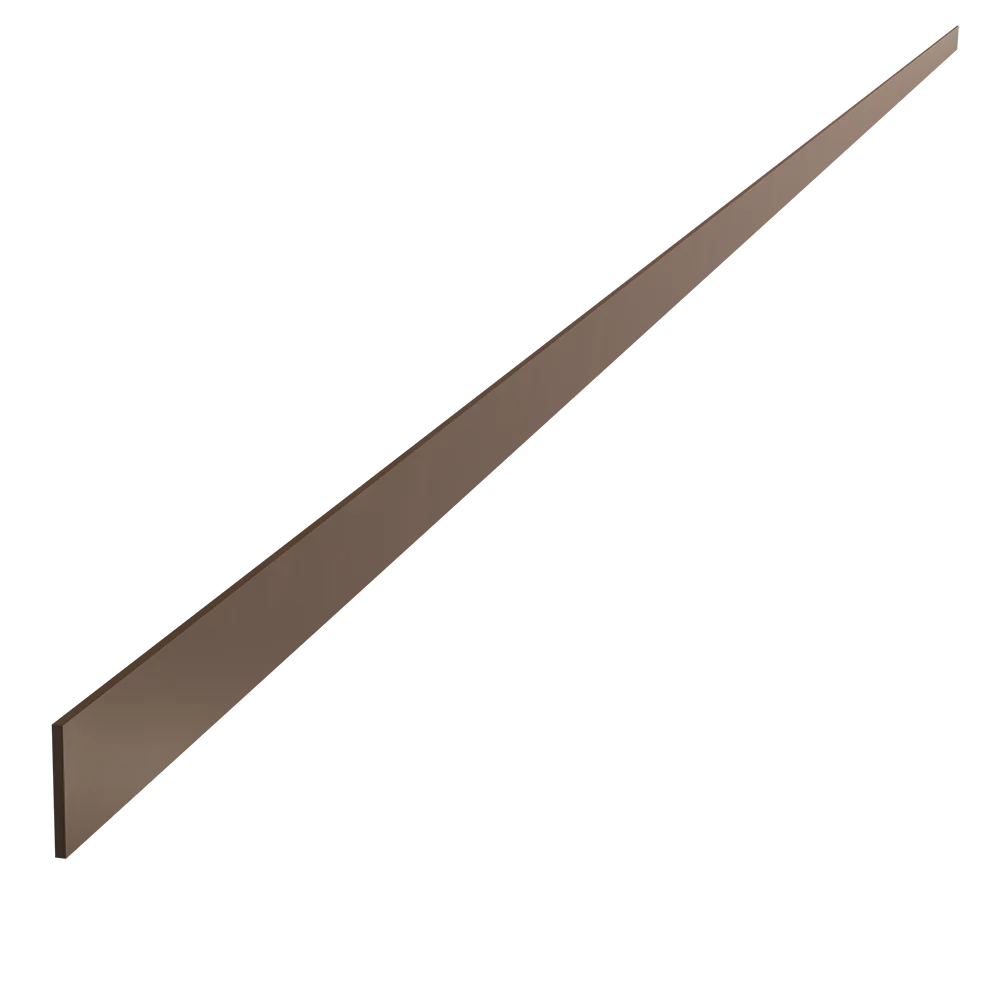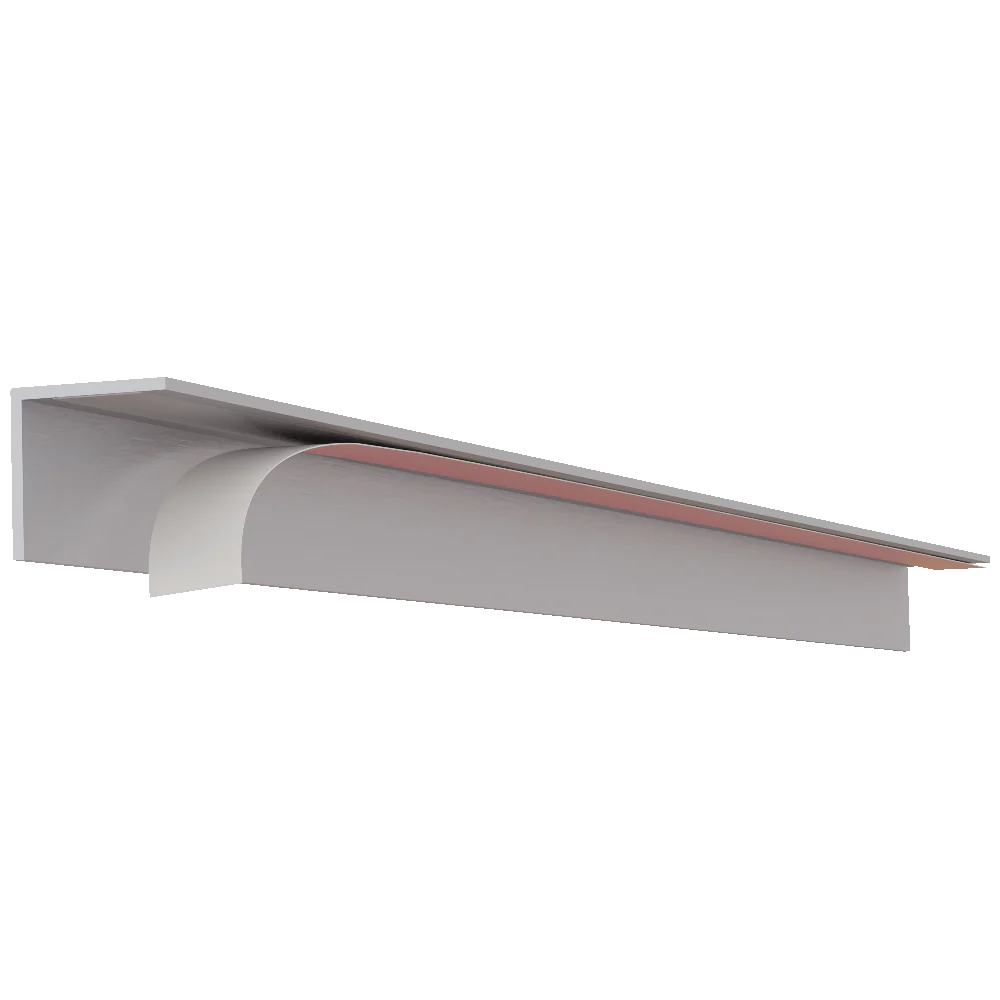
Metallic Trim Aluminum Bar, 72'' L x 1/4'' SQ
🌟 Premium Decorative Aluminum Bar for Cabinets & Furniture 🌟
✨ Enhance your cabinetry, furniture, and woodworking projects with our 1/4" SQ Decorative Aluminum Bar. This versatile metal accent adds both durability and style, making it the perfect addition to any modern design. Whether used for trim or custom projects, this aluminum bar provides a sleek, refined touch.
Key Features:
-
💪 Chip, Peel, and Rust-Resistant — Designed for long-lasting performance, this aluminum bar is resistant to wear and tear, ensuring that it maintains its polished finish for years, even in high-traffic areas.
-
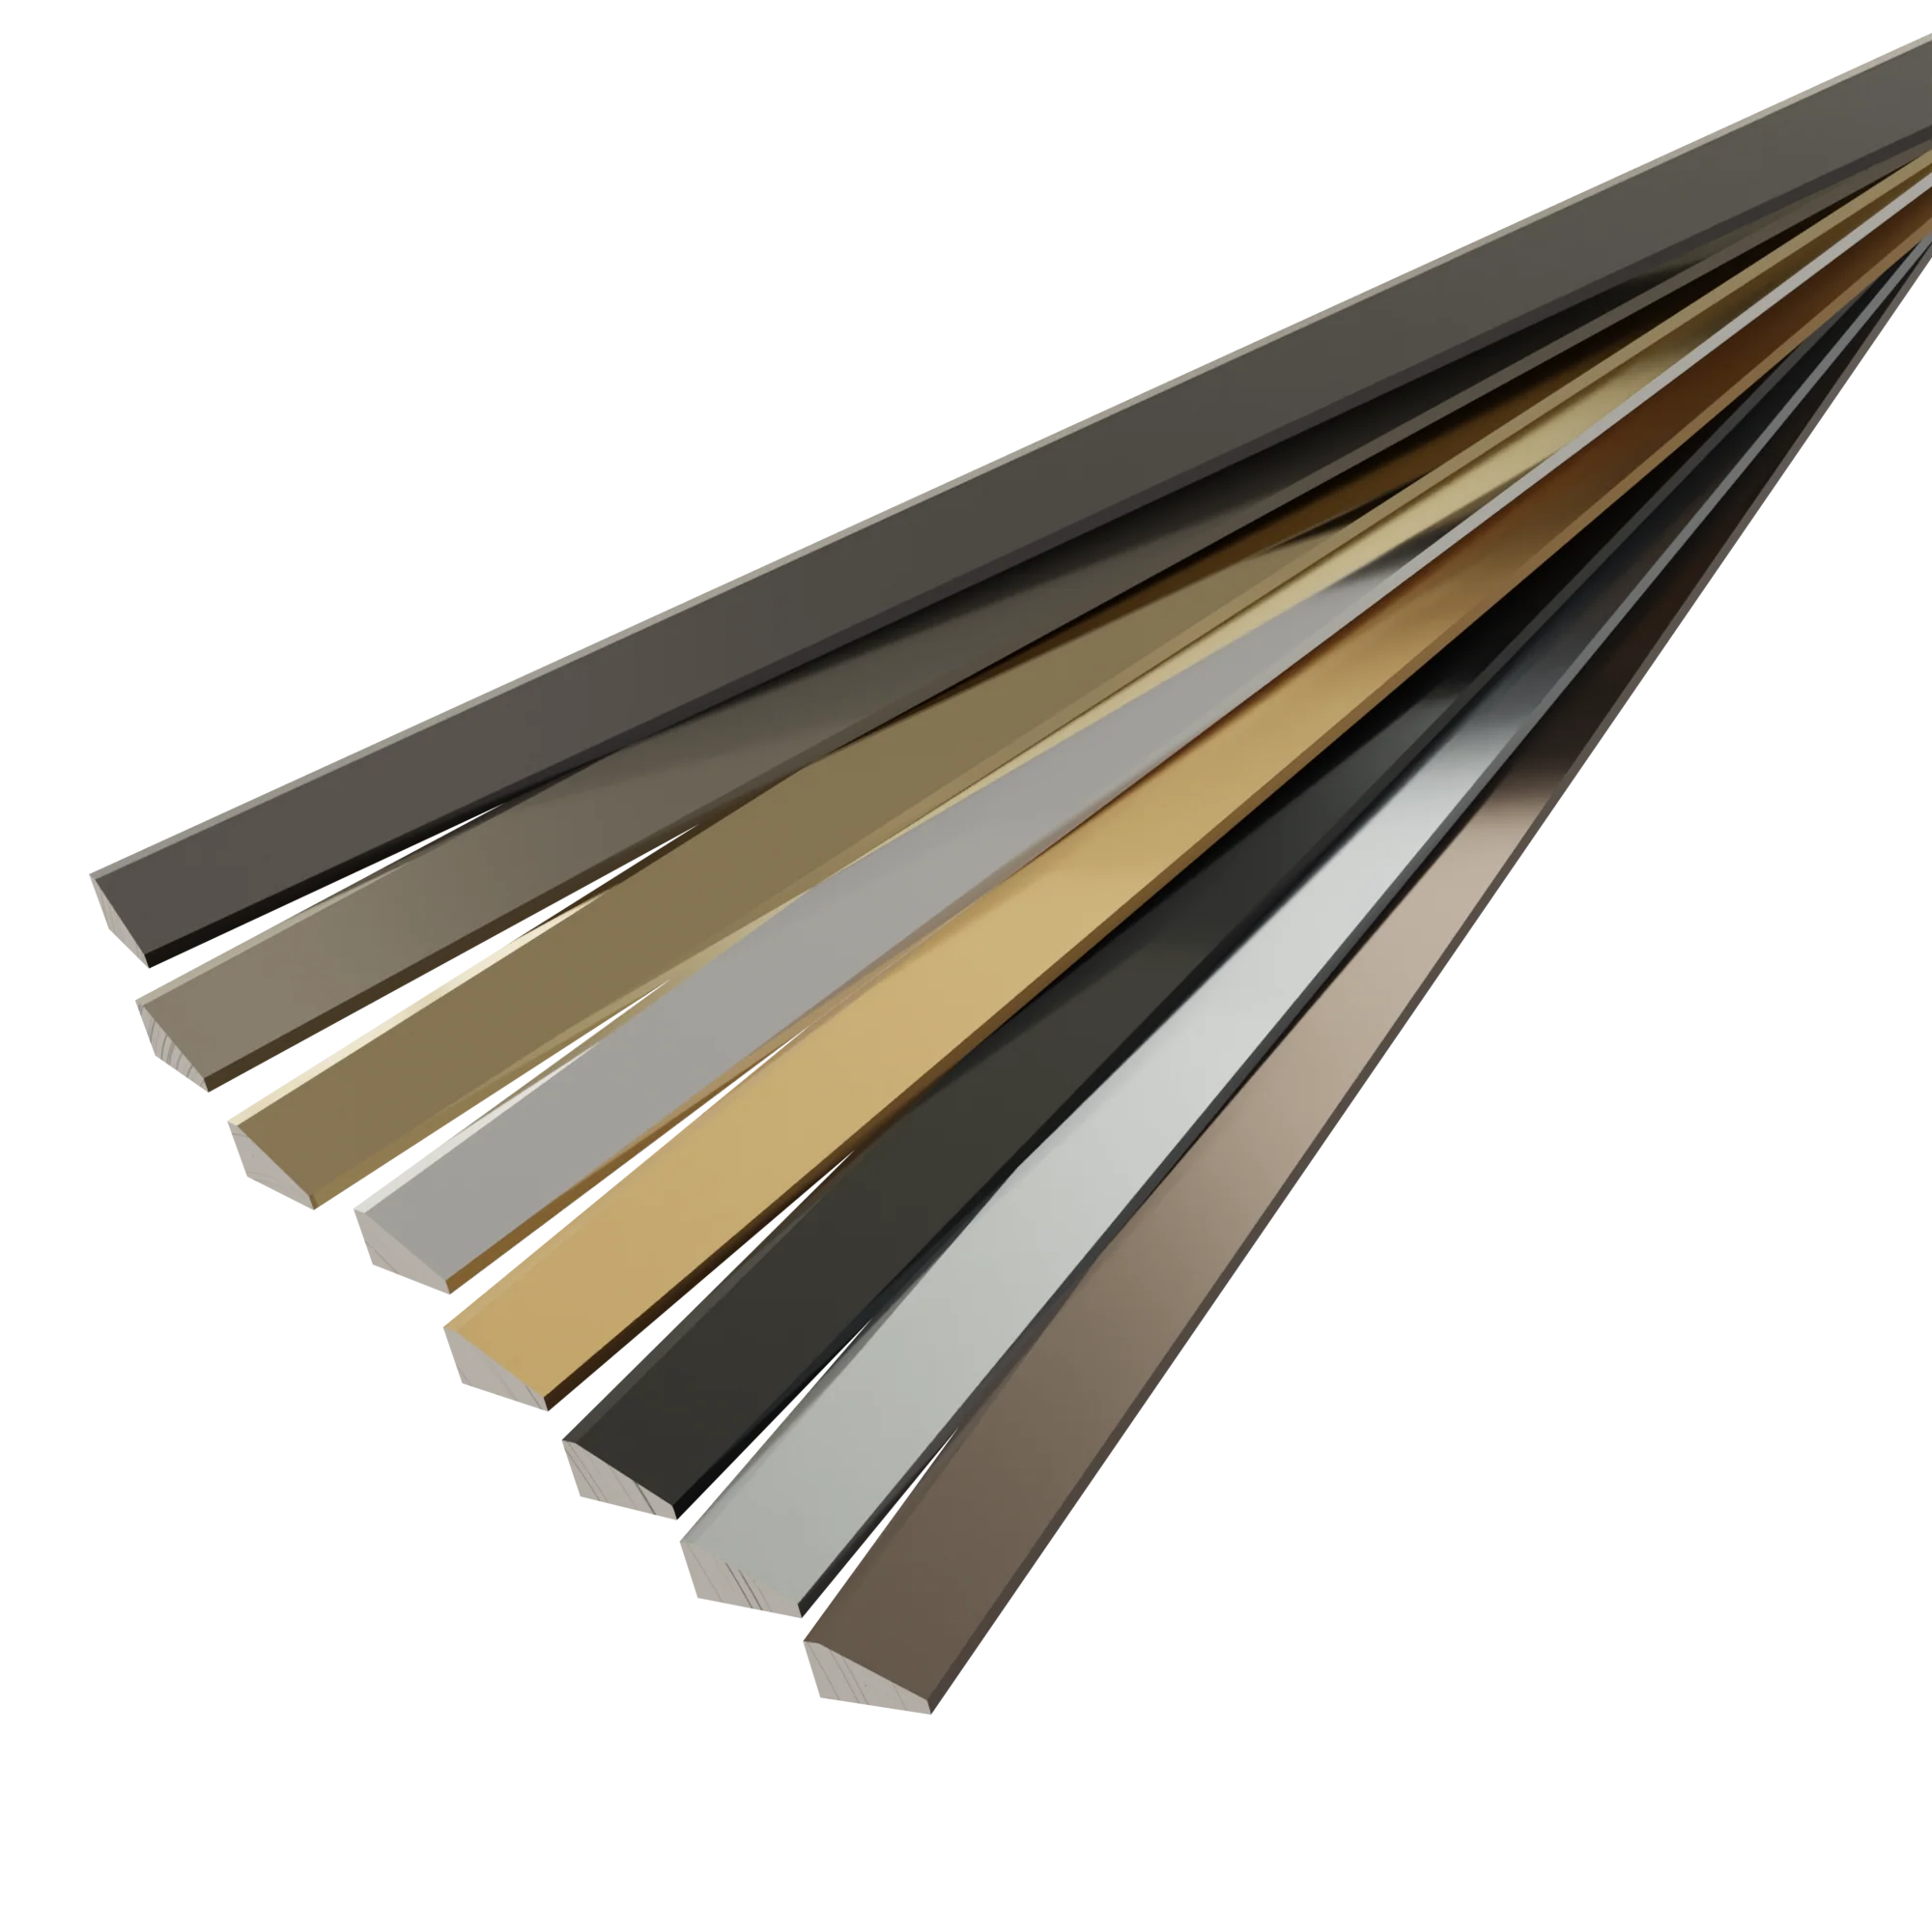
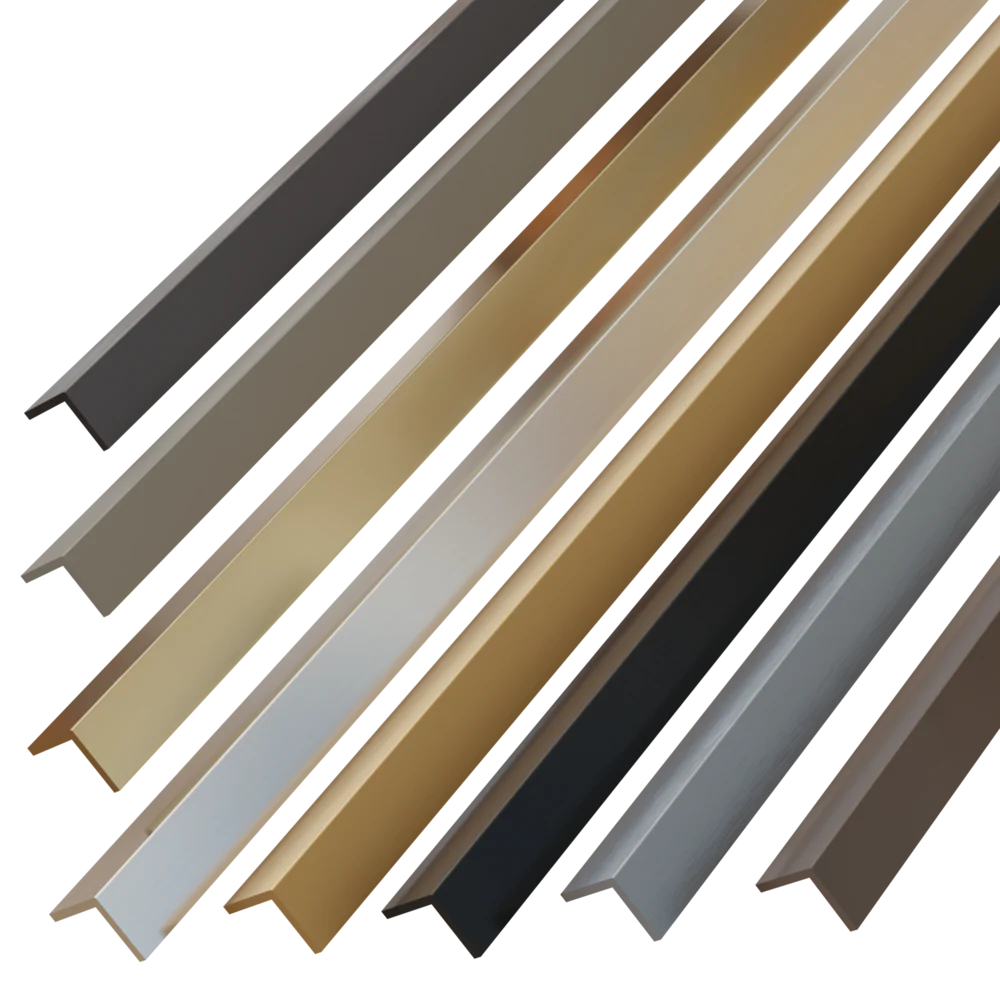
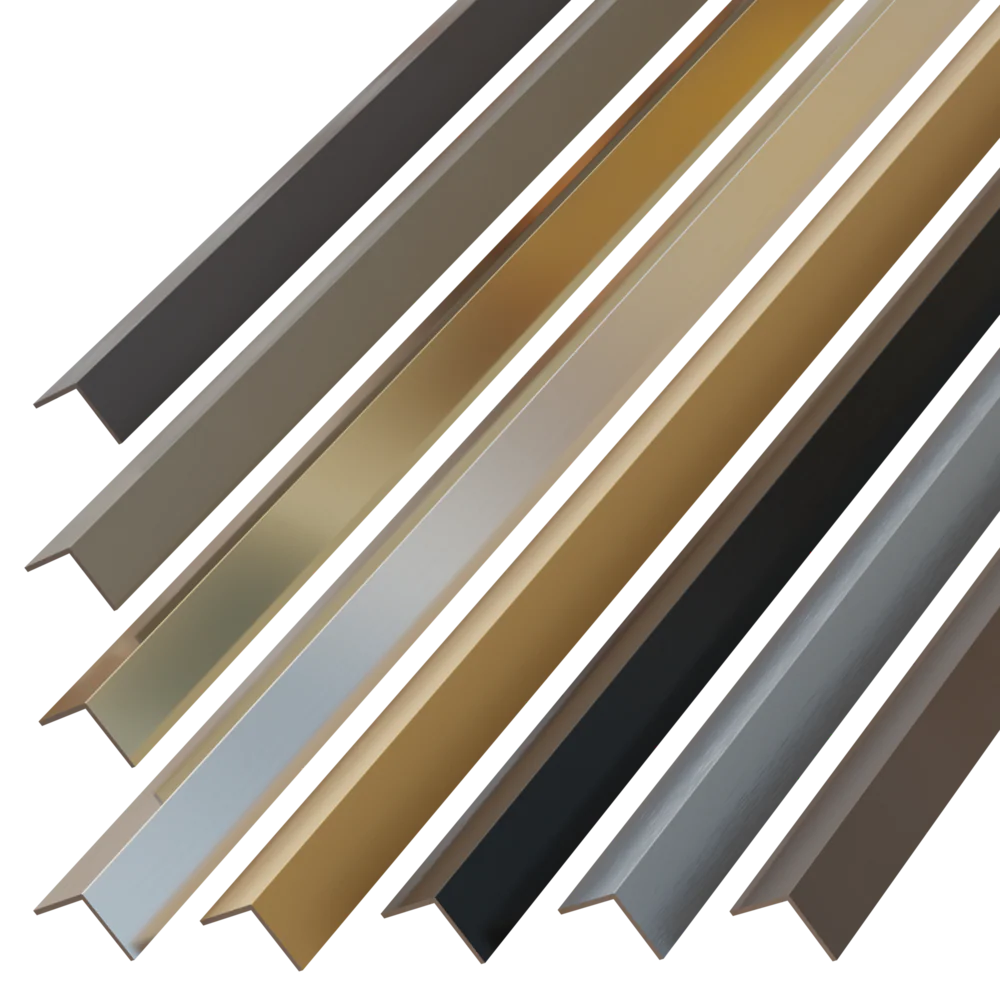
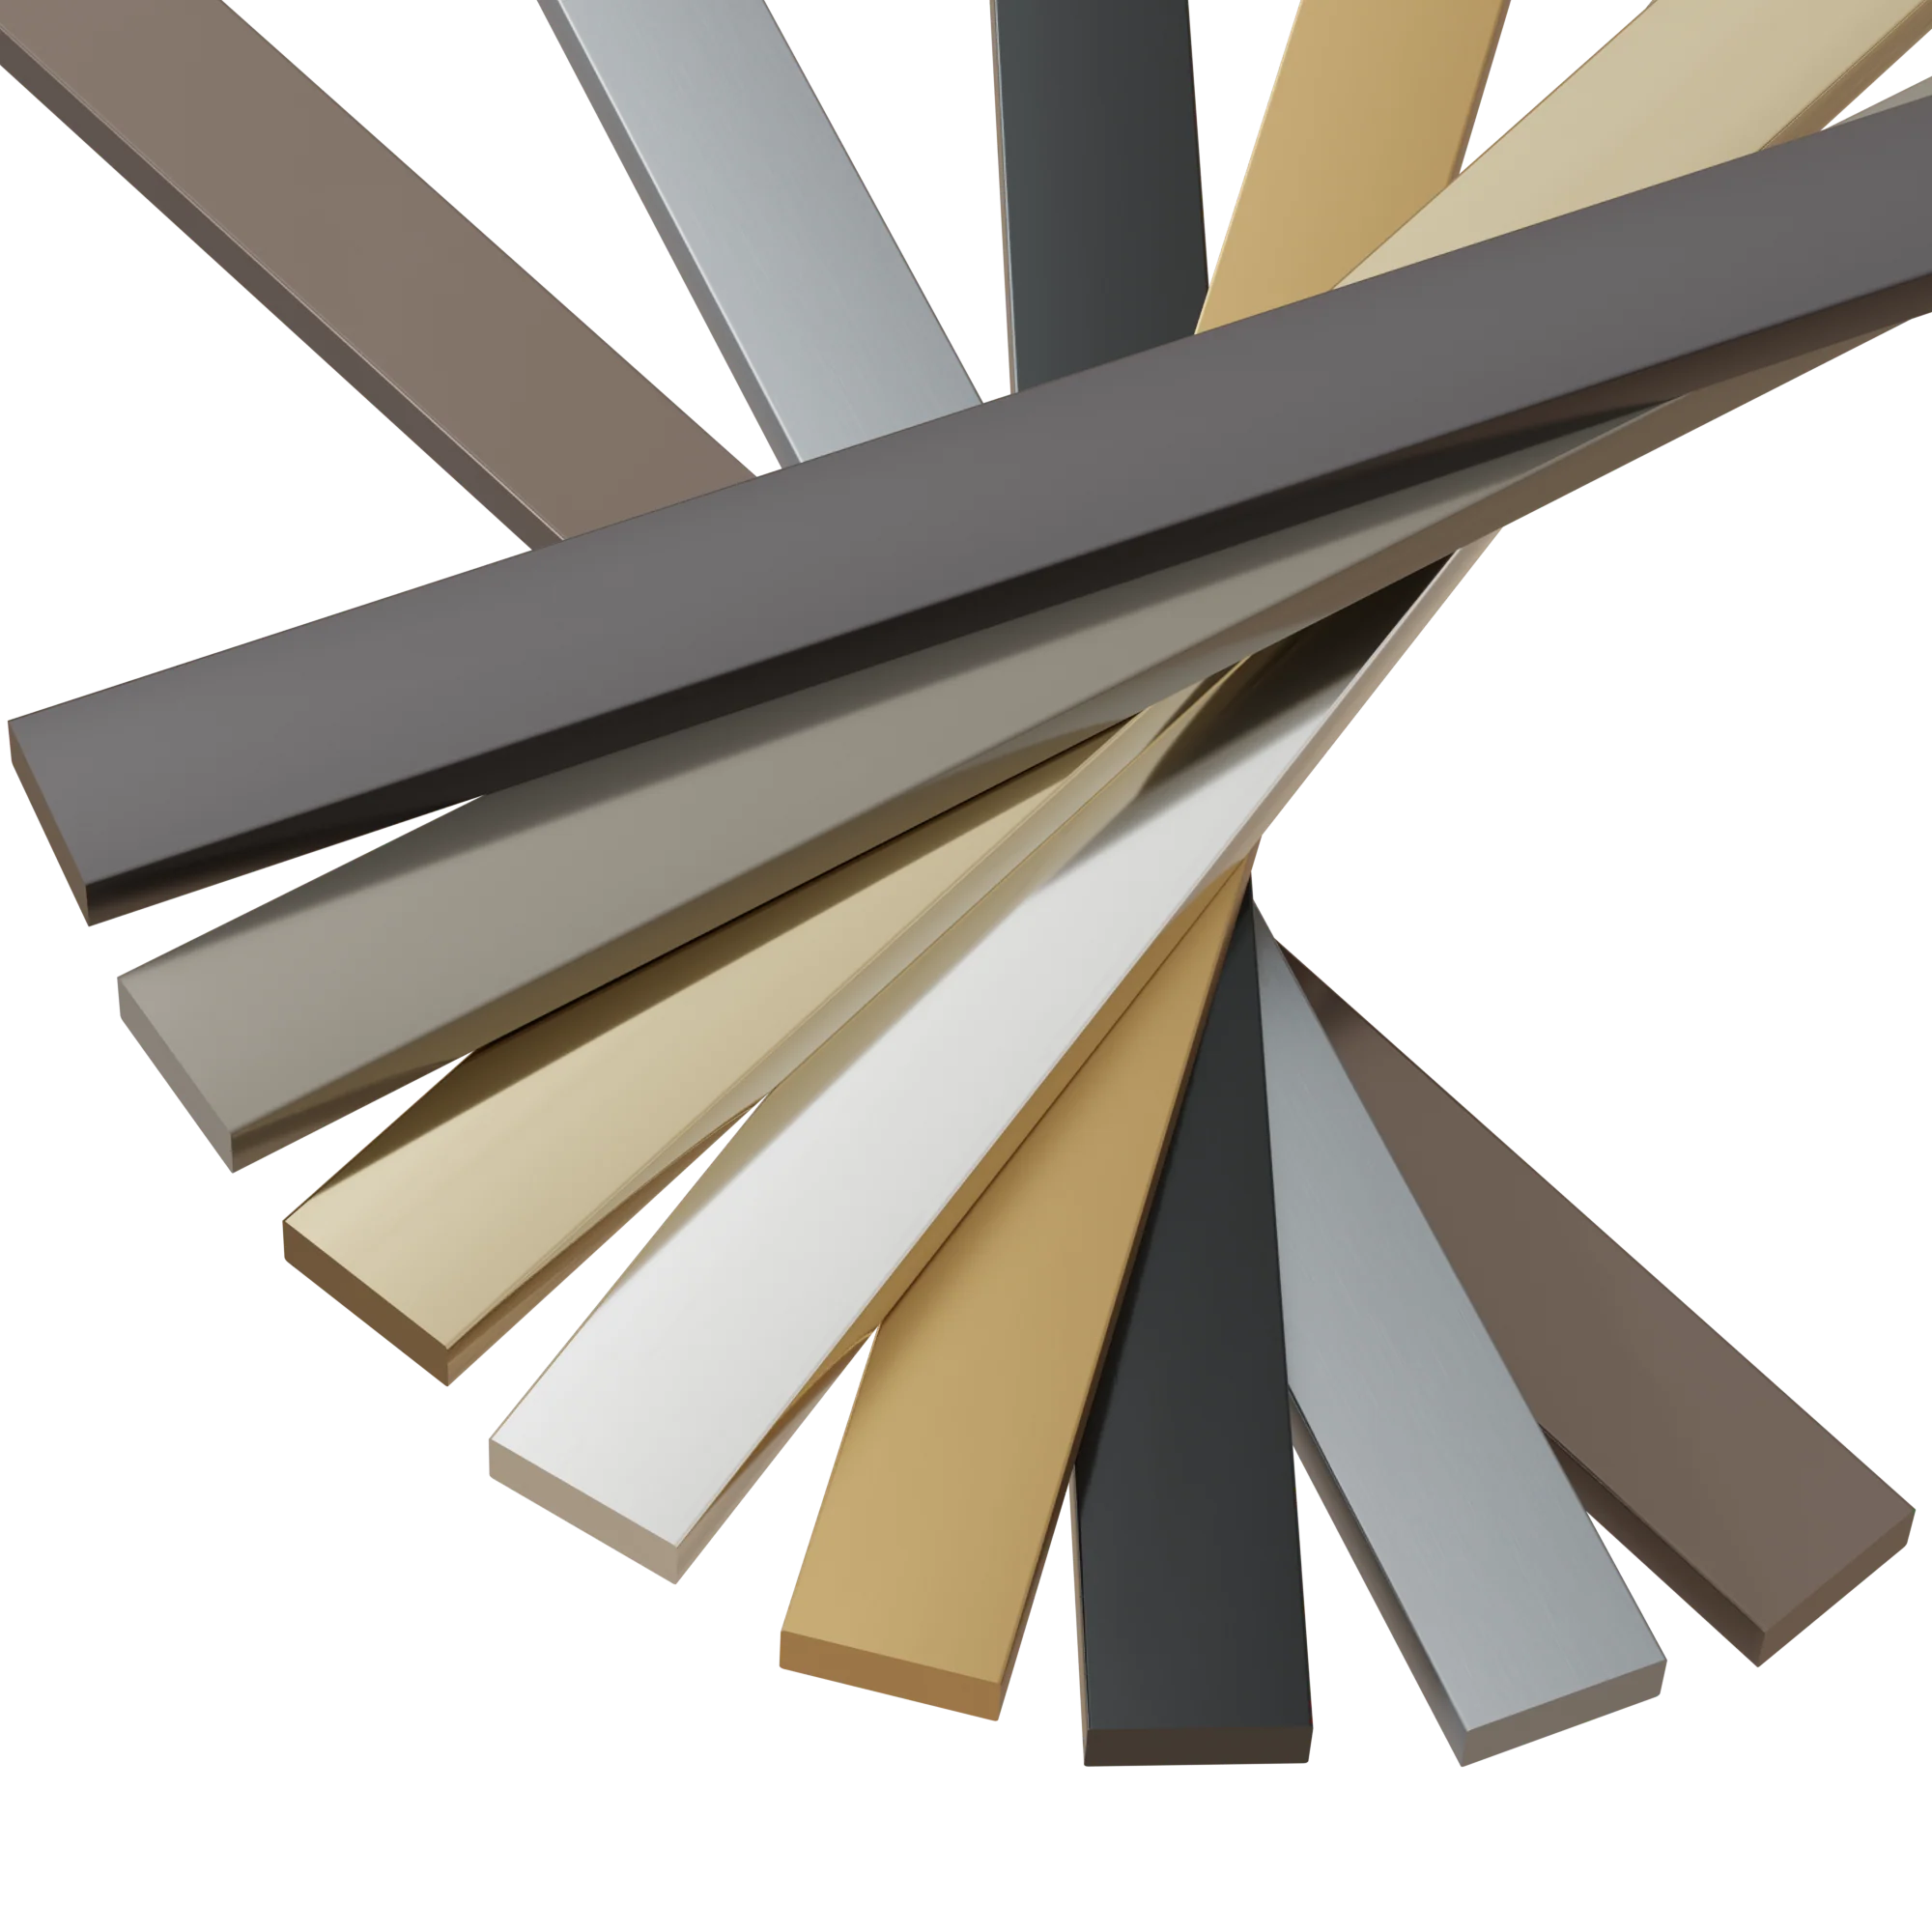
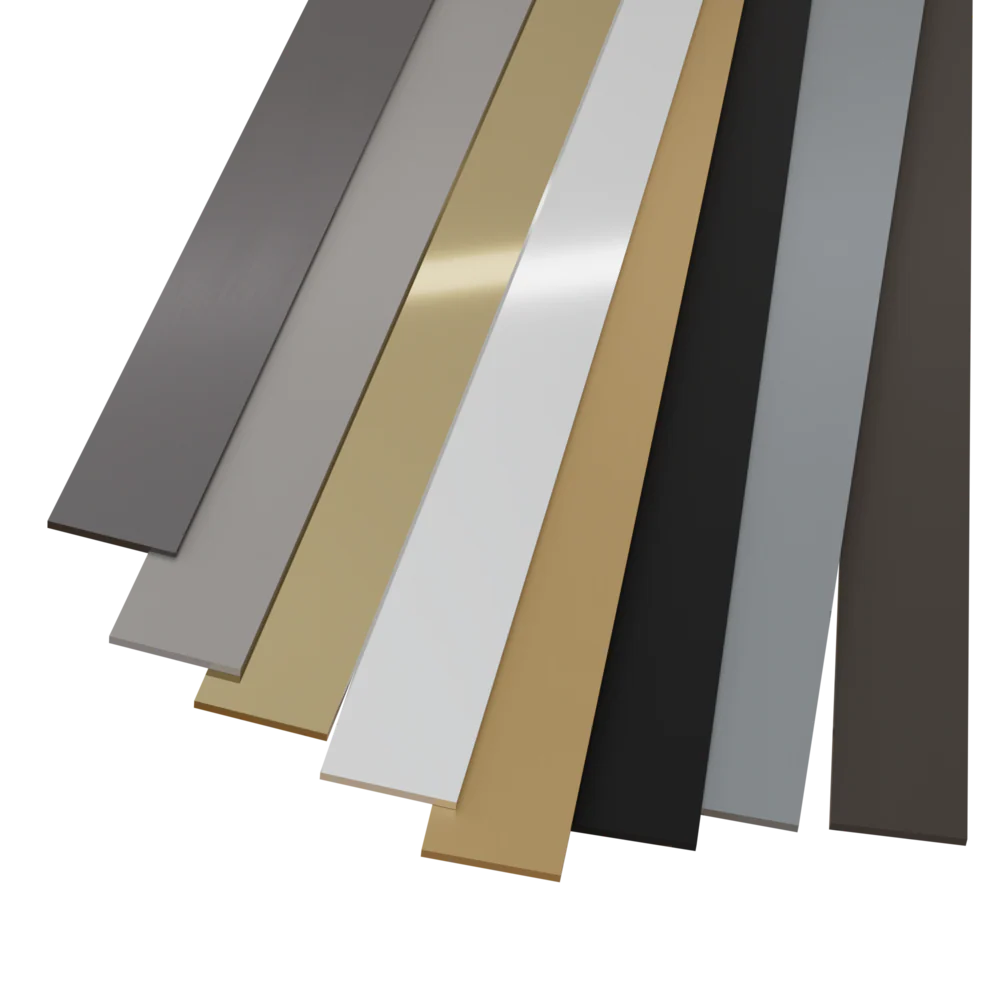
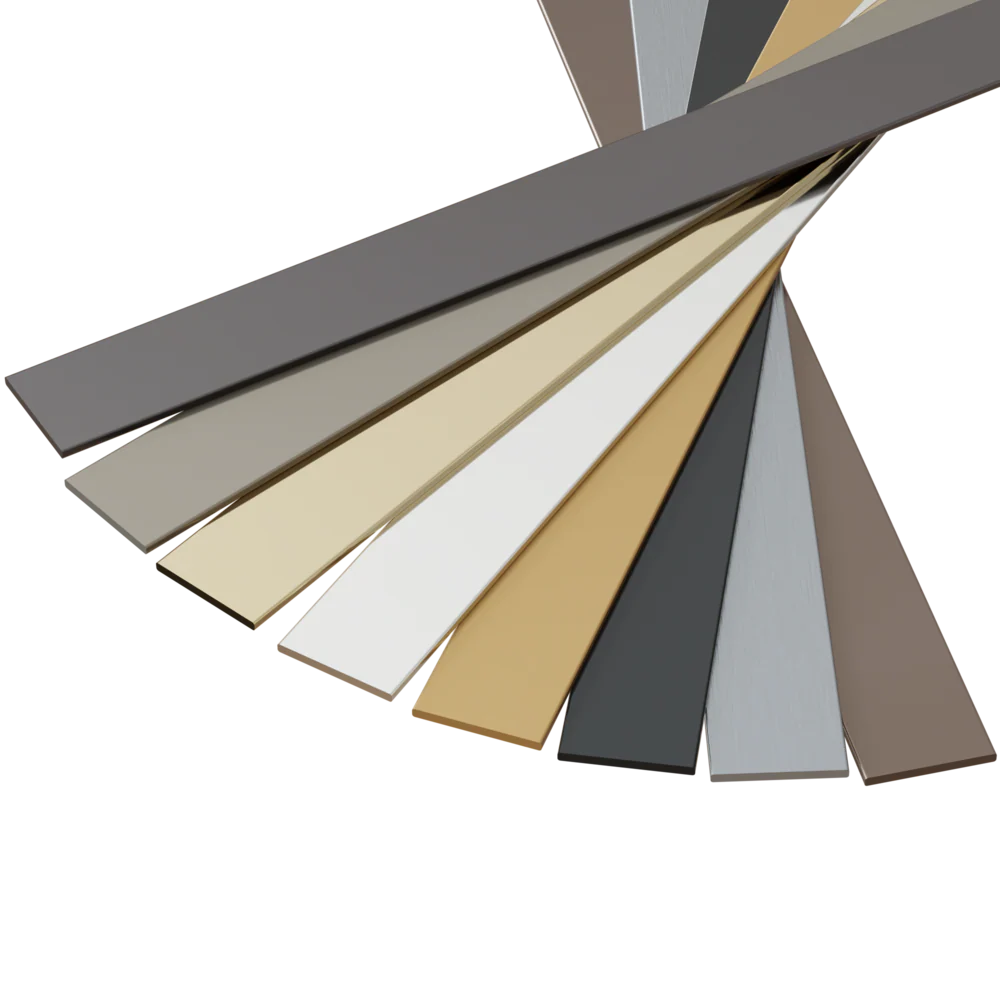
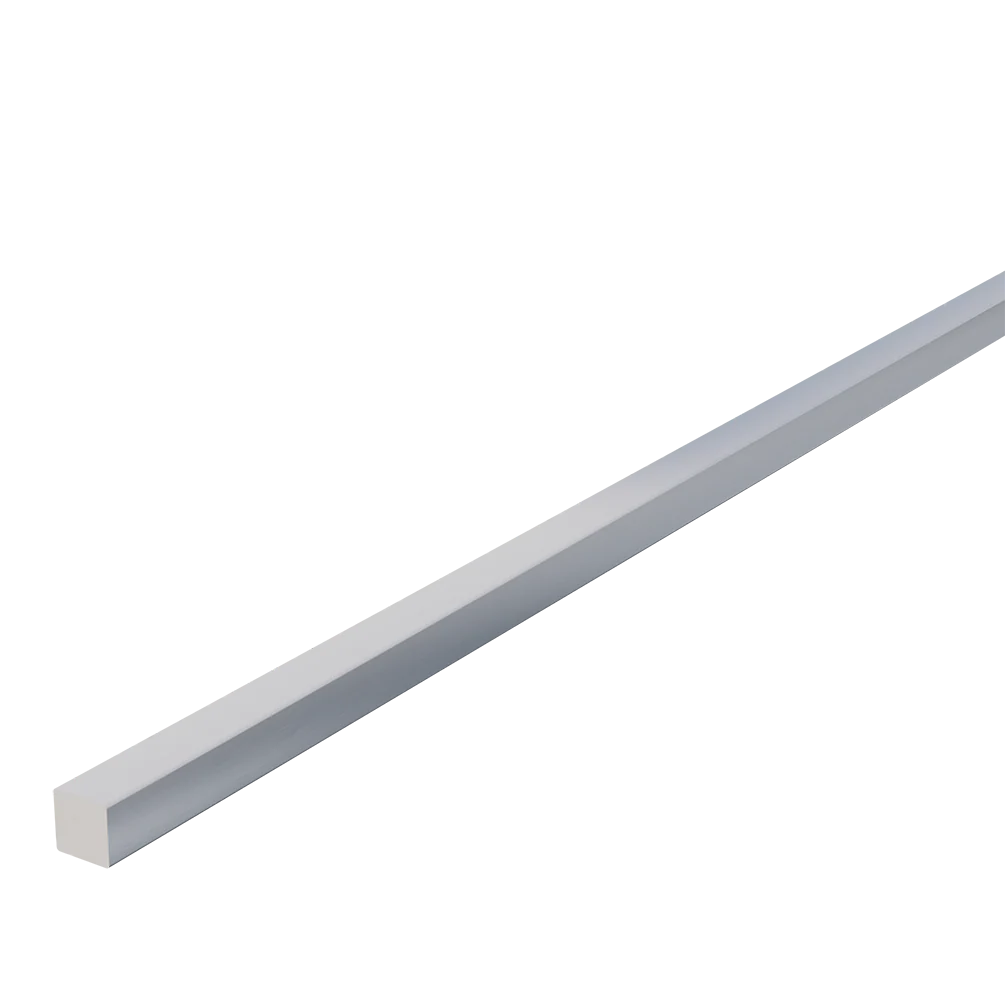
🎨 Variety of Elegant Finishes — Available in Polished Brass, Satin Stainless, and Warm Bronze, this aluminum bar gives you the flexibility to match any design, from modern to rustic.
-
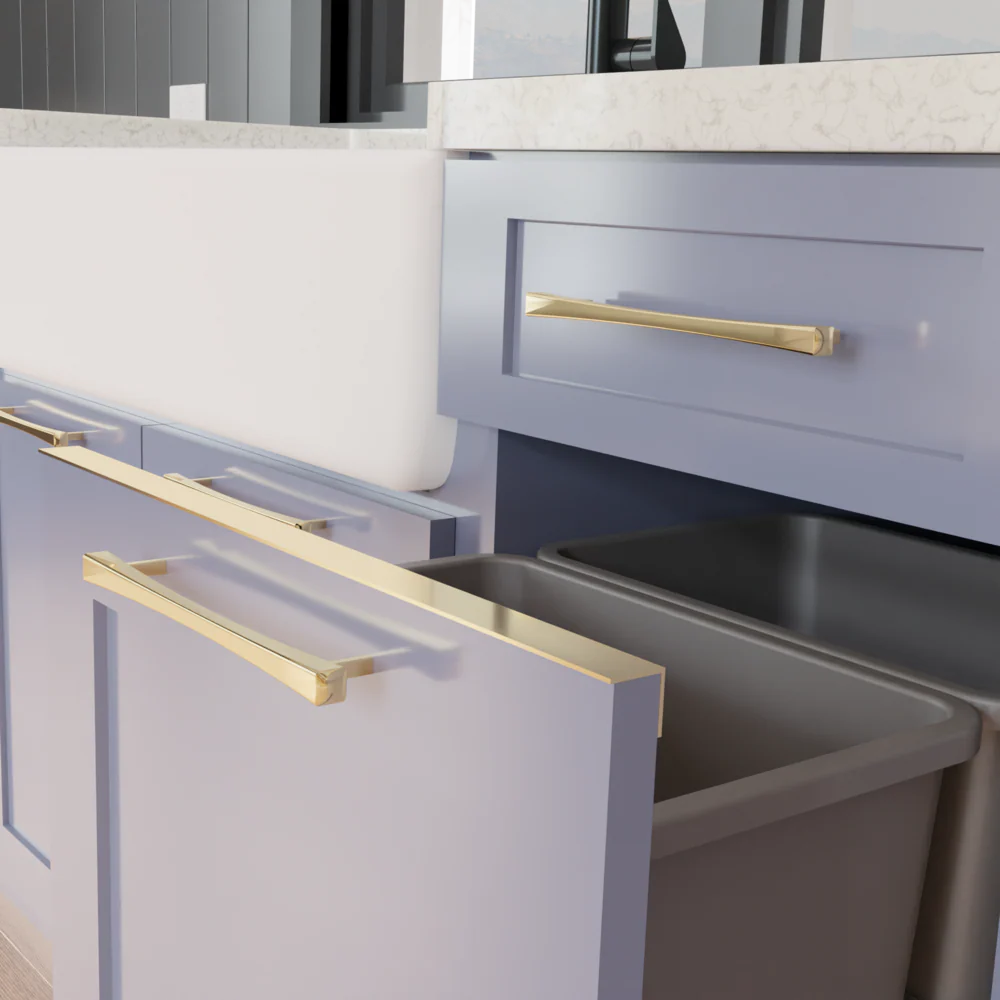
🔗 Ideal for Accent Trim and Projects — Perfect for adding sleek, metallic accents to cabinetry, furniture, or any custom woodworking project. This decorative aluminum bar offers a modern touch to enhance your design.
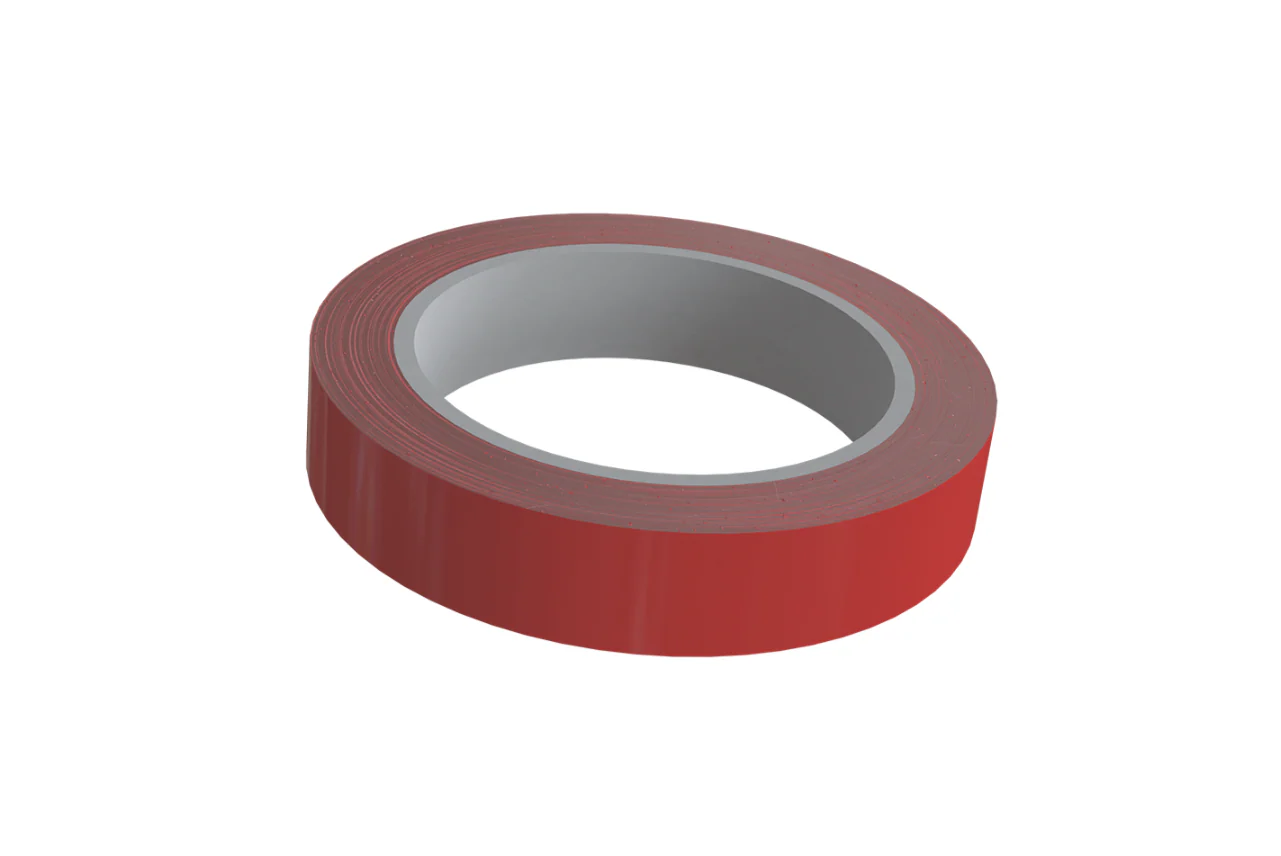
🛠️ Easy Installation — Installing this decorative aluminum bar is straightforward! Simply apply the appropriate UHB tape to quickly secure the bar in place:
- For smaller applications, the 1/4" x 8' UHB Tape is ideal for precise adhesion.
- For larger projects, use the 1/2" x 8' UHB Tape or 1/2" x 108' UHB Tape for a stronger bond and more coverage.
- The 1/4" x 54' UHB Tape is perfect for multiple applications, providing consistent, lasting adhesion across longer surfaces.
📏 Perfect Fit — Measuring 72" in length, this aluminum bar is perfectly sized for a variety of uses, ensuring a seamless fit for your home improvement or commercial design needs.
💎 Premium Quality Anodized Aluminum — Made from high-quality anodized aluminum, this decorative bar combines strength and elegance, ensuring your design lasts while maintaining a refined aesthetic.
🔥 Achieve a refined finish for your cabinetry, furniture, and woodworking projects with our premium, versatile decorative aluminum bar. Make your designs stand out with modern metallic accents that last! 🔥
#AluminumBar #MetalTrim #ModernAccents #HomeImprovement #CabinetAccents #FurnitureTrim #InteriorDesign #MetallicFinishes #DurableTrim
✨ How to Install Metallic Trim with Precision: A Step-by-Step Guide ✨
IMPORTANT: Failure to properly install metallic trim may result in avoidable damage or serious injury. Always wear personal protective equipment when performing installation. Read through all instructions prior to installation.
Required Tools: Tape measure, table saw, pencil, low-grit sandpaper, construction adhesive or nailing tools.
Step #1: Plan Your Layout 🔧📝
Plan the layout of your metallic trim. It is ideal to account for mitered angles when planning for layouts with corners. Once cutting is performed, the ends of the trim will be raw aluminum and will not match the anodized finish.
Step #2: Cut the Trim 🪚⚙️🦺Cut the trim to desired lengths using a miter saw. It is recommended you use a non-ferrous, metal-cutting blade with a high tooth count. You should also use blade lubricant for ease of friction when cutting. Always wear personal protective equipment when operating a miter saw. Use of any other saw or a blade not designed for cutting metal is not recommended.

Step #3: File the Edges 📏🪛
Once the cuts have been made, carefully file the ends where the trim was cut to remove any excess material and roughness. Don't file the edges of the trim, as this may round the corners and remove some of the anodized finish.

Step #4: Clean the Trim for Adhesion 🧼🧽
Prepare the trim for adhesion by wiping them with a cloth and rubbing alcohol. Thoroughly clean and dry the trim to remove all external contents. Failure to clean the trim completely may compromise the adhesion of the UHB tape.

Step #5: Apply UHB Tape 🧵📐
Apply UHB tape to the surface of the trim that will attach to the surface of your layout. The tape should cover the entire length of the trim for the best attachment results. Be sure to flatten any creases and air bubbles on the tape prior to removing the plastic layer.

Step #6: Clean the Attaching Surface 🧹🧴
Prepare the attaching surface by thoroughly cleaning it of any debris or residue. Dry it and wipe it with a cloth and rubbing alcohol — again drying it completely. Failure to clean the surface completely may compromise the adhesion of the UHB tape.

Step #7: Attach the Trim to the Surface ✋⏱️
Peel the layer of plastic from the UHB tape already applied to the trim. Place the taped side of the trim in the planned position on the surface. Press and hold the trim to the surface with reasonable pressure for at least one minute. Not applying enough pressure or removing pressure prior to one minute may compromise the adhesion of the UHB tape. If trim is applied to the incorrect spot, remove promptly and place it in its proper position prior to applying pressure.

Step #8: Repeat for All Pieces 🔁✂️
Repeat these steps for every piece of trim that's being applied.
Step #9: Routine Cleaning 🧽💧
Clean trim routinely using simple cleaning solutions and warm water.
🌟 Premium Decorative Aluminum Bar for Cabinets & Furniture 🌟
✨ Enhance your cabinetry, furniture, and woodworking projects with our 1/4" SQ Decorative Aluminum Bar. This versatile metal accent adds both durability and style, making it the perfect addition to any modern design. Whether used for trim or custom projects, this aluminum bar provides a sleek, refined touch.
Key Features:
-
💪 Chip, Peel, and Rust-Resistant — Designed for long-lasting performance, this aluminum bar is resistant to wear and tear, ensuring that it maintains its polished finish for years, even in high-traffic areas.
-
🎨 Variety of Elegant Finishes — Available in Polished Brass, Satin Stainless, and Warm Bronze, this aluminum bar gives you the flexibility to match any design, from modern to rustic.
-
🔗 Ideal for Accent Trim and Projects — Perfect for adding sleek, metallic accents to cabinetry, furniture, or any custom woodworking project. This decorative aluminum bar offers a modern touch to enhance your design.
🛠️ Easy Installation — Installing this decorative aluminum bar is straightforward! Simply apply the appropriate UHB tape to quickly secure the bar in place:
- For smaller applications, the 1/4" x 8' UHB Tape is ideal for precise adhesion.
- For larger projects, use the 1/2" x 8' UHB Tape or 1/2" x 108' UHB Tape for a stronger bond and more coverage.
- The 1/4" x 54' UHB Tape is perfect for multiple applications, providing consistent, lasting adhesion across longer surfaces.
📏 Perfect Fit — Measuring 72" in length, this aluminum bar is perfectly sized for a variety of uses, ensuring a seamless fit for your home improvement or commercial design needs.
💎 Premium Quality Anodized Aluminum — Made from high-quality anodized aluminum, this decorative bar combines strength and elegance, ensuring your design lasts while maintaining a refined aesthetic.
🔥 Achieve a refined finish for your cabinetry, furniture, and woodworking projects with our premium, versatile decorative aluminum bar. Make your designs stand out with modern metallic accents that last! 🔥
#AluminumBar #MetalTrim #ModernAccents #HomeImprovement #CabinetAccents #FurnitureTrim #InteriorDesign #MetallicFinishes #DurableTrim
✨ How to Install Metallic Trim with Precision: A Step-by-Step Guide ✨
IMPORTANT: Failure to properly install metallic trim may result in avoidable damage or serious injury. Always wear personal protective equipment when performing installation. Read through all instructions prior to installation.
Required Tools: Tape measure, table saw, pencil, low-grit sandpaper, construction adhesive or nailing tools.
Step #1: Plan Your Layout 🔧📝
Plan the layout of your metallic trim. It is ideal to account for mitered angles when planning for layouts with corners. Once cutting is performed, the ends of the trim will be raw aluminum and will not match the anodized finish.
Step #2: Cut the Trim 🪚⚙️🦺Cut the trim to desired lengths using a miter saw. It is recommended you use a non-ferrous, metal-cutting blade with a high tooth count. You should also use blade lubricant for ease of friction when cutting. Always wear personal protective equipment when operating a miter saw. Use of any other saw or a blade not designed for cutting metal is not recommended.
Step #3: File the Edges 📏🪛
Once the cuts have been made, carefully file the ends where the trim was cut to remove any excess material and roughness. Don't file the edges of the trim, as this may round the corners and remove some of the anodized finish.
Step #4: Clean the Trim for Adhesion 🧼🧽
Prepare the trim for adhesion by wiping them with a cloth and rubbing alcohol. Thoroughly clean and dry the trim to remove all external contents. Failure to clean the trim completely may compromise the adhesion of the UHB tape.
Step #5: Apply UHB Tape 🧵📐
Apply UHB tape to the surface of the trim that will attach to the surface of your layout. The tape should cover the entire length of the trim for the best attachment results. Be sure to flatten any creases and air bubbles on the tape prior to removing the plastic layer.
Step #6: Clean the Attaching Surface 🧹🧴
Prepare the attaching surface by thoroughly cleaning it of any debris or residue. Dry it and wipe it with a cloth and rubbing alcohol — again drying it completely. Failure to clean the surface completely may compromise the adhesion of the UHB tape.
Step #7: Attach the Trim to the Surface ✋⏱️
Peel the layer of plastic from the UHB tape already applied to the trim. Place the taped side of the trim in the planned position on the surface. Press and hold the trim to the surface with reasonable pressure for at least one minute. Not applying enough pressure or removing pressure prior to one minute may compromise the adhesion of the UHB tape. If trim is applied to the incorrect spot, remove promptly and place it in its proper position prior to applying pressure.
Step #8: Repeat for All Pieces 🔁✂️
Repeat these steps for every piece of trim that's being applied.
Step #9: Routine Cleaning 🧽💧
Clean trim routinely using simple cleaning solutions and warm water.
Original: $75.35
-65%$75.35
$26.37Description
🌟 Premium Decorative Aluminum Bar for Cabinets & Furniture 🌟
✨ Enhance your cabinetry, furniture, and woodworking projects with our 1/4" SQ Decorative Aluminum Bar. This versatile metal accent adds both durability and style, making it the perfect addition to any modern design. Whether used for trim or custom projects, this aluminum bar provides a sleek, refined touch.
Key Features:
-
💪 Chip, Peel, and Rust-Resistant — Designed for long-lasting performance, this aluminum bar is resistant to wear and tear, ensuring that it maintains its polished finish for years, even in high-traffic areas.
-
🎨 Variety of Elegant Finishes — Available in Polished Brass, Satin Stainless, and Warm Bronze, this aluminum bar gives you the flexibility to match any design, from modern to rustic.
-
🔗 Ideal for Accent Trim and Projects — Perfect for adding sleek, metallic accents to cabinetry, furniture, or any custom woodworking project. This decorative aluminum bar offers a modern touch to enhance your design.
🛠️ Easy Installation — Installing this decorative aluminum bar is straightforward! Simply apply the appropriate UHB tape to quickly secure the bar in place:
- For smaller applications, the 1/4" x 8' UHB Tape is ideal for precise adhesion.
- For larger projects, use the 1/2" x 8' UHB Tape or 1/2" x 108' UHB Tape for a stronger bond and more coverage.
- The 1/4" x 54' UHB Tape is perfect for multiple applications, providing consistent, lasting adhesion across longer surfaces.
📏 Perfect Fit — Measuring 72" in length, this aluminum bar is perfectly sized for a variety of uses, ensuring a seamless fit for your home improvement or commercial design needs.
💎 Premium Quality Anodized Aluminum — Made from high-quality anodized aluminum, this decorative bar combines strength and elegance, ensuring your design lasts while maintaining a refined aesthetic.
🔥 Achieve a refined finish for your cabinetry, furniture, and woodworking projects with our premium, versatile decorative aluminum bar. Make your designs stand out with modern metallic accents that last! 🔥
#AluminumBar #MetalTrim #ModernAccents #HomeImprovement #CabinetAccents #FurnitureTrim #InteriorDesign #MetallicFinishes #DurableTrim
✨ How to Install Metallic Trim with Precision: A Step-by-Step Guide ✨
IMPORTANT: Failure to properly install metallic trim may result in avoidable damage or serious injury. Always wear personal protective equipment when performing installation. Read through all instructions prior to installation.
Required Tools: Tape measure, table saw, pencil, low-grit sandpaper, construction adhesive or nailing tools.
Step #1: Plan Your Layout 🔧📝
Plan the layout of your metallic trim. It is ideal to account for mitered angles when planning for layouts with corners. Once cutting is performed, the ends of the trim will be raw aluminum and will not match the anodized finish.
Step #2: Cut the Trim 🪚⚙️🦺Cut the trim to desired lengths using a miter saw. It is recommended you use a non-ferrous, metal-cutting blade with a high tooth count. You should also use blade lubricant for ease of friction when cutting. Always wear personal protective equipment when operating a miter saw. Use of any other saw or a blade not designed for cutting metal is not recommended.
Step #3: File the Edges 📏🪛
Once the cuts have been made, carefully file the ends where the trim was cut to remove any excess material and roughness. Don't file the edges of the trim, as this may round the corners and remove some of the anodized finish.
Step #4: Clean the Trim for Adhesion 🧼🧽
Prepare the trim for adhesion by wiping them with a cloth and rubbing alcohol. Thoroughly clean and dry the trim to remove all external contents. Failure to clean the trim completely may compromise the adhesion of the UHB tape.
Step #5: Apply UHB Tape 🧵📐
Apply UHB tape to the surface of the trim that will attach to the surface of your layout. The tape should cover the entire length of the trim for the best attachment results. Be sure to flatten any creases and air bubbles on the tape prior to removing the plastic layer.
Step #6: Clean the Attaching Surface 🧹🧴
Prepare the attaching surface by thoroughly cleaning it of any debris or residue. Dry it and wipe it with a cloth and rubbing alcohol — again drying it completely. Failure to clean the surface completely may compromise the adhesion of the UHB tape.
Step #7: Attach the Trim to the Surface ✋⏱️
Peel the layer of plastic from the UHB tape already applied to the trim. Place the taped side of the trim in the planned position on the surface. Press and hold the trim to the surface with reasonable pressure for at least one minute. Not applying enough pressure or removing pressure prior to one minute may compromise the adhesion of the UHB tape. If trim is applied to the incorrect spot, remove promptly and place it in its proper position prior to applying pressure.
Step #8: Repeat for All Pieces 🔁✂️
Repeat these steps for every piece of trim that's being applied.
Step #9: Routine Cleaning 🧽💧
Clean trim routinely using simple cleaning solutions and warm water.