7/8" Designer DripEdge®
🌟 Designer DripEdge® for Pull-Out Waste Cans & Cabinet Protection 🌟
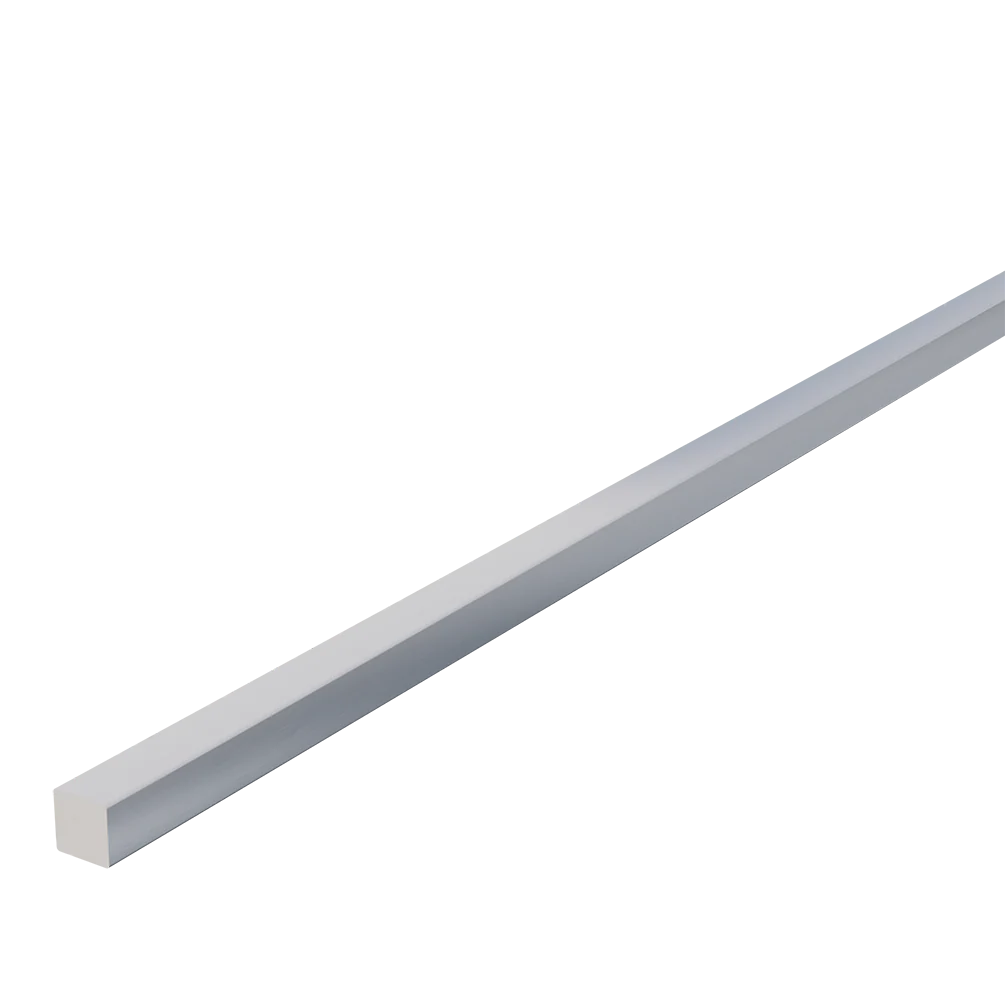
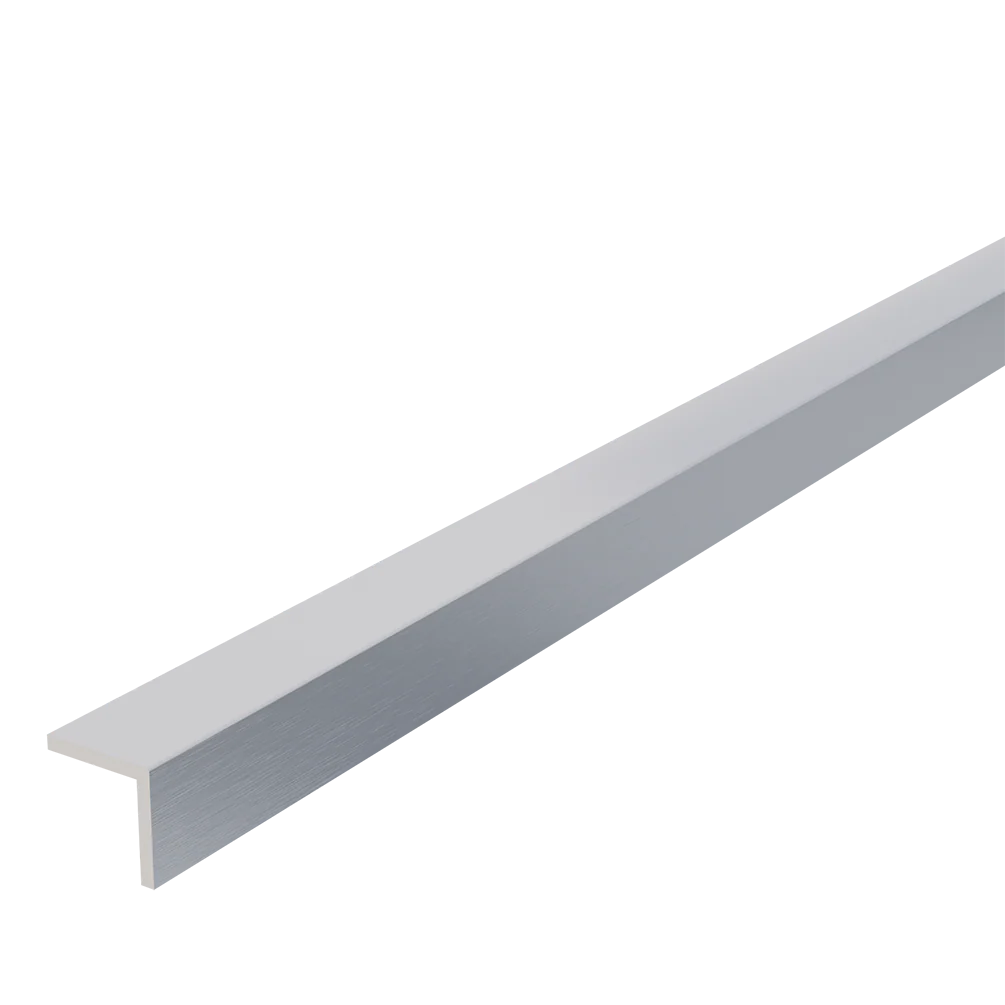
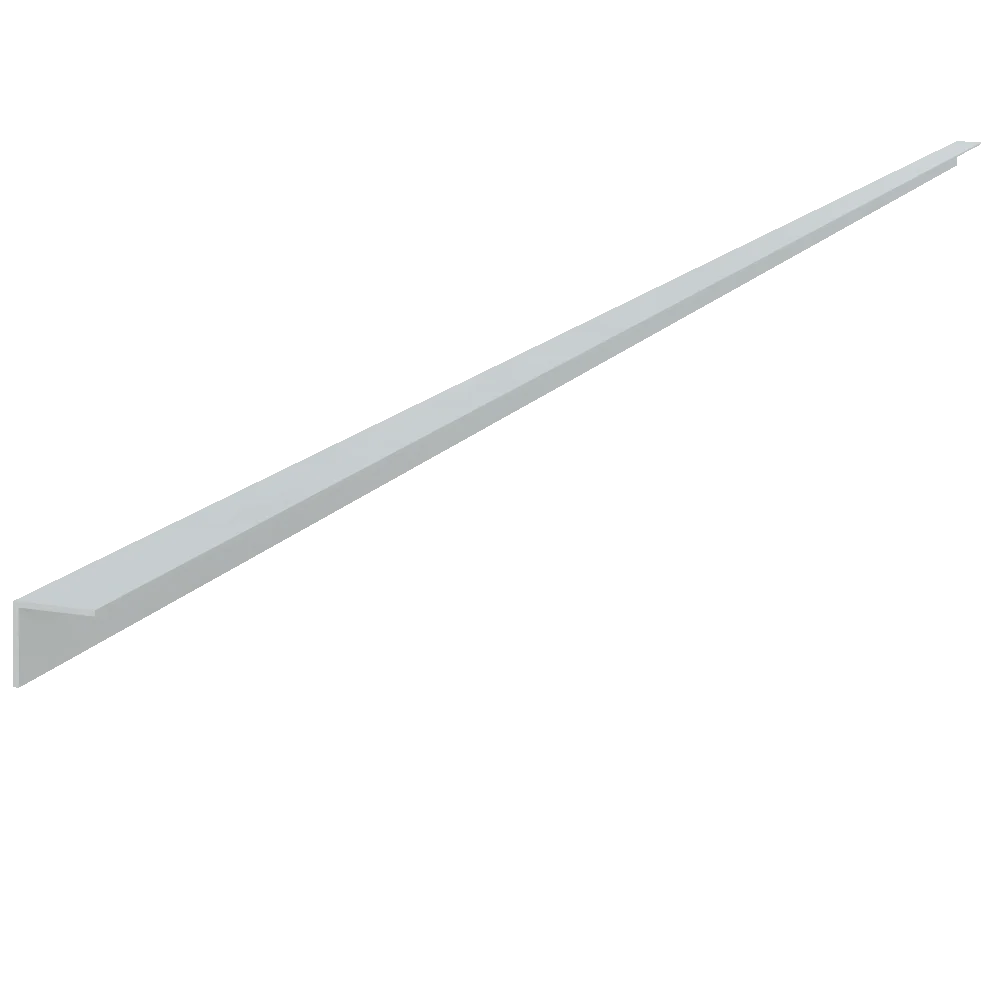
✨ Protect and enhance your cabinetry with the sleek, stylish Designer DripEdge®. Designed to fit pull-out waste cans, this innovative cabinet protection trim prevents damage while adding a premium finish to your kitchen design. With its pre-applied UHB tape, installation is effortless—just peel and stick for a clean, professional look.
Key Features:
-
💪 Durable and Rust-Resistant — Built to withstand everyday use, the Designer DripEdge® ensures long-lasting protection for your pull-out waste can area, offering a rust-resistant solution to maintain your kitchen’s aesthetic over time.
-
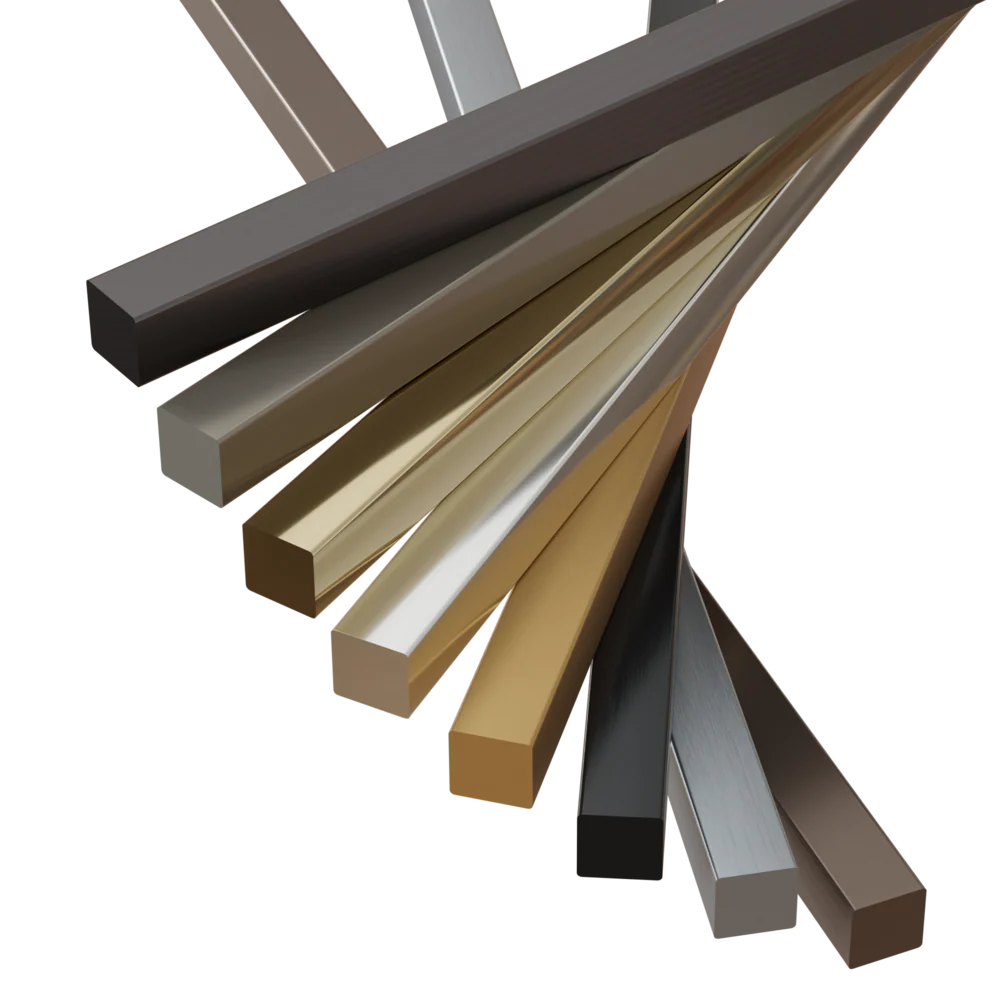
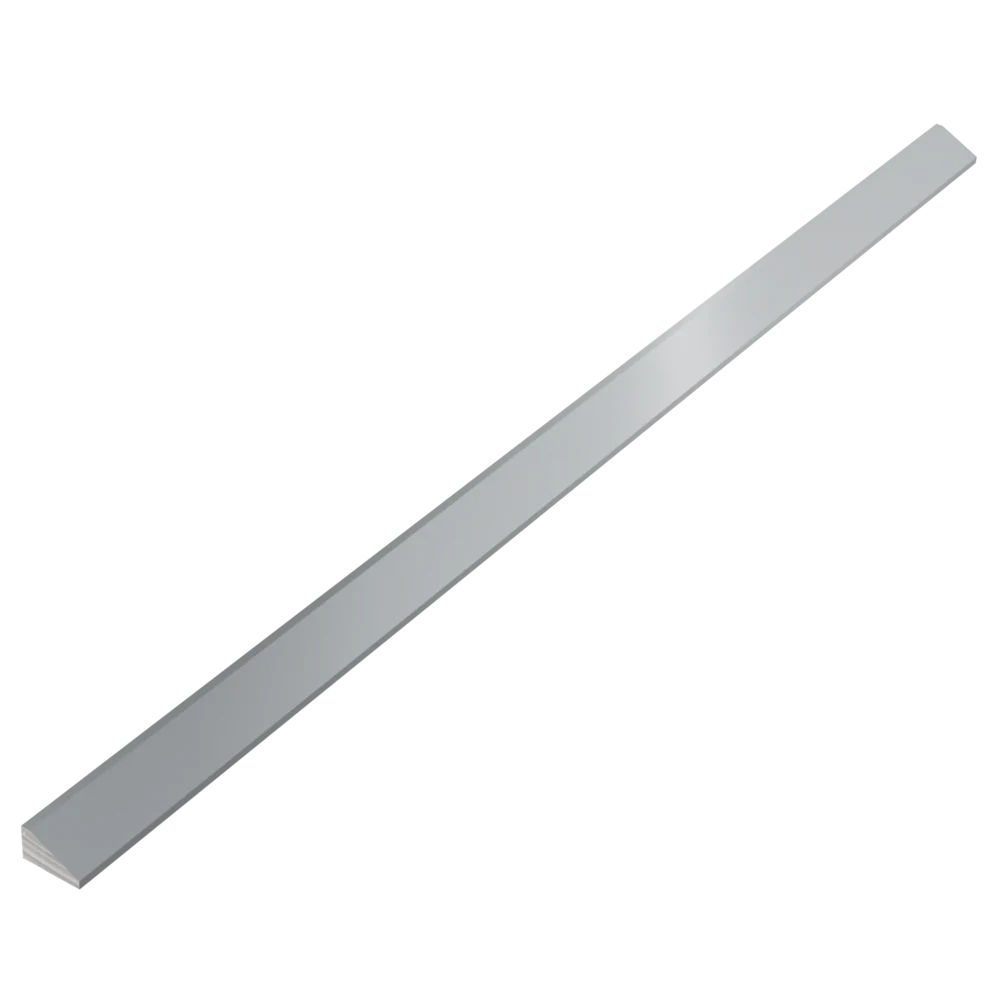
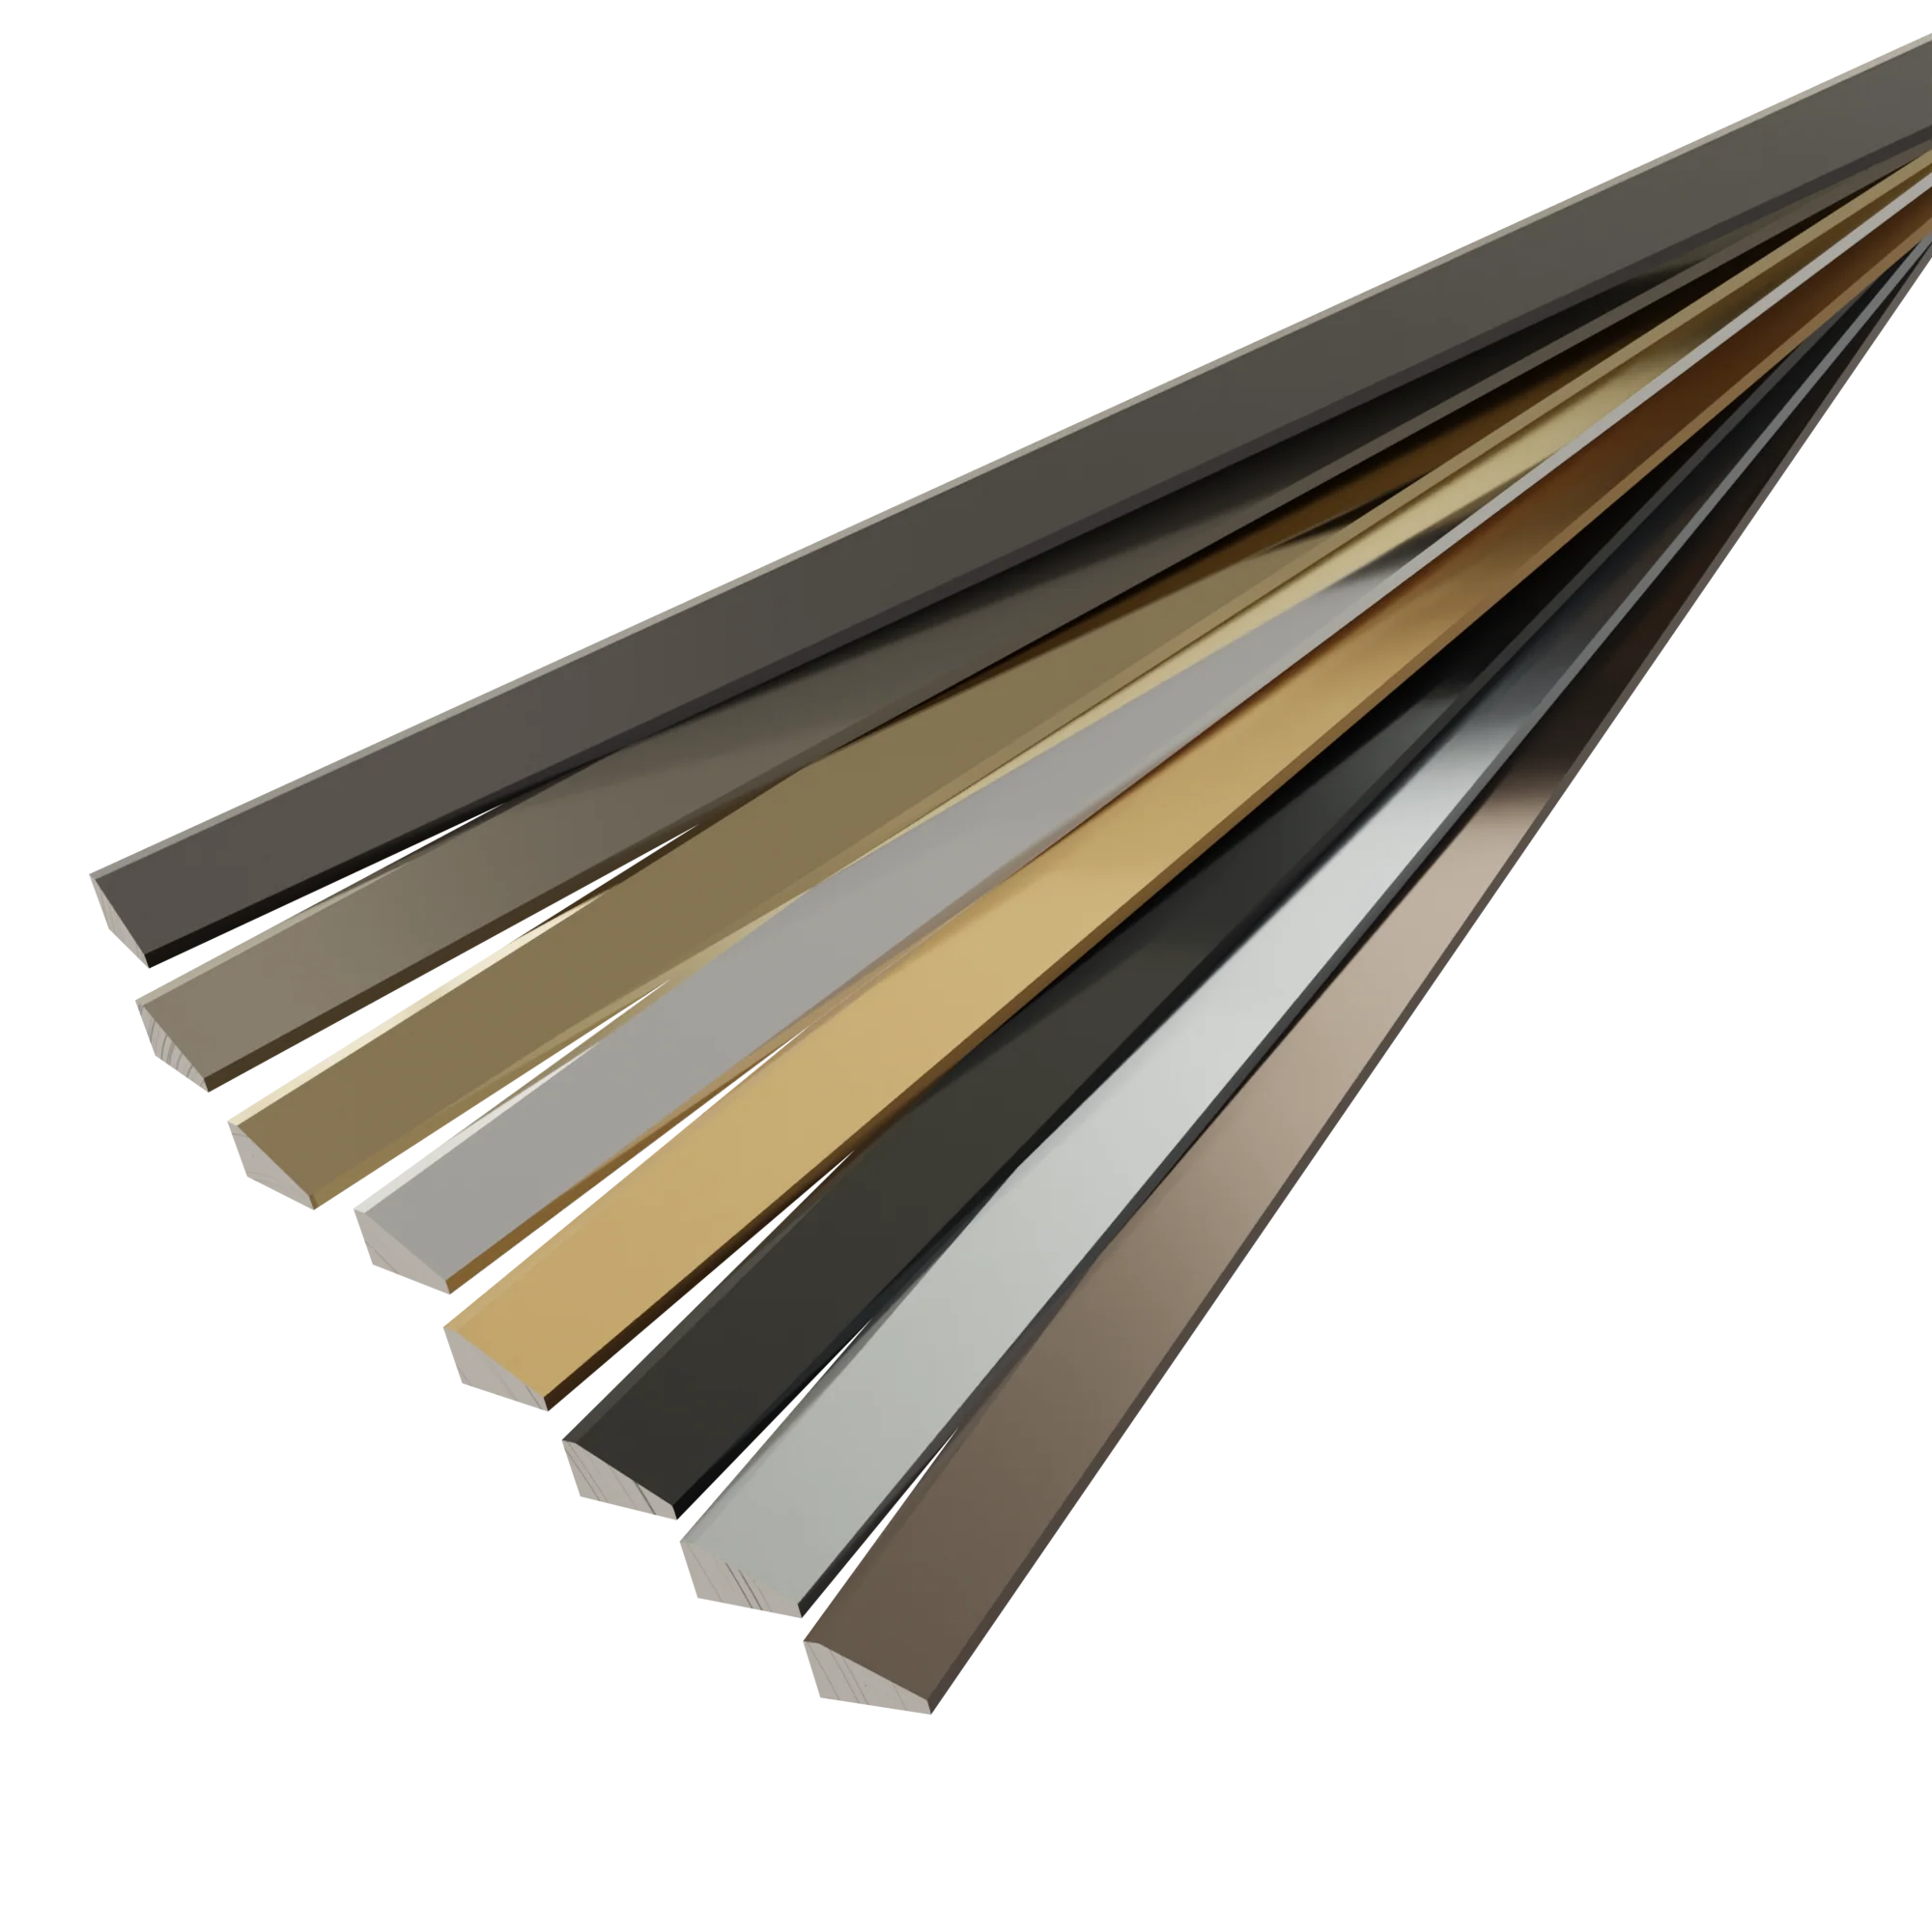
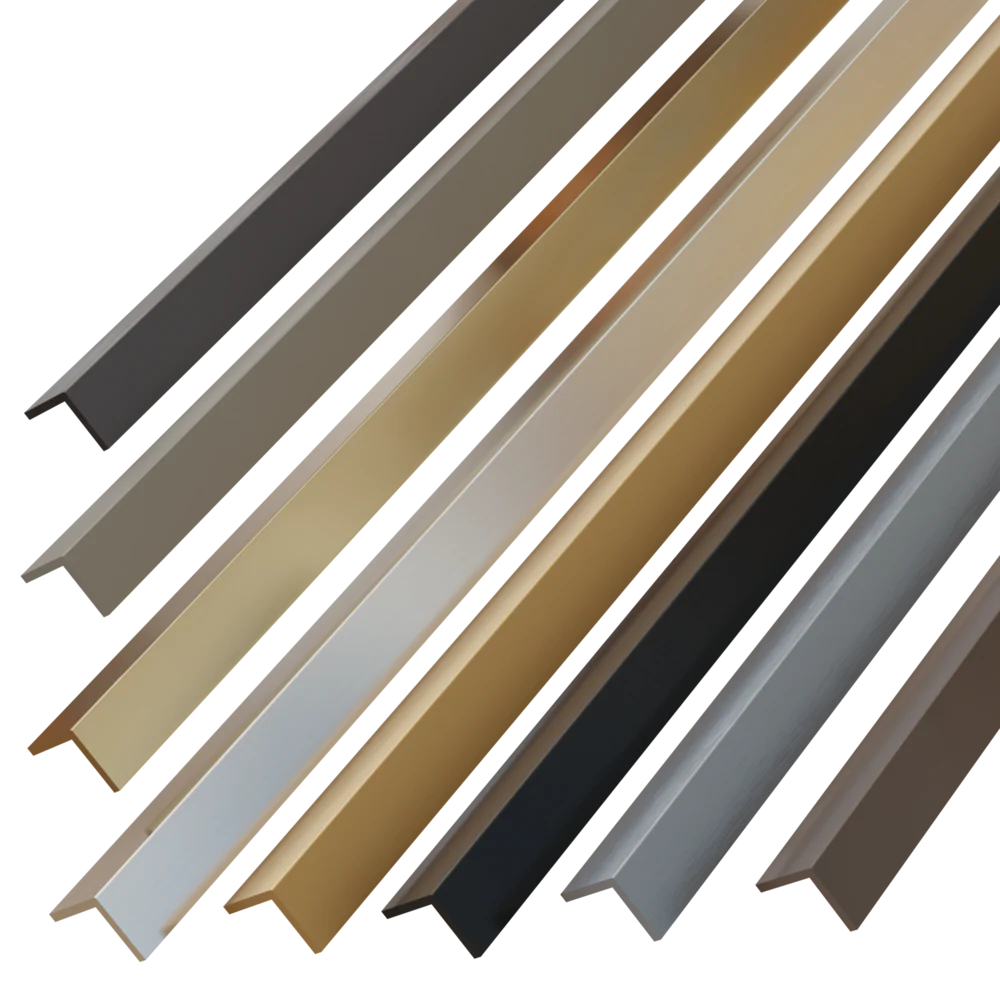
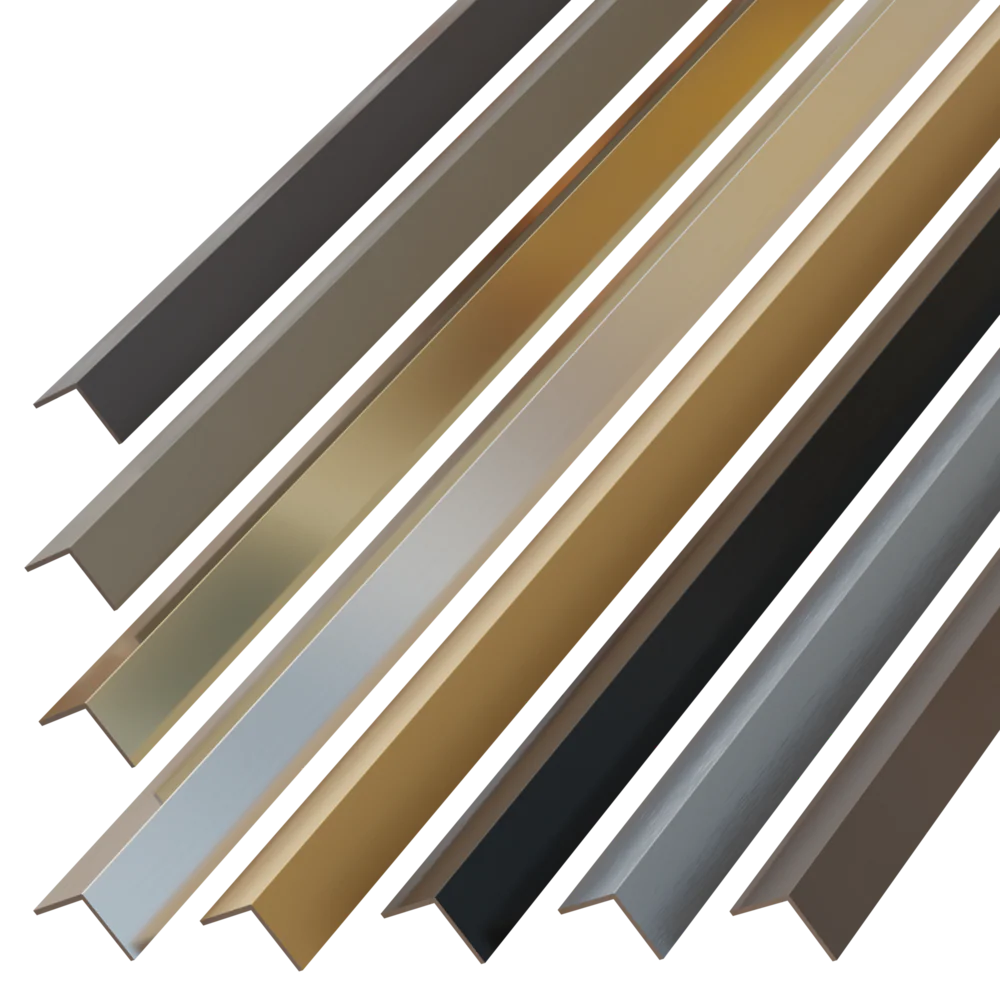
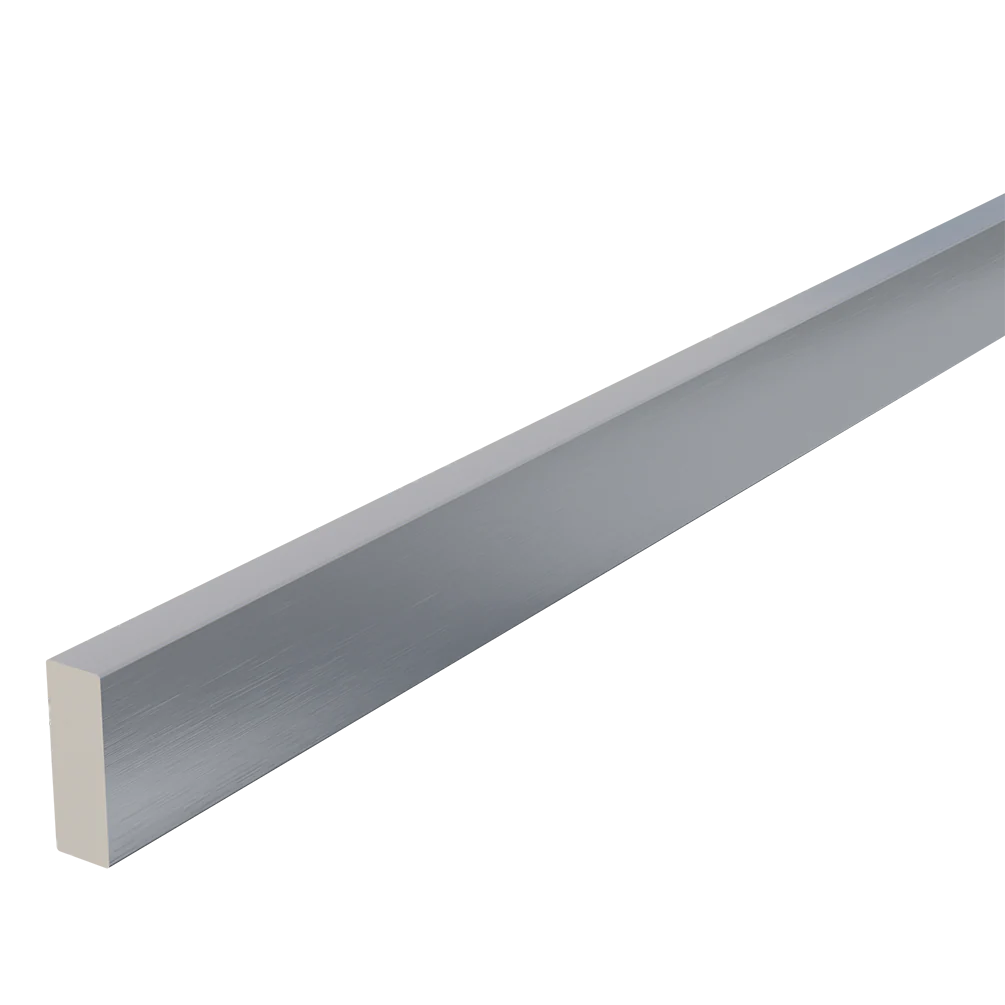
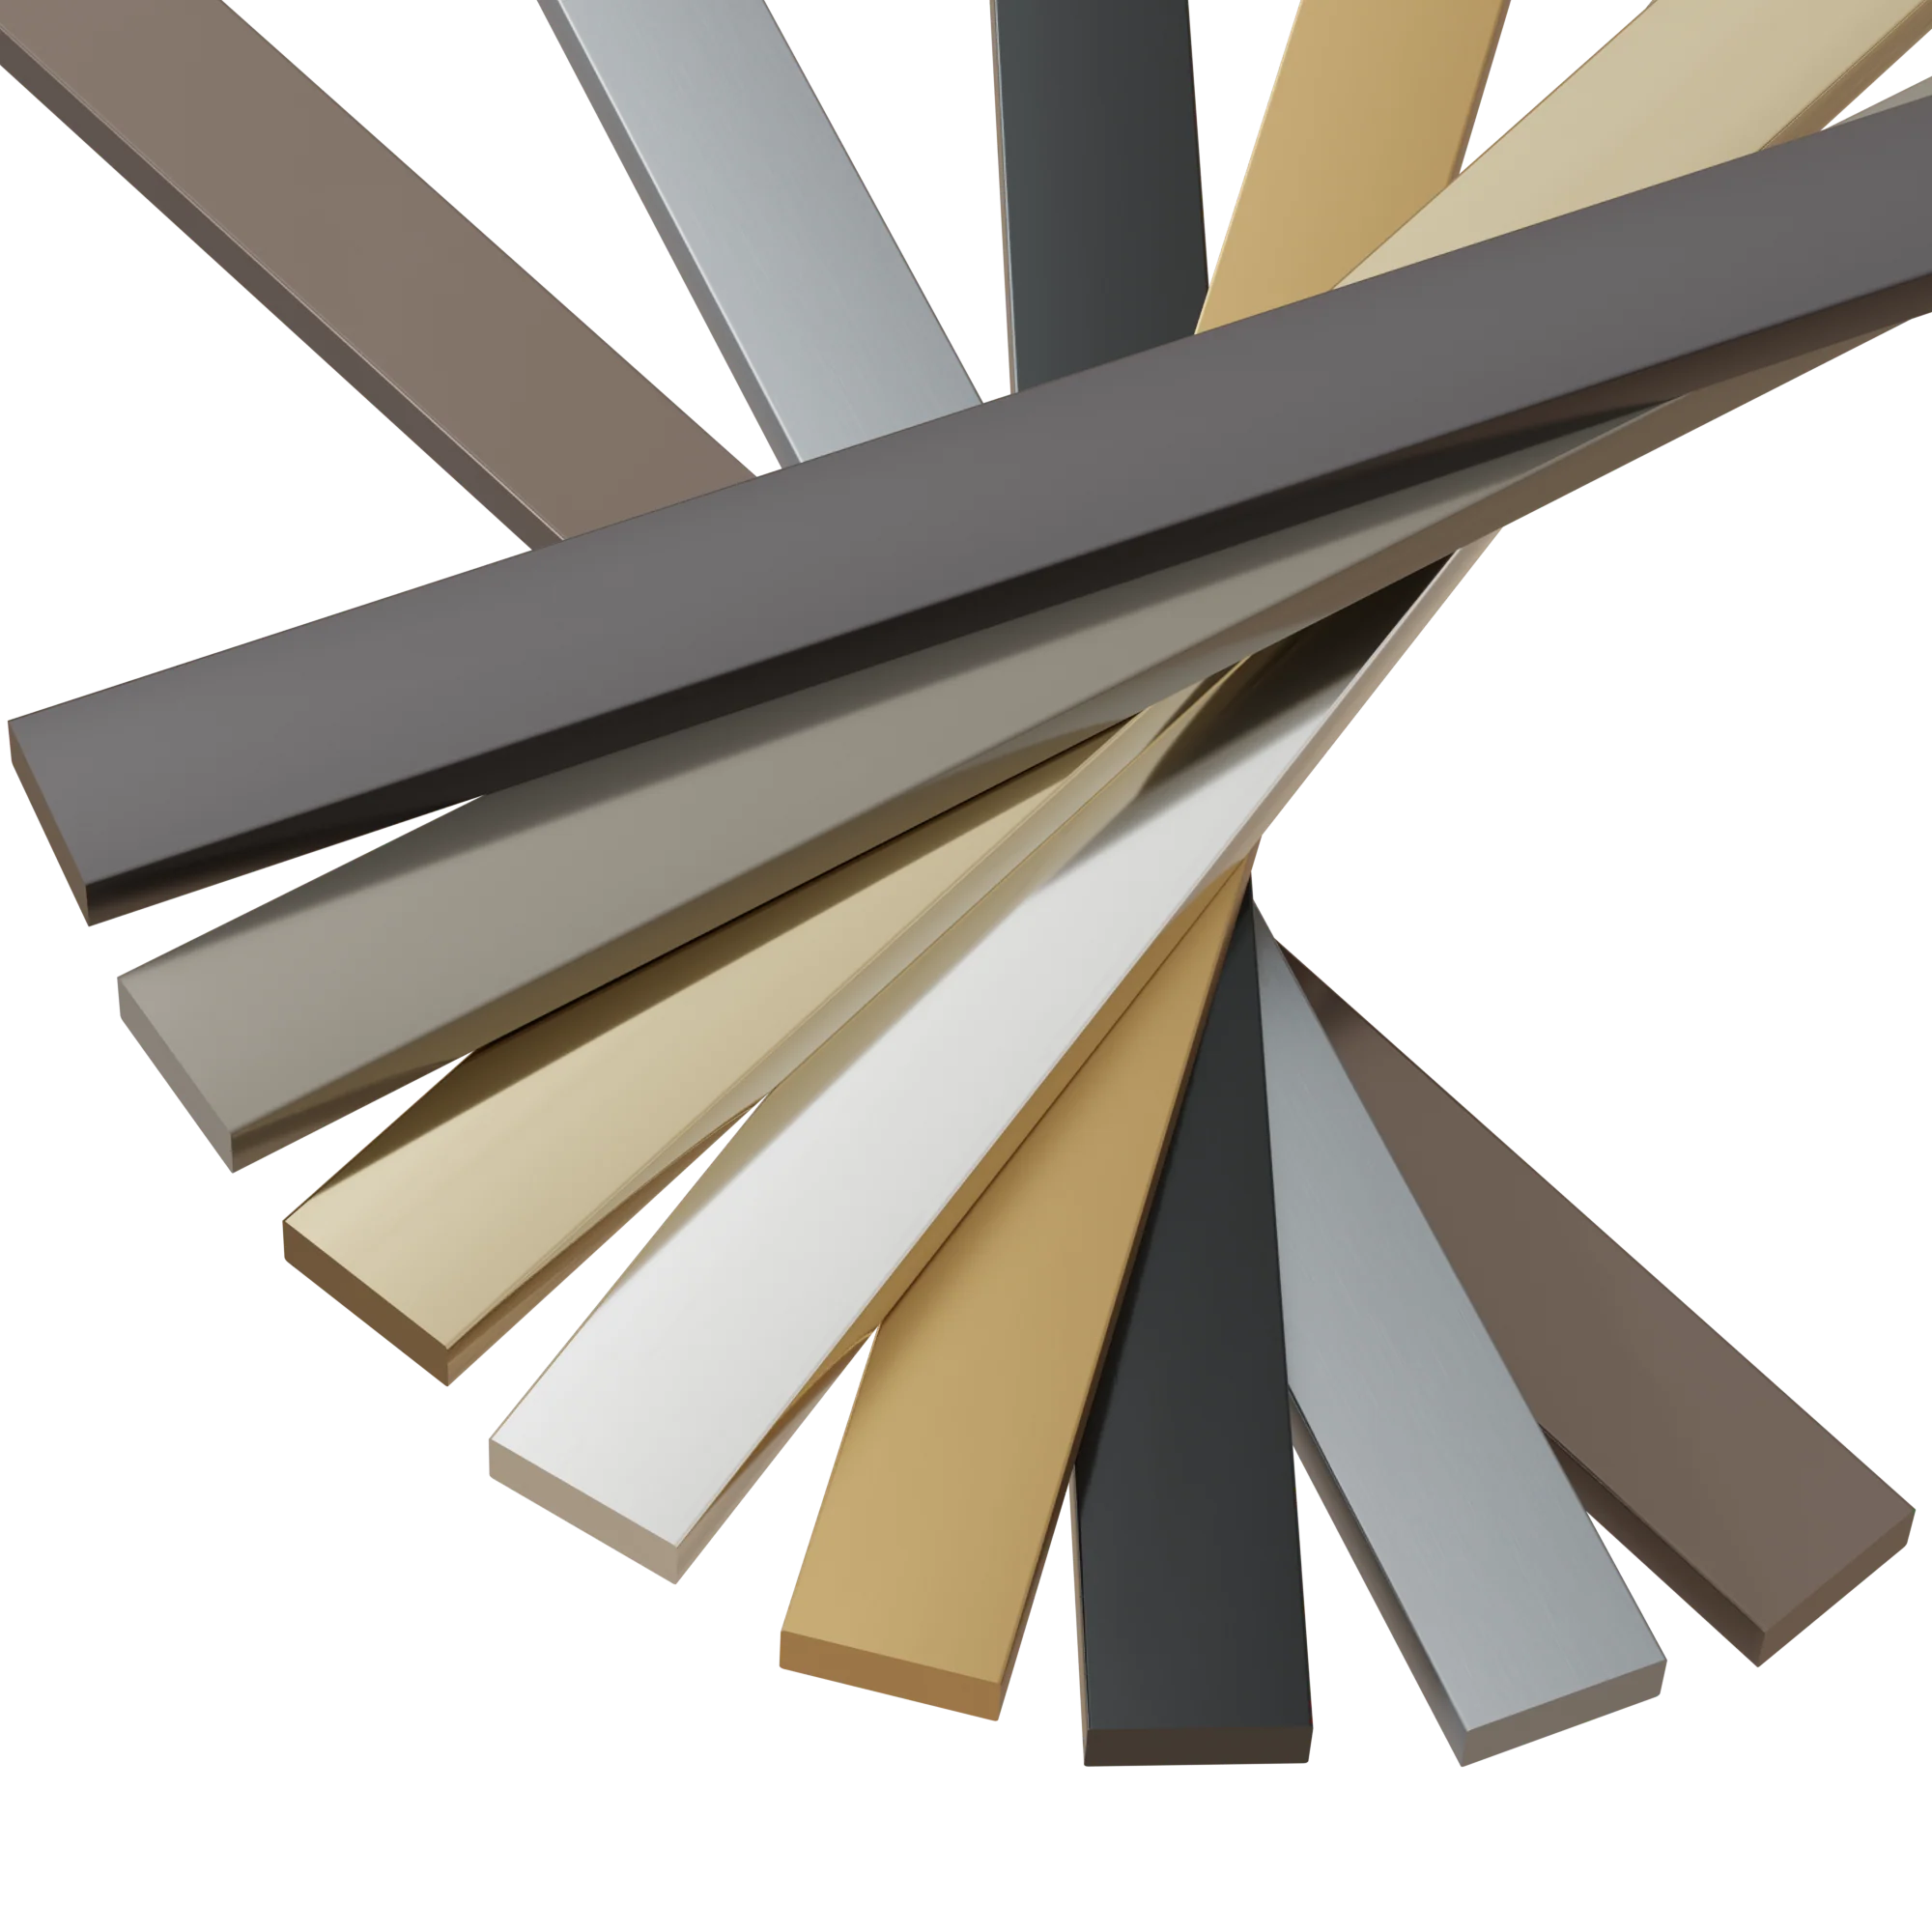
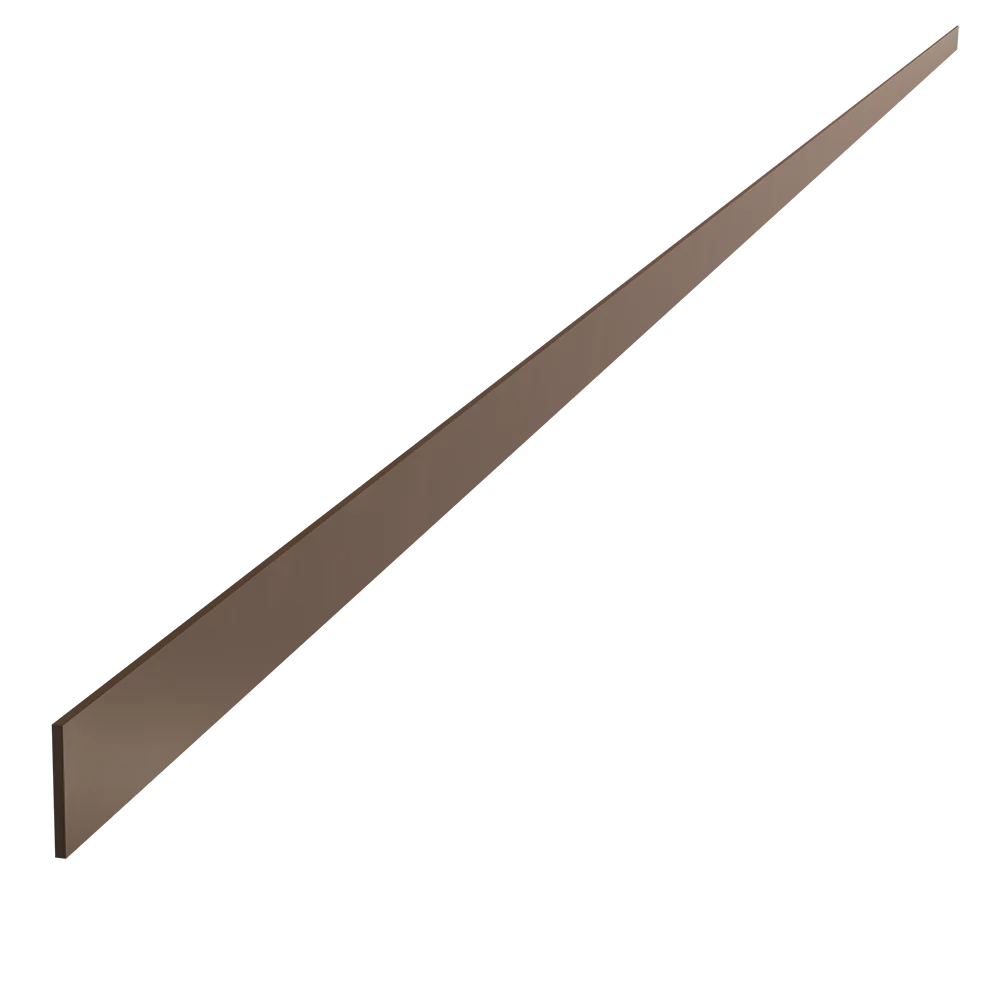
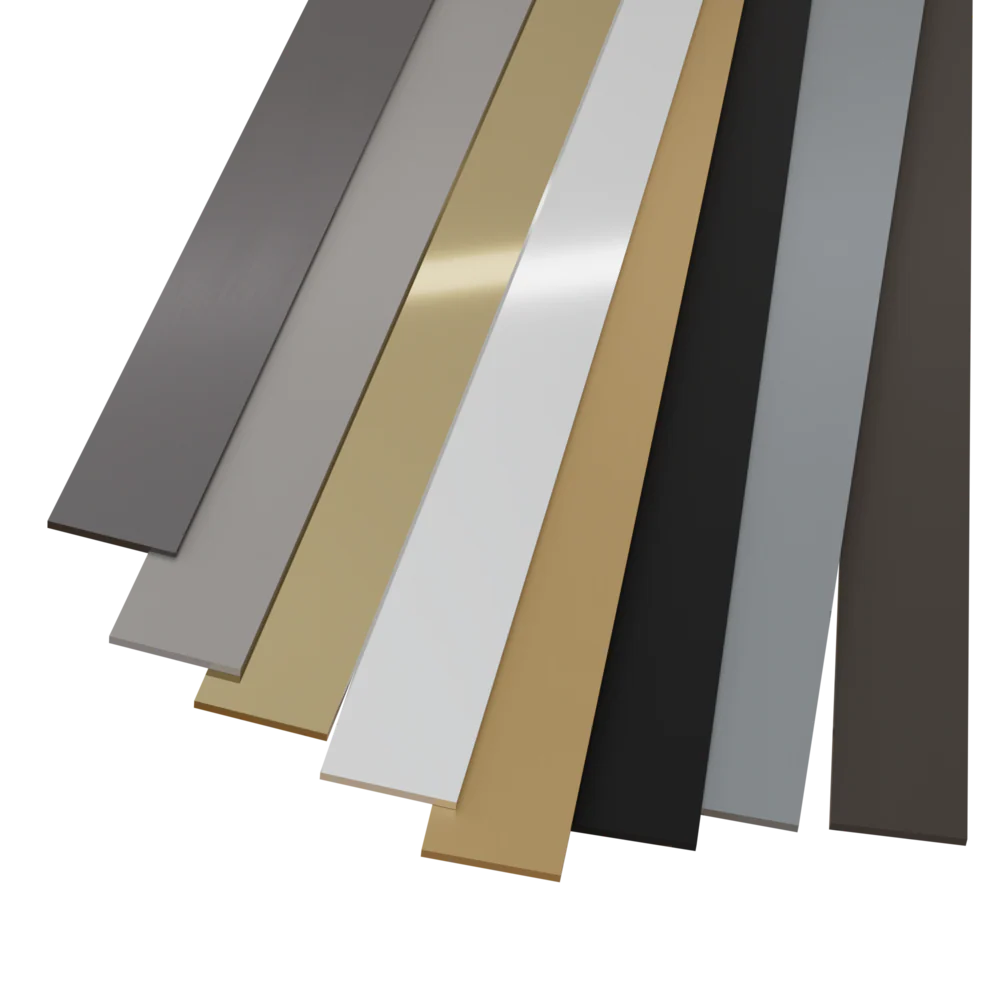
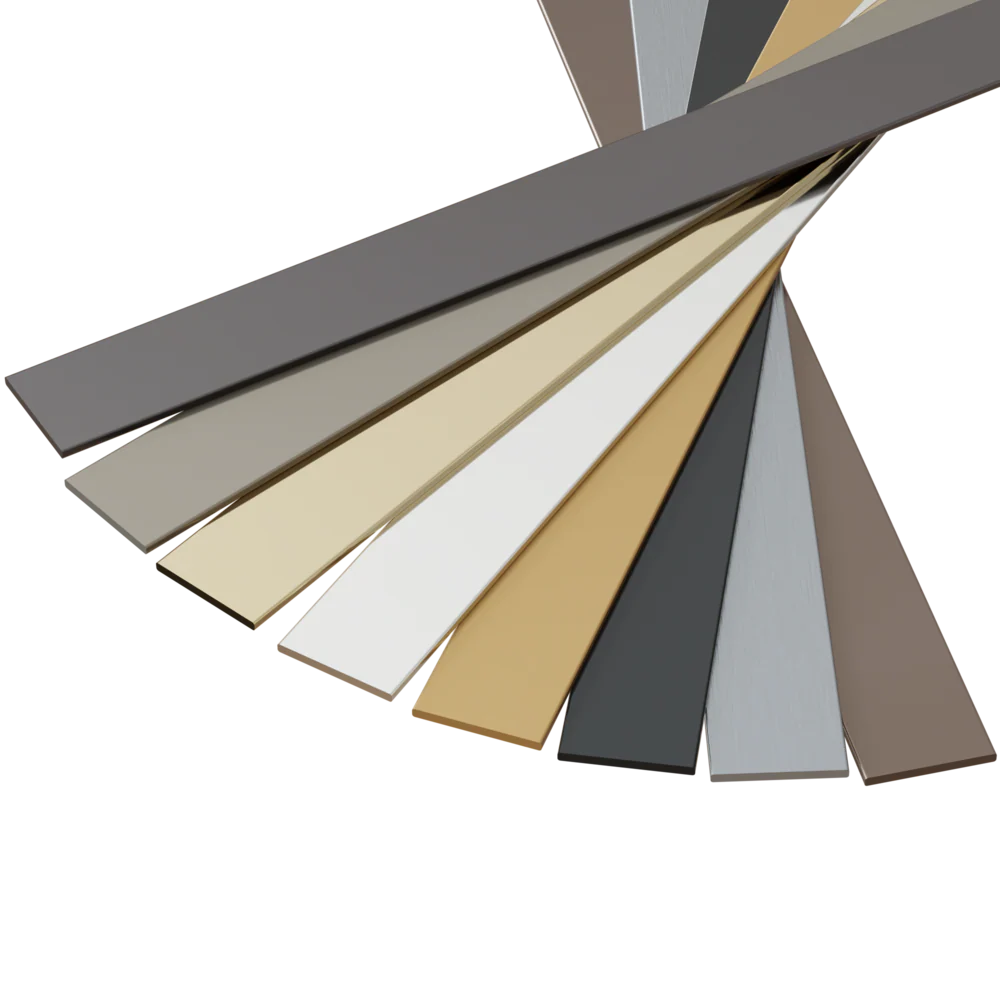
🎨 Available in Three Stylish Metal Finishes — Choose from a variety of metal finishes like flat black, satin brass, or brushed aluminum—perfect for complementing any kitchen style. Each finish is available in customizable lengths to perfectly fit your cabinetry and project needs.
-
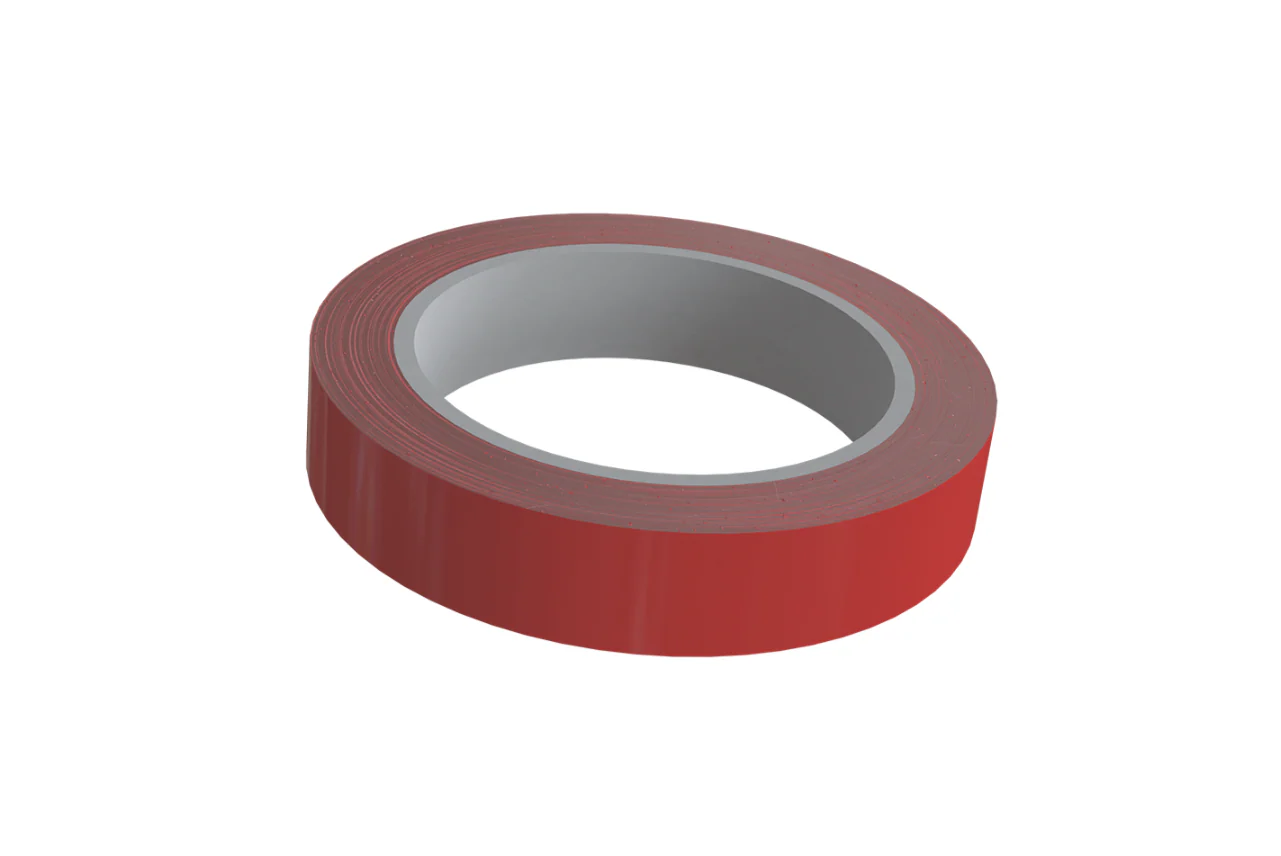
🛠️ Easy Installation with Pre-Applied UHB Tape — No need for extra tools! The UHB tape is already built into the Designer DripEdge®, making installation as simple as peel and stick—saving you time while delivering a secure, professional-grade result.
-
🔗 Versatile Use — Ideal for protecting pull-out waste cans, the Designer DripEdge® fits a wide range of cabinet designs and kitchen setups, ensuring a sleek, finished look that complements both residential and commercial spaces.
🔥 Protect your cabinetry in style and enhance your kitchen's design with the Designer DripEdge®. Add the finishing touch to your pull-out waste cans and cabinet edges today! 🔥
#DesignerDripEdge #PullOutWasteCanTrim #KitchenCabinetProtection #RustResistantTrim #PeelAndStickInstallation #KitchenDesign #HomeUpgrade #CabinetTrim #MetalFinishes
✨ How to Install the Designer DripEdge® with Precision: A Step-by-Step Guide ✨
IMPORTANT: Failure to properly install Designer DripEdge® may result in avoidable damage or injury. Always wear personal protective equipment during installation.
Step #1: Confirm the Fit 🔎
Check the fit of the Designer DripEdge® on your pull-out waste can. The fit will vary depending on the size and type of door used.
Step #2: Clean the Door Area 🧼
Thoroughly clean the top of the door where the Designer DripEdge® will be installed. Ensure the area is free of dust and fully dry before proceeding.
Step #3: Wipe with Rubbing Alcohol 🍶
Wipe the installation area again with rubbing alcohol to remove any remaining dust or residue. Dry the surface completely.
Step #4: Apply the Designer DripEdge® 🛠️
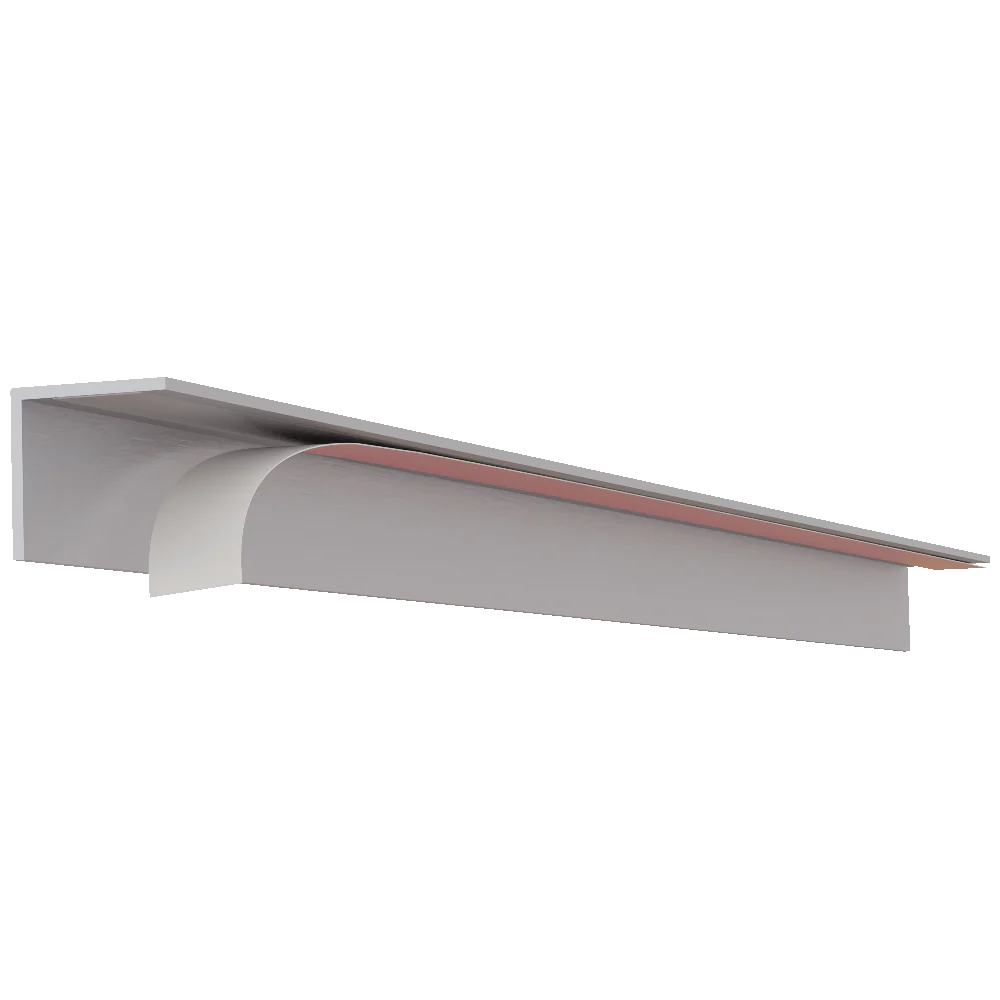
Peel the plastic cover from the pre-applied UHB tape on the Designer DripEdge®. Carefully attach it to the top of the pull-out door. Be precise in your placement to ensure a perfect fit.
Step #5: Secure with Pressure ✋
Hold the Designer DripEdge® tightly against the door and apply firm pressure for one minute. This step ensures the tape fully adheres, preventing future loosening.
Step #6: Routine Cleaning 🧽
Clean the Designer DripEdge® regularly using warm water and simple cleaning solutions to maintain its appearance and durability.
🌟 Designer DripEdge® for Pull-Out Waste Cans & Cabinet Protection 🌟
✨ Protect and enhance your cabinetry with the sleek, stylish Designer DripEdge®. Designed to fit pull-out waste cans, this innovative cabinet protection trim prevents damage while adding a premium finish to your kitchen design. With its pre-applied UHB tape, installation is effortless—just peel and stick for a clean, professional look.
Key Features:
-
💪 Durable and Rust-Resistant — Built to withstand everyday use, the Designer DripEdge® ensures long-lasting protection for your pull-out waste can area, offering a rust-resistant solution to maintain your kitchen’s aesthetic over time.
-
🎨 Available in Three Stylish Metal Finishes — Choose from a variety of metal finishes like flat black, satin brass, or brushed aluminum—perfect for complementing any kitchen style. Each finish is available in customizable lengths to perfectly fit your cabinetry and project needs.
-
🛠️ Easy Installation with Pre-Applied UHB Tape — No need for extra tools! The UHB tape is already built into the Designer DripEdge®, making installation as simple as peel and stick—saving you time while delivering a secure, professional-grade result.
-
🔗 Versatile Use — Ideal for protecting pull-out waste cans, the Designer DripEdge® fits a wide range of cabinet designs and kitchen setups, ensuring a sleek, finished look that complements both residential and commercial spaces.
🔥 Protect your cabinetry in style and enhance your kitchen's design with the Designer DripEdge®. Add the finishing touch to your pull-out waste cans and cabinet edges today! 🔥
#DesignerDripEdge #PullOutWasteCanTrim #KitchenCabinetProtection #RustResistantTrim #PeelAndStickInstallation #KitchenDesign #HomeUpgrade #CabinetTrim #MetalFinishes
✨ How to Install the Designer DripEdge® with Precision: A Step-by-Step Guide ✨
IMPORTANT: Failure to properly install Designer DripEdge® may result in avoidable damage or injury. Always wear personal protective equipment during installation.
Step #1: Confirm the Fit 🔎
Check the fit of the Designer DripEdge® on your pull-out waste can. The fit will vary depending on the size and type of door used.
Step #2: Clean the Door Area 🧼
Thoroughly clean the top of the door where the Designer DripEdge® will be installed. Ensure the area is free of dust and fully dry before proceeding.
Step #3: Wipe with Rubbing Alcohol 🍶
Wipe the installation area again with rubbing alcohol to remove any remaining dust or residue. Dry the surface completely.
Step #4: Apply the Designer DripEdge® 🛠️
Peel the plastic cover from the pre-applied UHB tape on the Designer DripEdge®. Carefully attach it to the top of the pull-out door. Be precise in your placement to ensure a perfect fit.
Step #5: Secure with Pressure ✋
Hold the Designer DripEdge® tightly against the door and apply firm pressure for one minute. This step ensures the tape fully adheres, preventing future loosening.
Step #6: Routine Cleaning 🧽
Clean the Designer DripEdge® regularly using warm water and simple cleaning solutions to maintain its appearance and durability.
Original: $36.00
-65%$36.00
$12.60Description
🌟 Designer DripEdge® for Pull-Out Waste Cans & Cabinet Protection 🌟
✨ Protect and enhance your cabinetry with the sleek, stylish Designer DripEdge®. Designed to fit pull-out waste cans, this innovative cabinet protection trim prevents damage while adding a premium finish to your kitchen design. With its pre-applied UHB tape, installation is effortless—just peel and stick for a clean, professional look.
Key Features:
-
💪 Durable and Rust-Resistant — Built to withstand everyday use, the Designer DripEdge® ensures long-lasting protection for your pull-out waste can area, offering a rust-resistant solution to maintain your kitchen’s aesthetic over time.
-
🎨 Available in Three Stylish Metal Finishes — Choose from a variety of metal finishes like flat black, satin brass, or brushed aluminum—perfect for complementing any kitchen style. Each finish is available in customizable lengths to perfectly fit your cabinetry and project needs.
-
🛠️ Easy Installation with Pre-Applied UHB Tape — No need for extra tools! The UHB tape is already built into the Designer DripEdge®, making installation as simple as peel and stick—saving you time while delivering a secure, professional-grade result.
-
🔗 Versatile Use — Ideal for protecting pull-out waste cans, the Designer DripEdge® fits a wide range of cabinet designs and kitchen setups, ensuring a sleek, finished look that complements both residential and commercial spaces.
🔥 Protect your cabinetry in style and enhance your kitchen's design with the Designer DripEdge®. Add the finishing touch to your pull-out waste cans and cabinet edges today! 🔥
#DesignerDripEdge #PullOutWasteCanTrim #KitchenCabinetProtection #RustResistantTrim #PeelAndStickInstallation #KitchenDesign #HomeUpgrade #CabinetTrim #MetalFinishes
✨ How to Install the Designer DripEdge® with Precision: A Step-by-Step Guide ✨
IMPORTANT: Failure to properly install Designer DripEdge® may result in avoidable damage or injury. Always wear personal protective equipment during installation.
Step #1: Confirm the Fit 🔎
Check the fit of the Designer DripEdge® on your pull-out waste can. The fit will vary depending on the size and type of door used.
Step #2: Clean the Door Area 🧼
Thoroughly clean the top of the door where the Designer DripEdge® will be installed. Ensure the area is free of dust and fully dry before proceeding.
Step #3: Wipe with Rubbing Alcohol 🍶
Wipe the installation area again with rubbing alcohol to remove any remaining dust or residue. Dry the surface completely.
Step #4: Apply the Designer DripEdge® 🛠️
Peel the plastic cover from the pre-applied UHB tape on the Designer DripEdge®. Carefully attach it to the top of the pull-out door. Be precise in your placement to ensure a perfect fit.
Step #5: Secure with Pressure ✋
Hold the Designer DripEdge® tightly against the door and apply firm pressure for one minute. This step ensures the tape fully adheres, preventing future loosening.
Step #6: Routine Cleaning 🧽
Clean the Designer DripEdge® regularly using warm water and simple cleaning solutions to maintain its appearance and durability.