White River Hardwoods · Harmony Series · Acoustic Trim
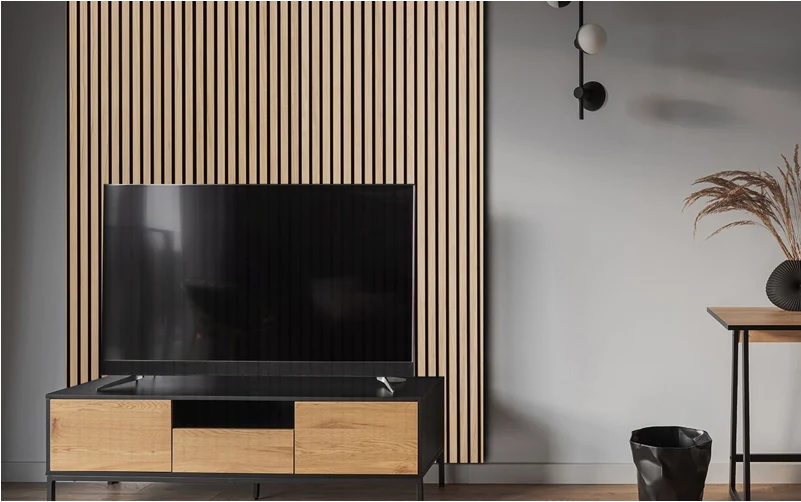
Natural White Oak
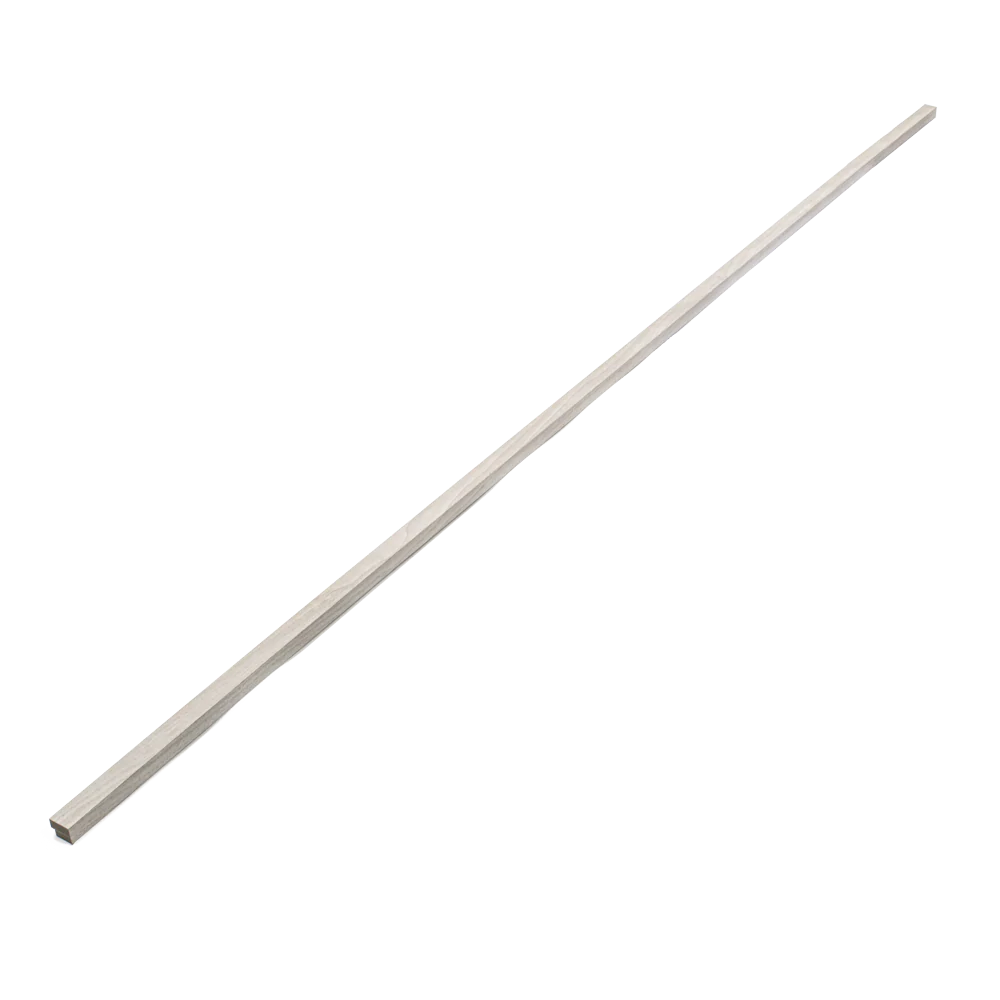
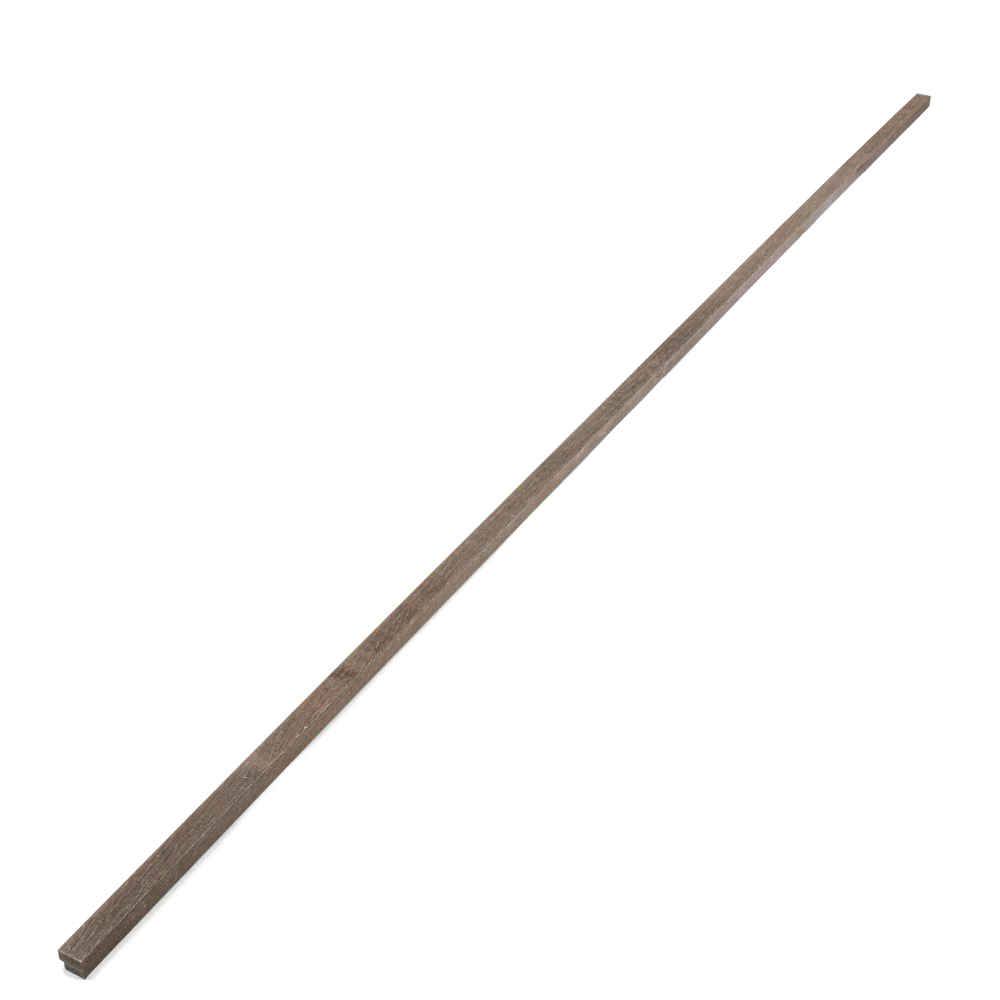
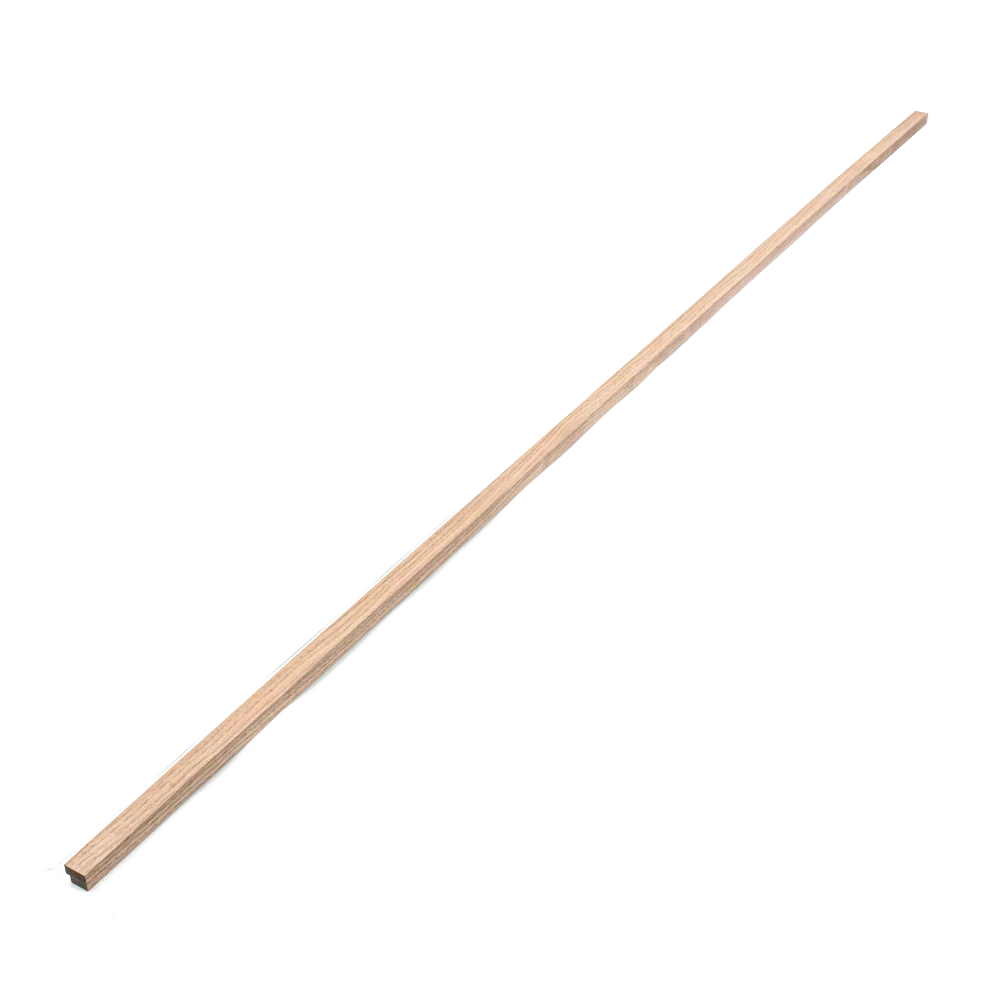
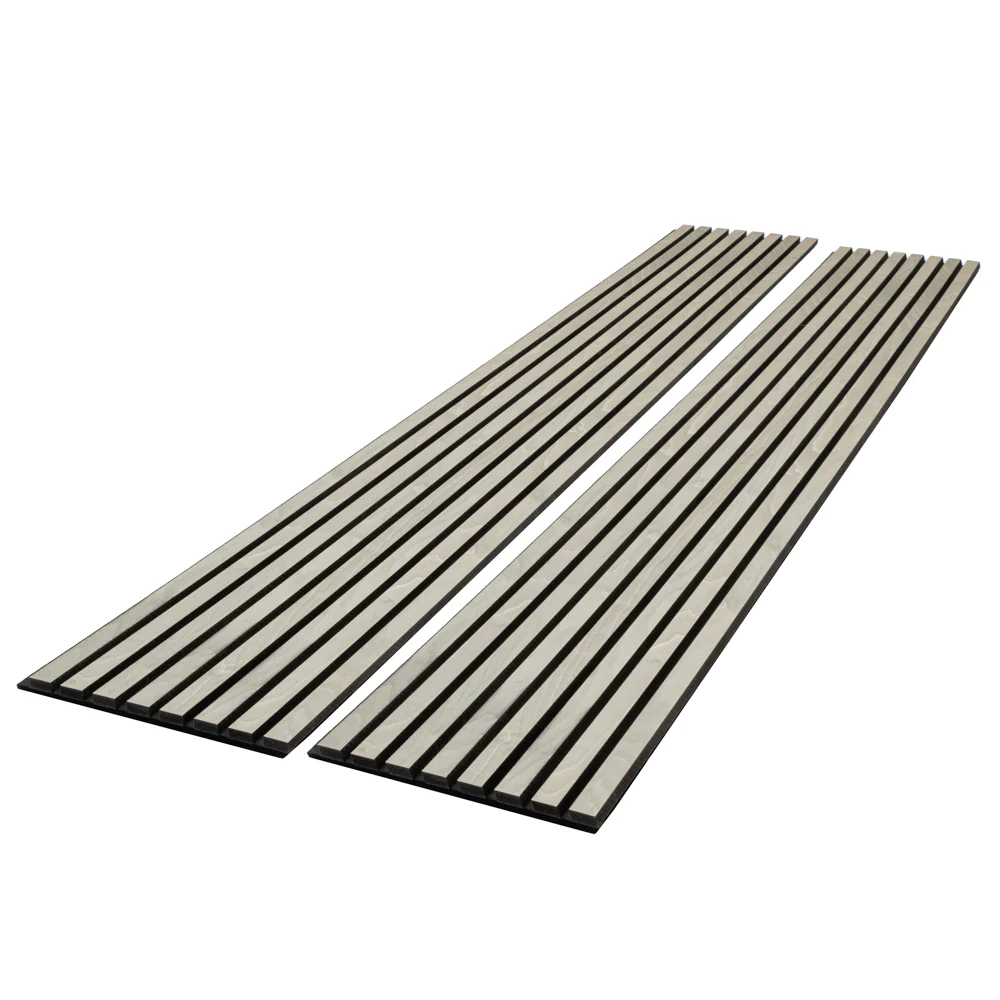
Acoustic Trim
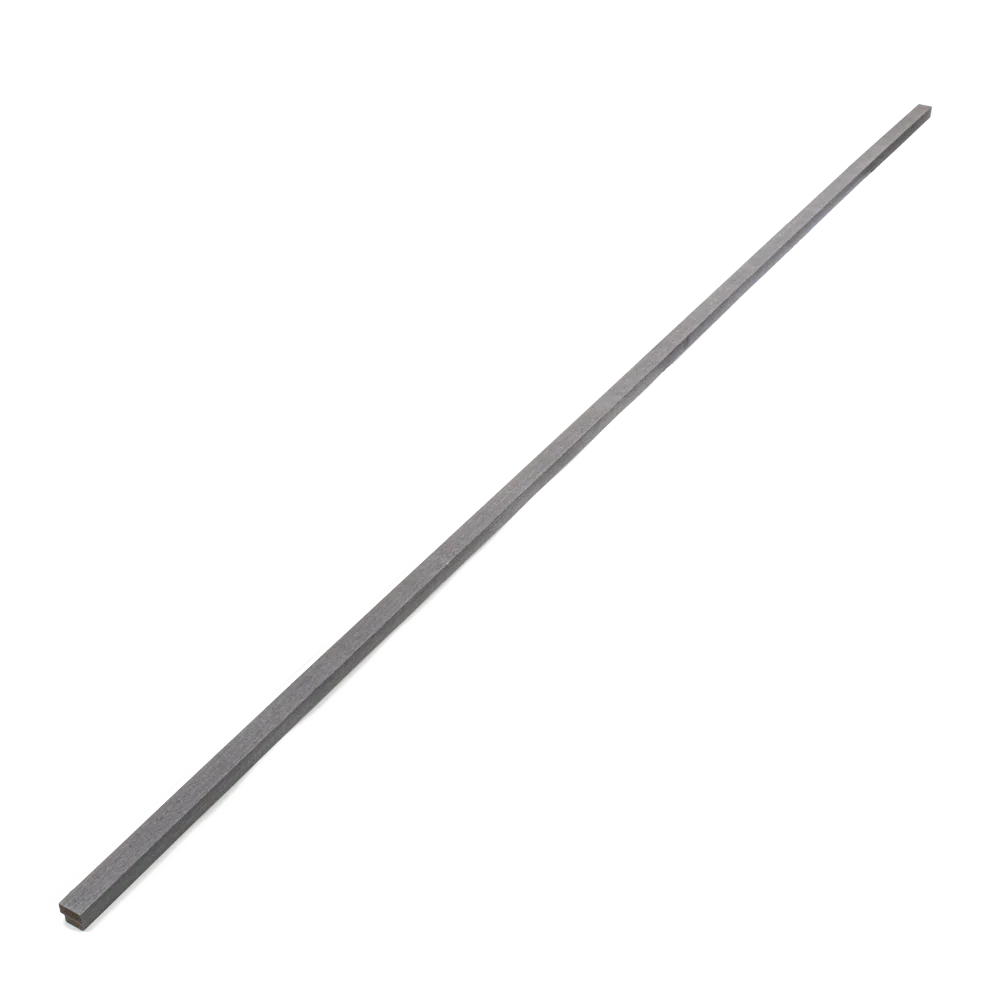
SKU ATR100-94SG · Sold Per Piece · 94″ Length
Natural White Oak · Precision Cut · Harmony Series Match
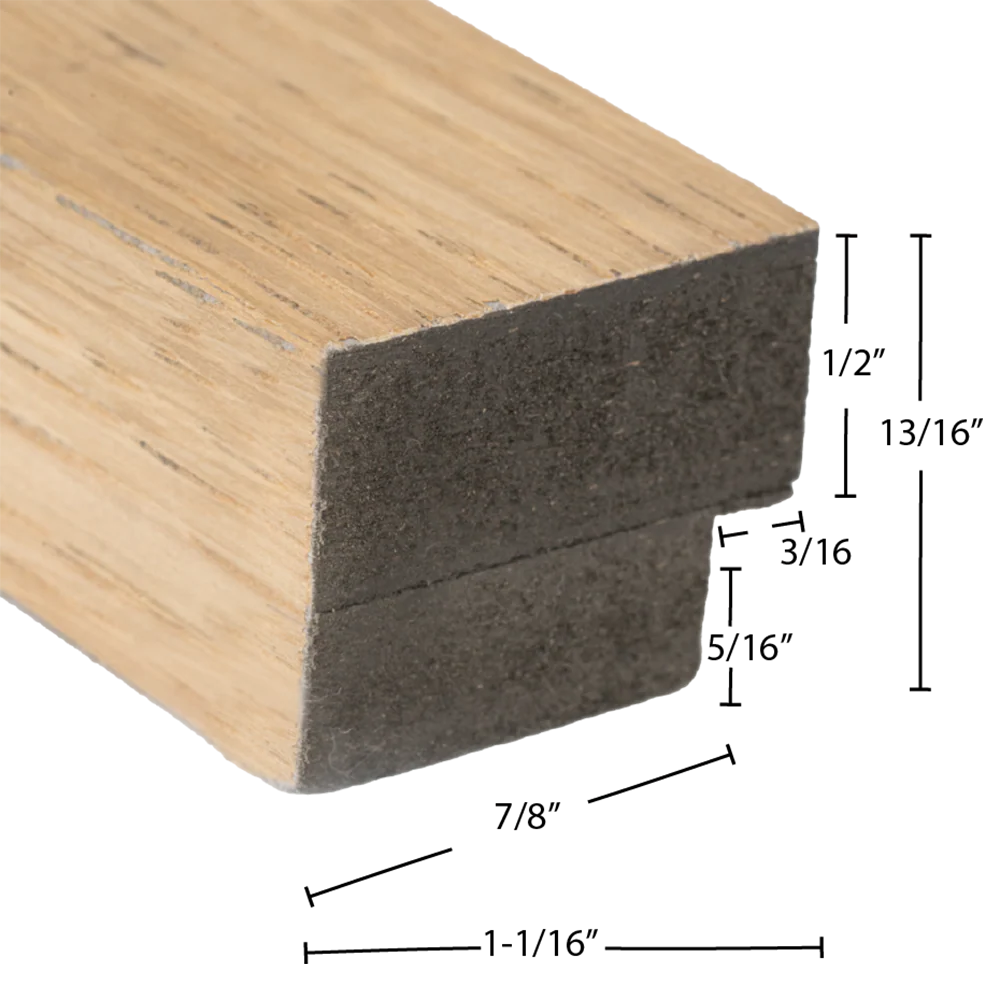
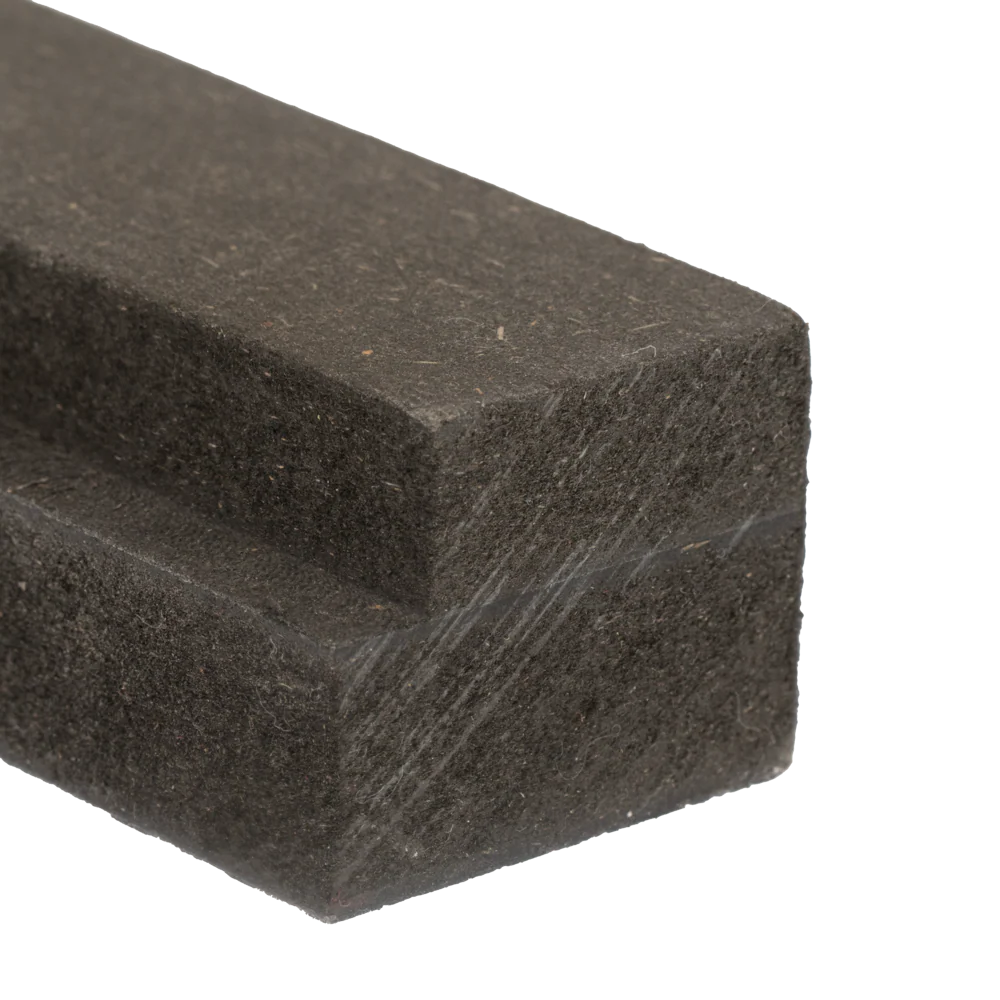
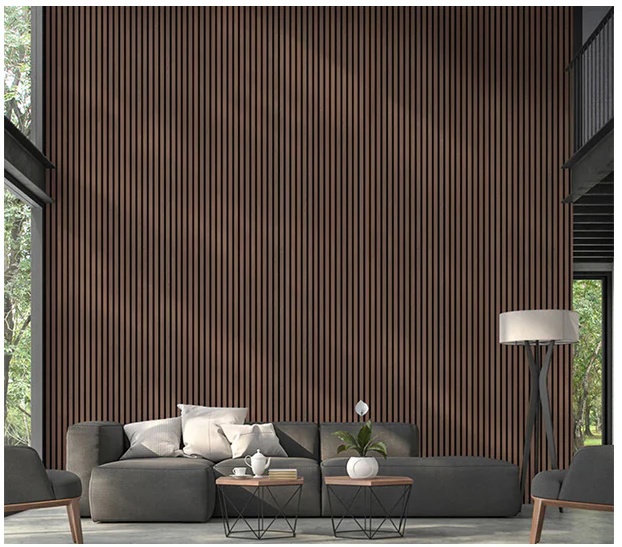
The finishing detail that completes the installation. Precision-cut Natural White Oak trim designed to match the Harmony Series acoustic panels edge for edge — clean transitions at panel ends, corners, and ceiling lines.
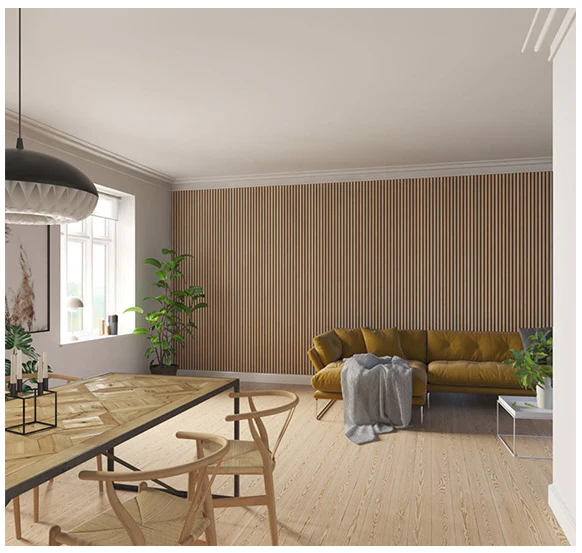
The panel does the work. The trim finishes the story — a precision-cut Natural White Oak edge that makes the whole installation look considered and complete.
Product Details
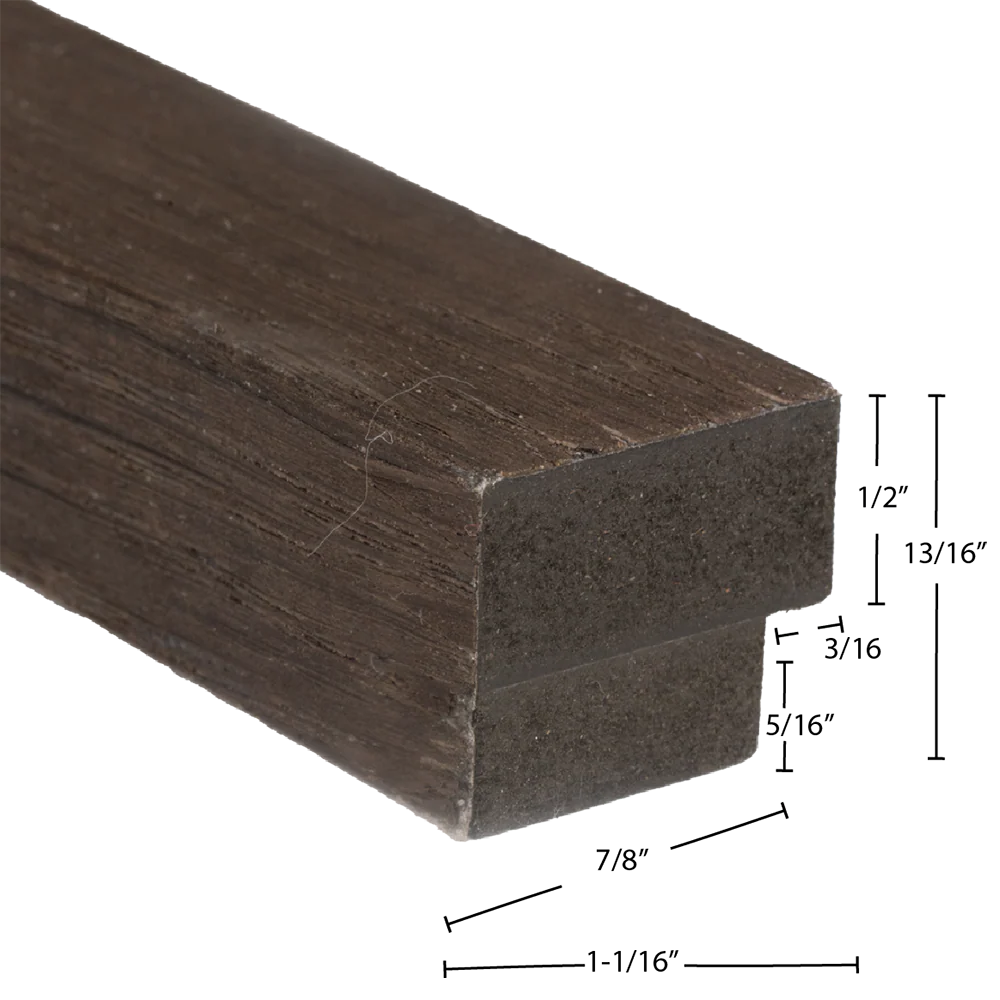
Specifications
| SKU |
Finish |
Dimensions |
Sold As |
| ATR100-94SG |
Natural White Oak |
13/16″ thick × 1-1/16″ wide × 94″ long |
Per Piece |
* Designed to pair with the Natural White Oak Harmony Series acoustic panels. Order one trim piece per panel run end, corner, or transition point.
Why the Trim Matters
The Finishing Detail
✦
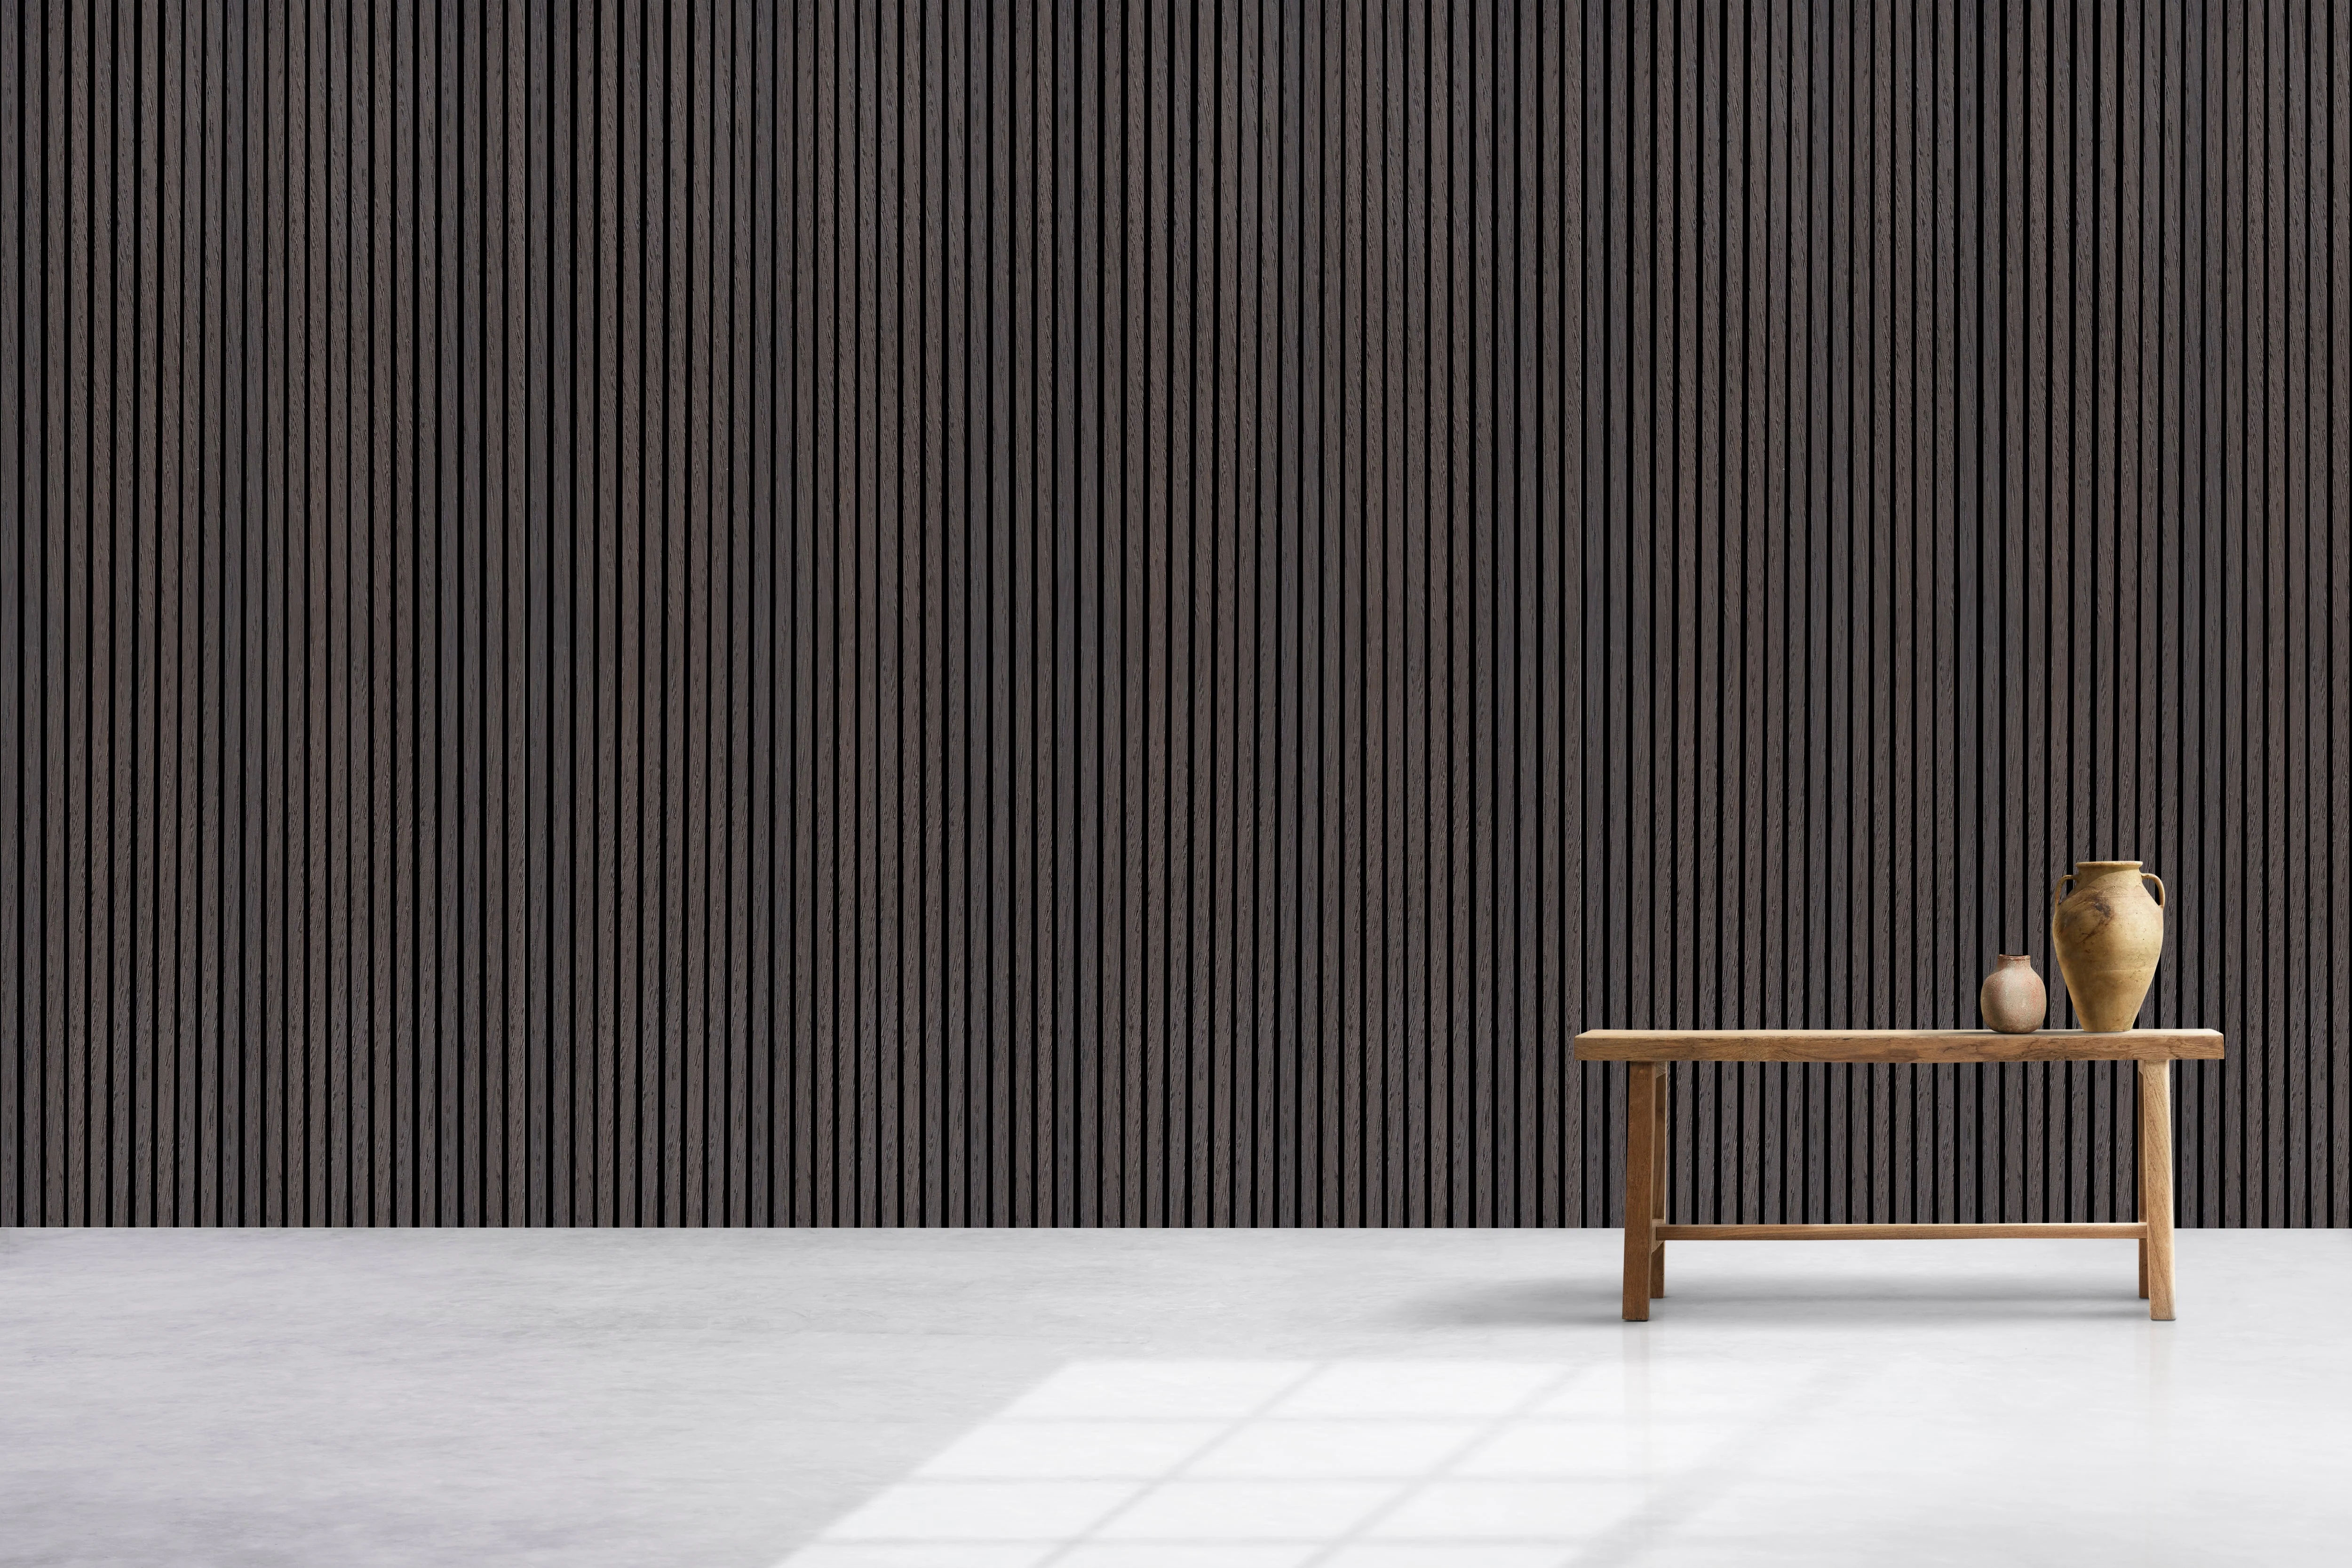
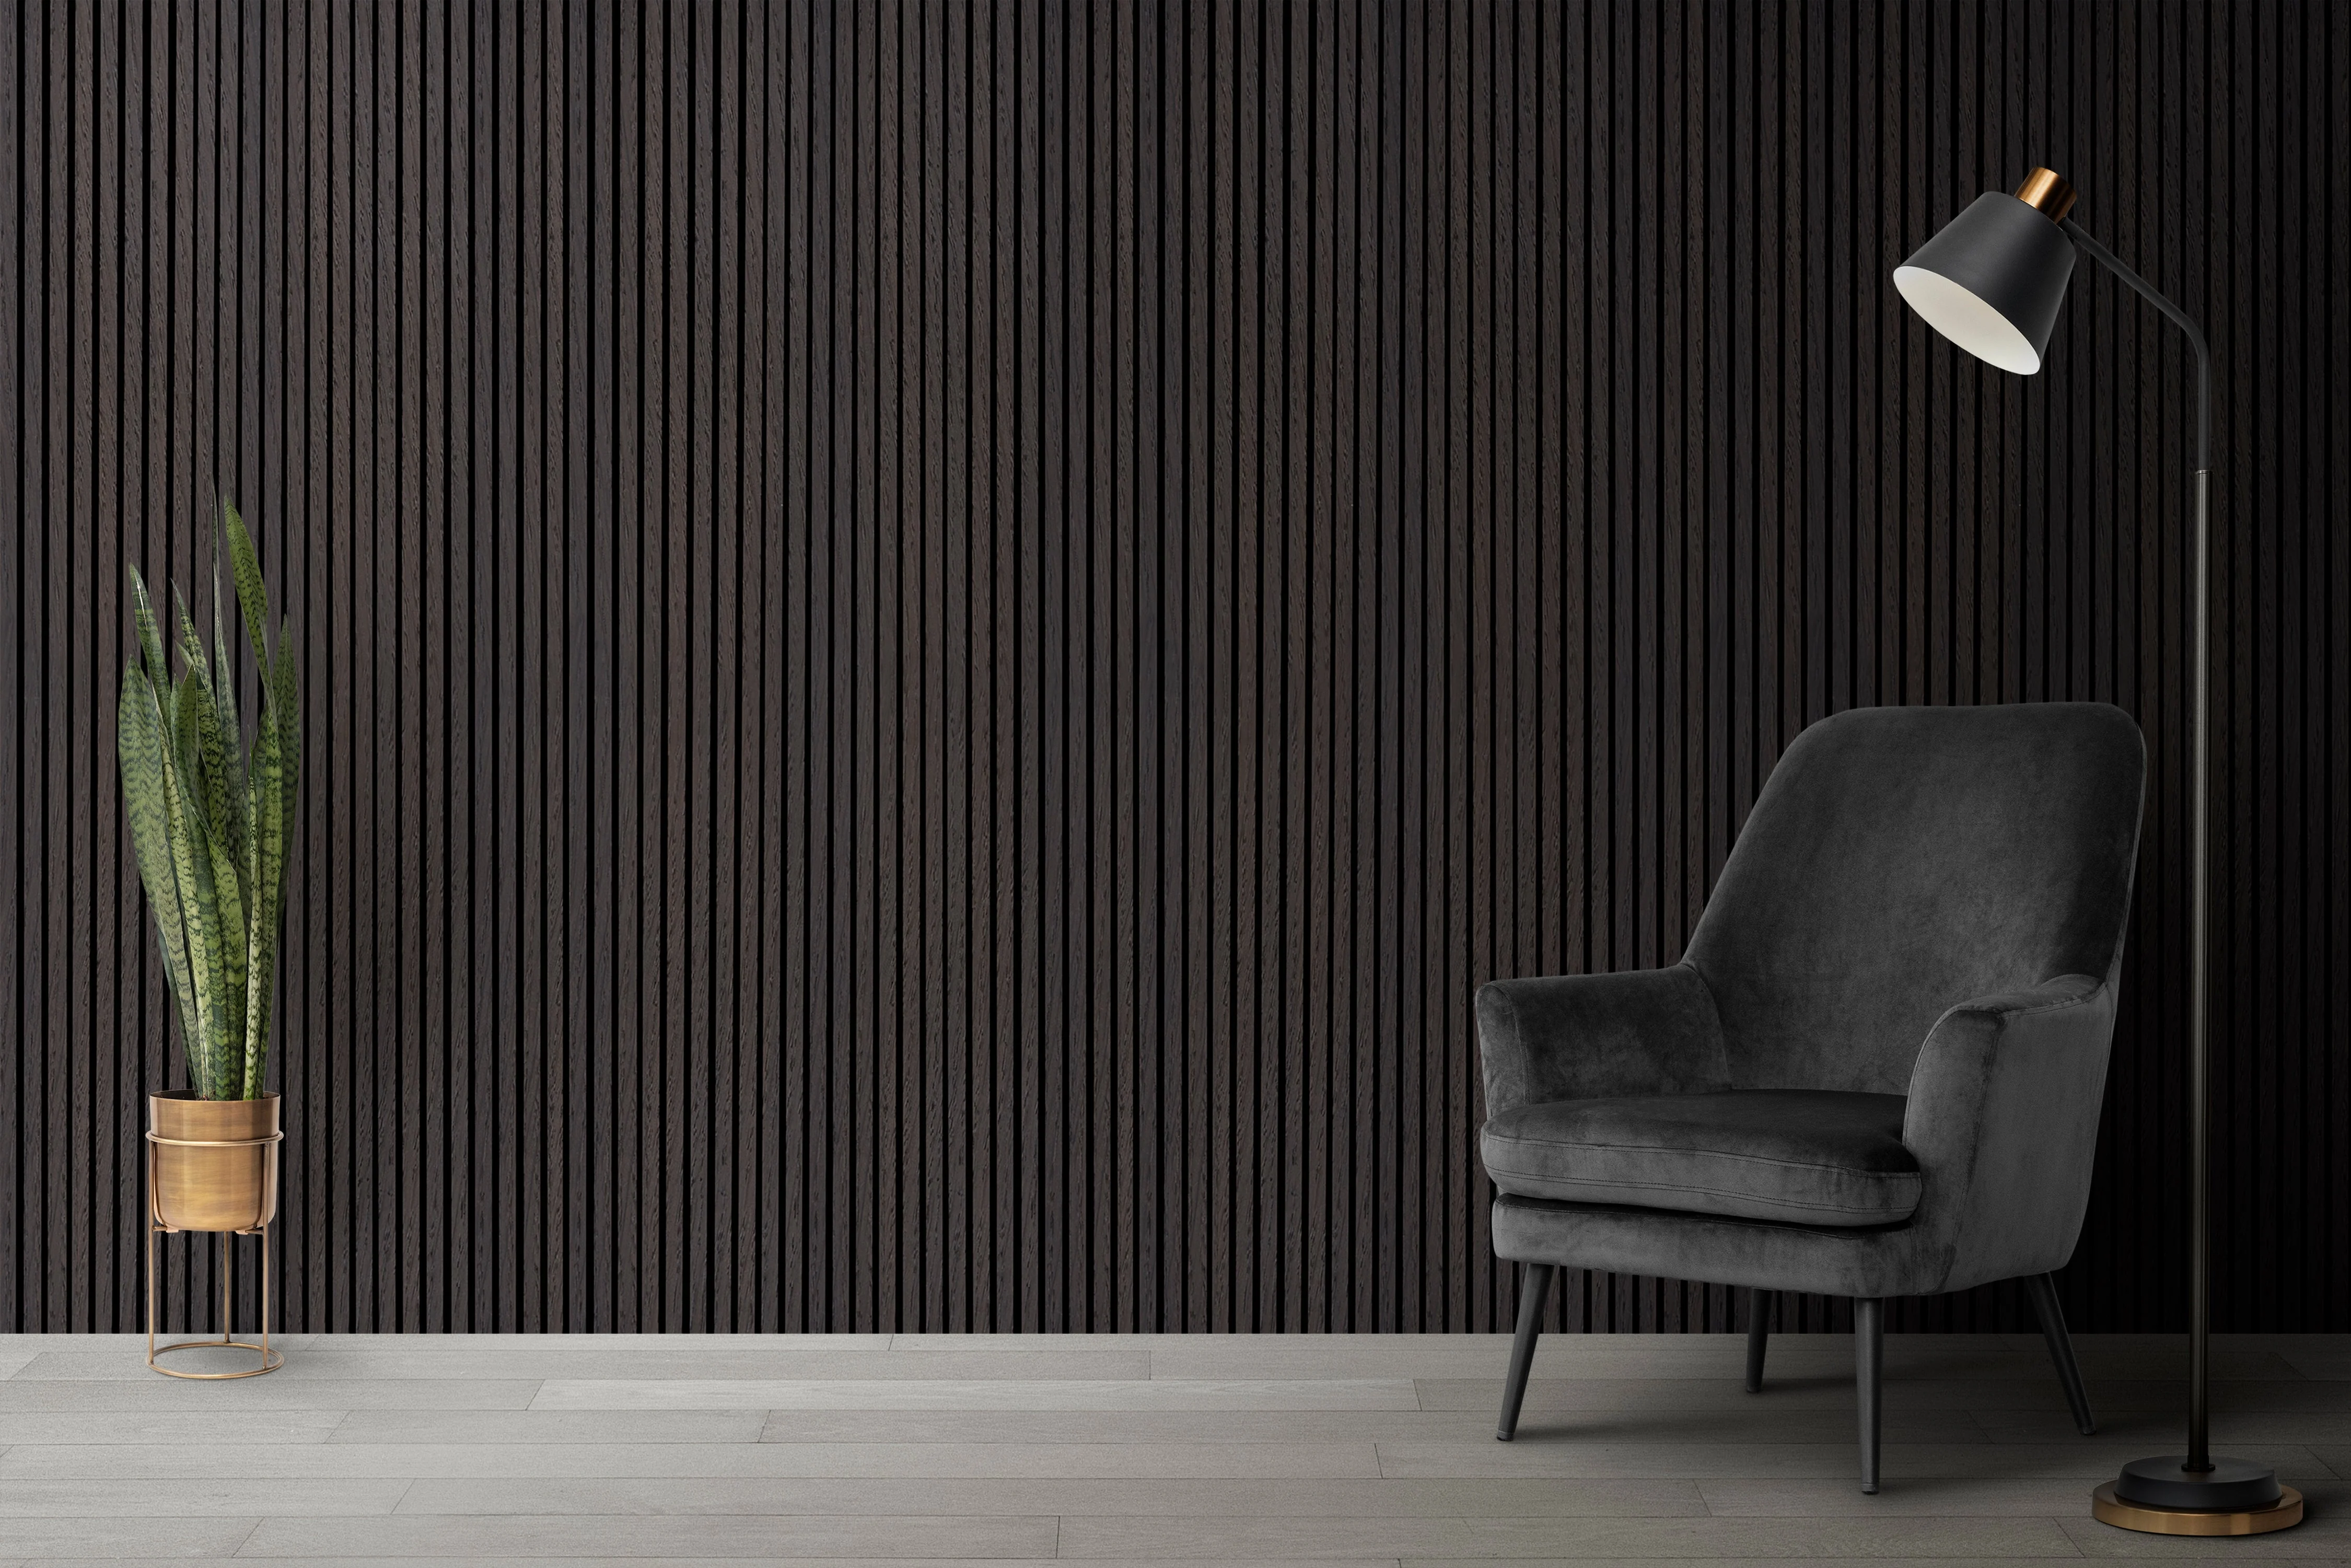
Precision Match
Milled to match the Natural White Oak Harmony Series panels in species, finish, and tone. Where the panel ends, the trim picks up — a seamless transition that makes the overall installation read as intentional and complete.
⊢
Clean Edge Termination
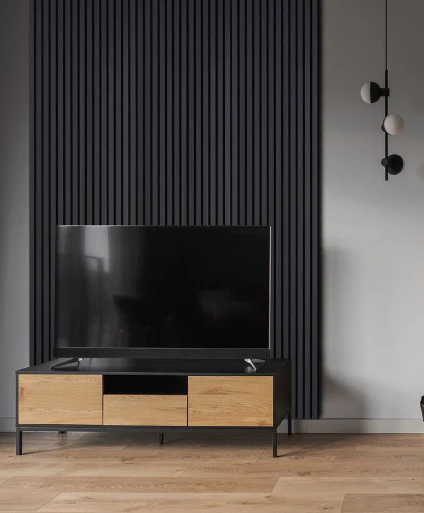
Acoustic panels have raw edges at corners, doorways, and ceiling transitions. This trim covers those edges cleanly — no exposed PET backing, no raw wood, no visible fasteners. The professional detail that separates a finished installation from an unfinished one.
⊕
Easy to Cut & Install
94″ length fits most standard ceiling heights with room to spare. Cut to length with a fine-tooth saw or miter saw. Install with panel adhesive, brad nails, or finishing nails — the same tools used for the panels themselves.
🌲
Premium Natural White Oak
Natural White Oak slats bring warmth and honest wood character to any surface. The open, consistent grain of White Oak takes finish beautifully and pairs with virtually every interior palette — from raw concrete to painted millwork. A purpose-built companion piece — not a generic trim profile.
Planning Your Trim Quantity
Count the number of exposed panel edges in your installation — ends of runs, outside corners, transitions to adjacent surfaces, and ceiling or floor terminations. Each location needs one trim piece. At 94″ per piece, one trim covers most standard 8′ ceiling heights with approximately 2″ to spare. For 9′ or 10′ ceilings, join two pieces end-to-end with a scarf joint for a clean continuous line.
Installation
Step by Step
1
Measure & Cut
Measure the edge or corner you're trimming. Cut to length with a fine-tooth hand saw or miter saw. For corners, cut 45° miters for a clean inside or outside corner joint.
2
Dry Fit First
Always dry fit before applying adhesive. Check that the trim sits flush against the panel edge and the adjacent surface. Adjust the cut if needed.
3
Apply & Secure
Apply panel adhesive in a continuous bead. Press firmly and hold for 60 seconds. Supplement with 18-gauge brad nails for a permanent mechanical hold — set nails slightly below the surface and fill with matching wood filler.
4
Long Runs & Scarf Joints
For ceiling heights over 94″, join two trim pieces with a 45° scarf joint at mid-height. Stagger scarf joint locations across adjacent trim pieces so no two joints align at the same height.
ATR100-94SG — Natural White Oak Acoustic Trim, Harmony Series. The detail that makes the installation complete.