White River Hardwoods ?ú LuxeStone Collection
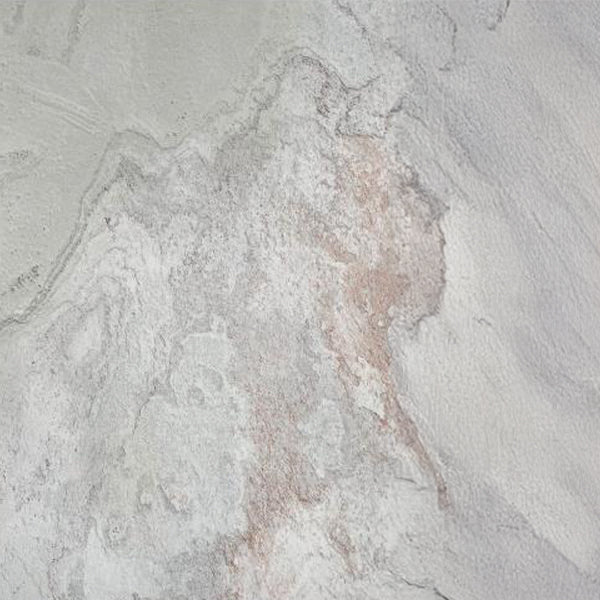
LuxeStone Blanco
Natural Slate Stone Veneer ?ú Opaque ?ú Interior & Exterior
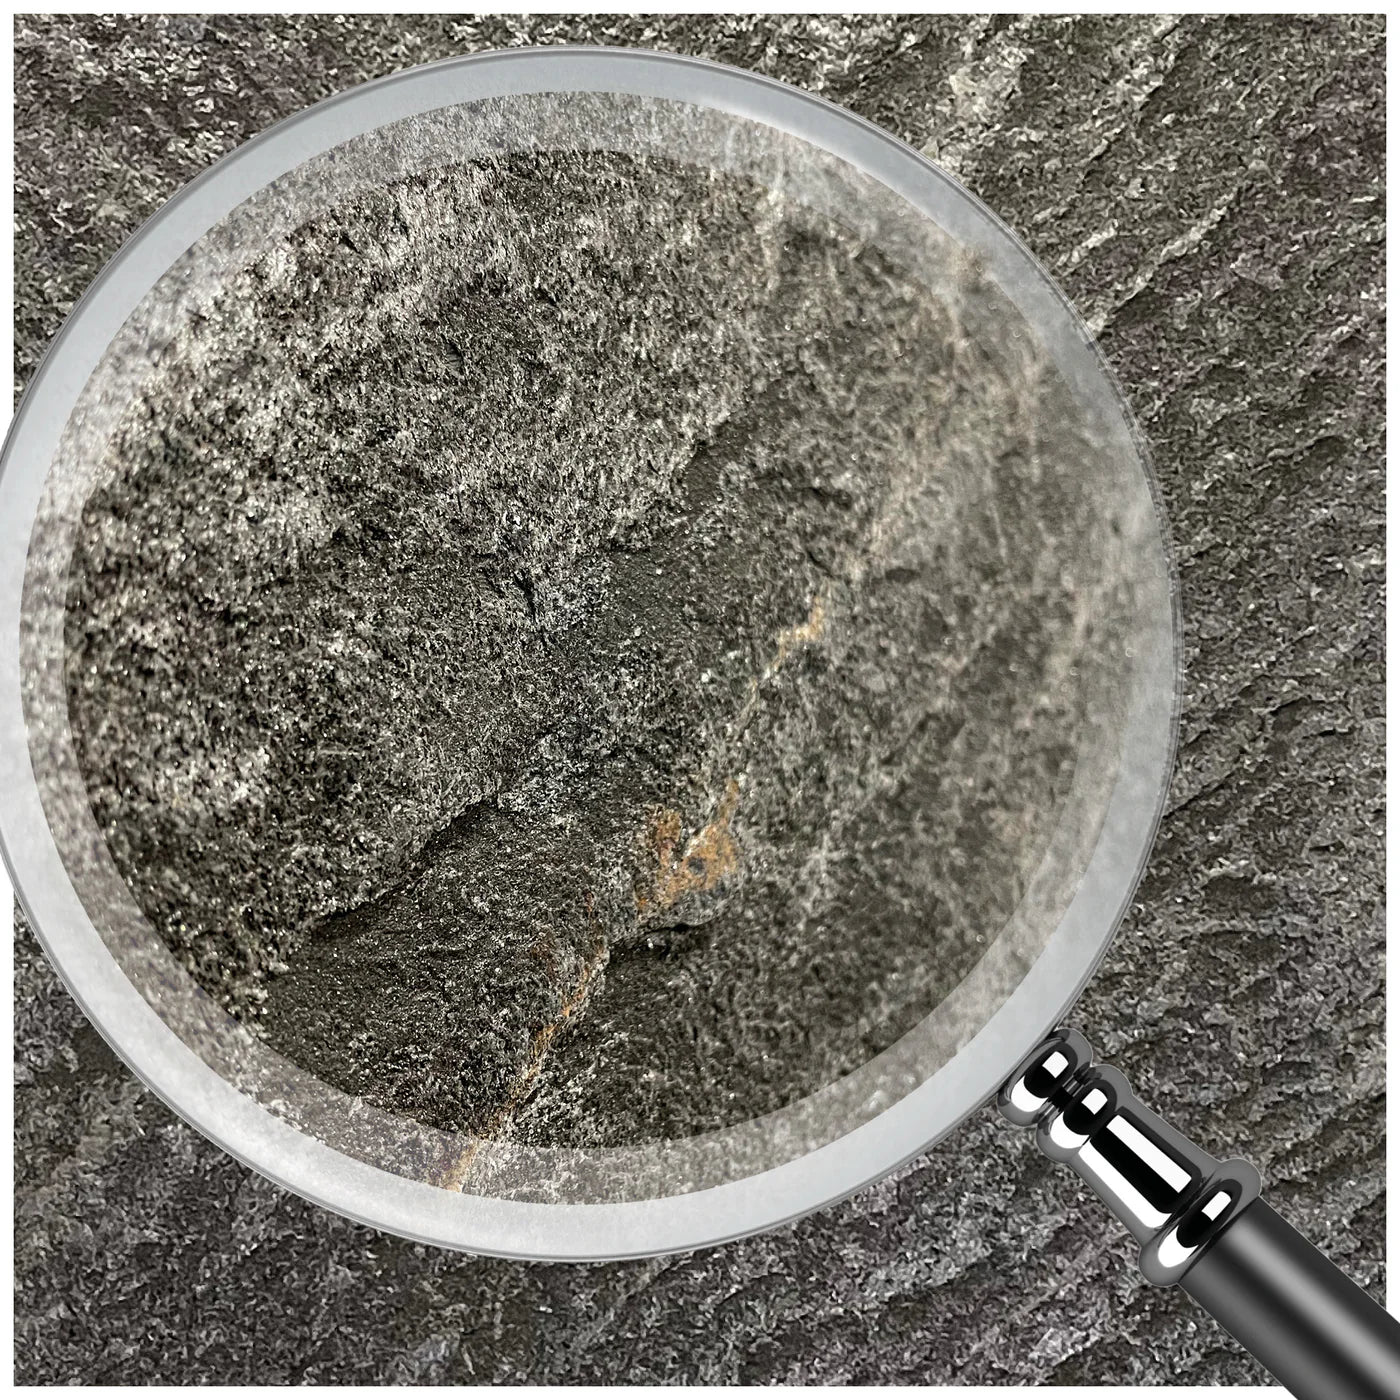
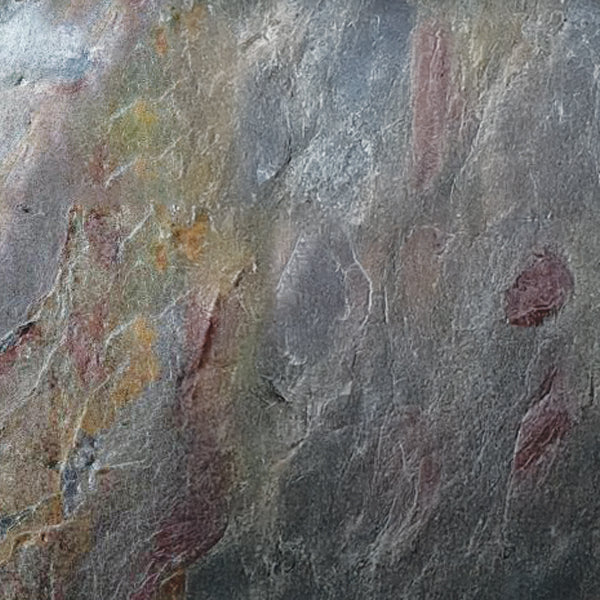
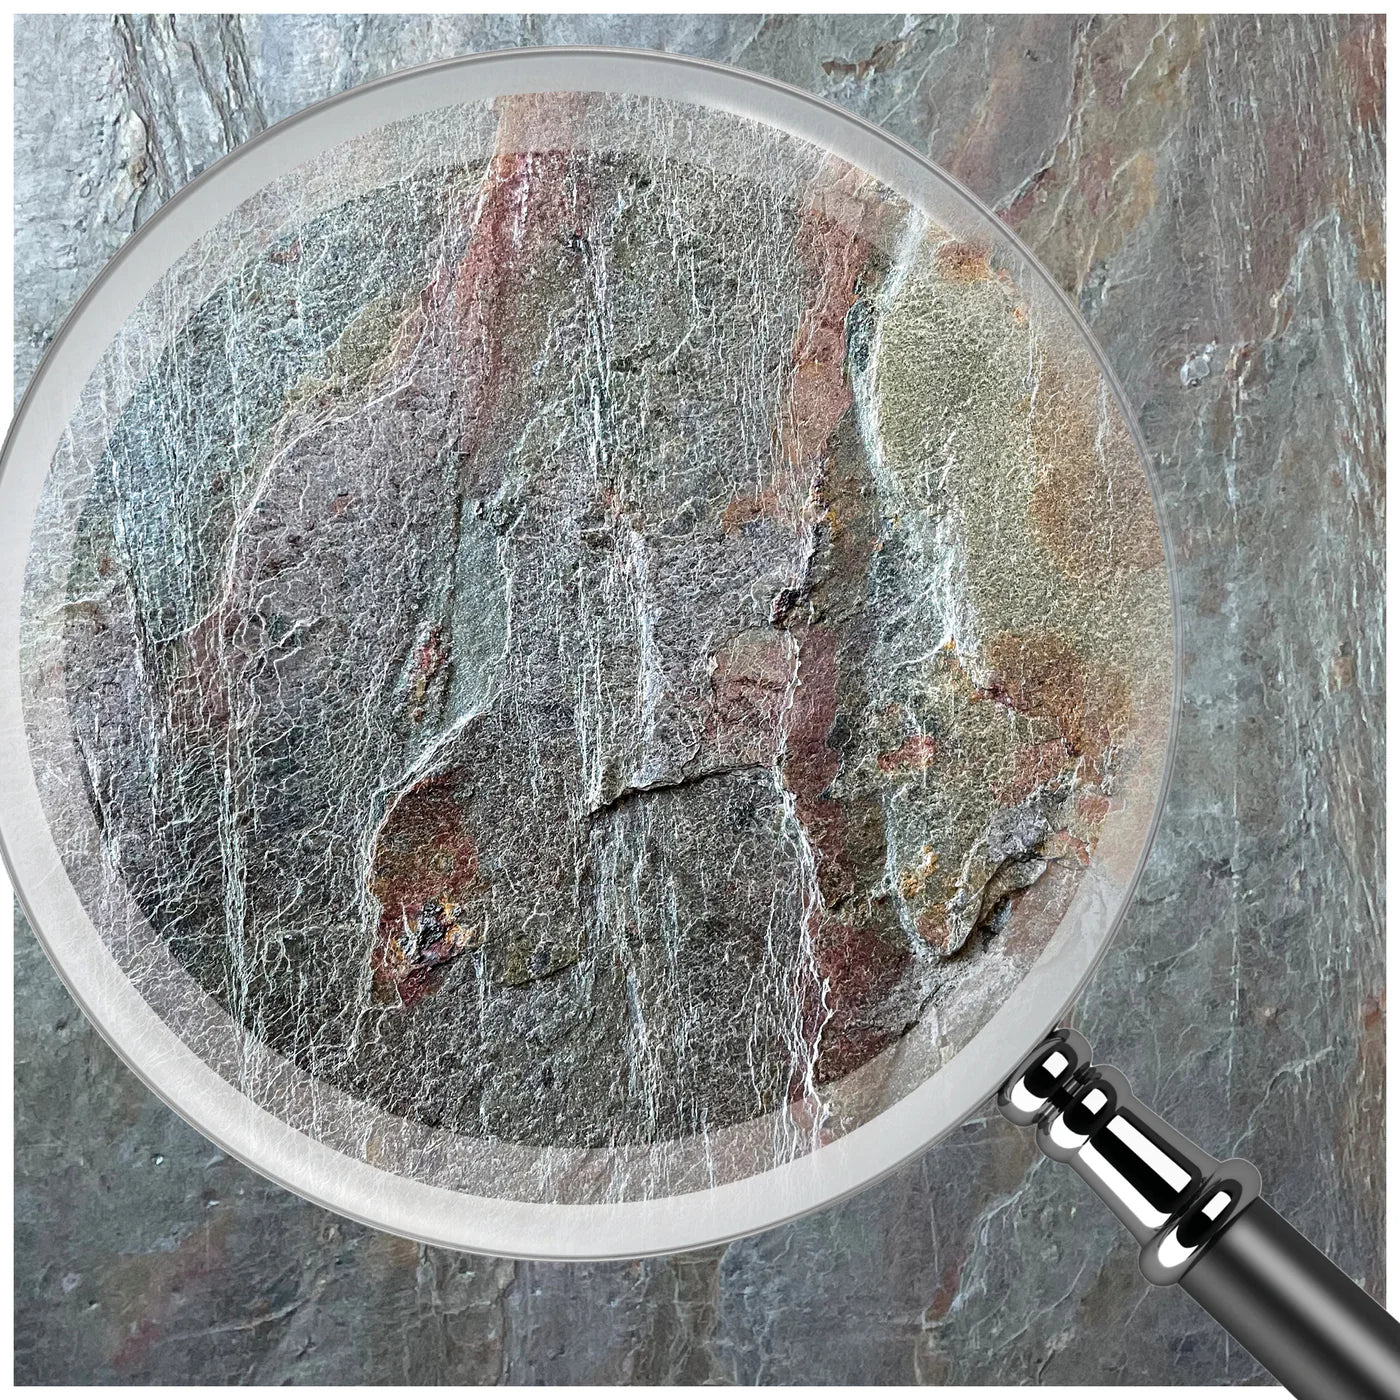
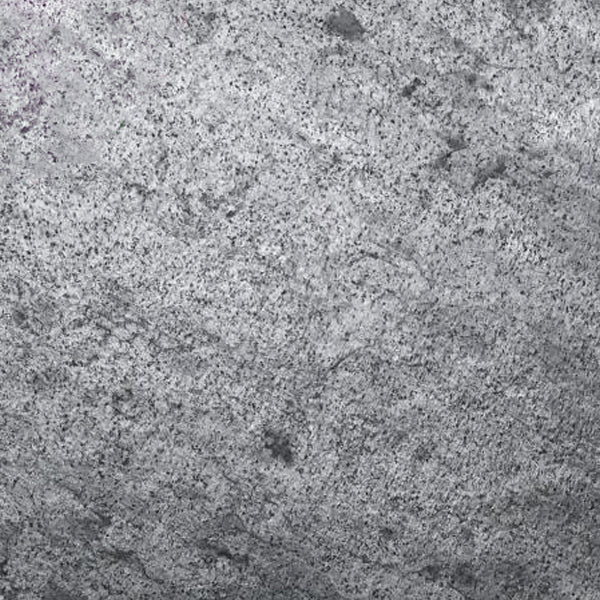
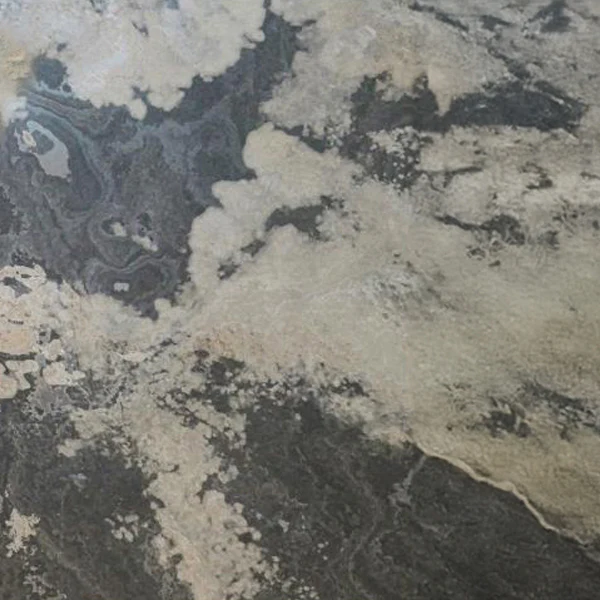
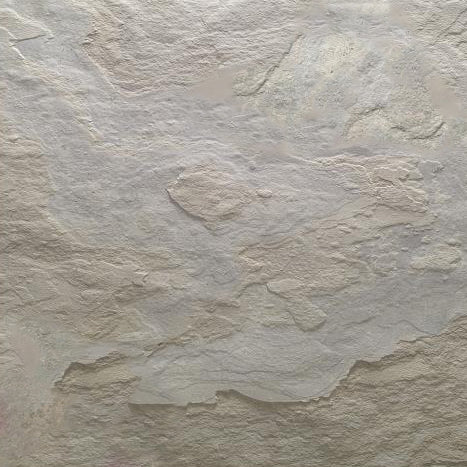
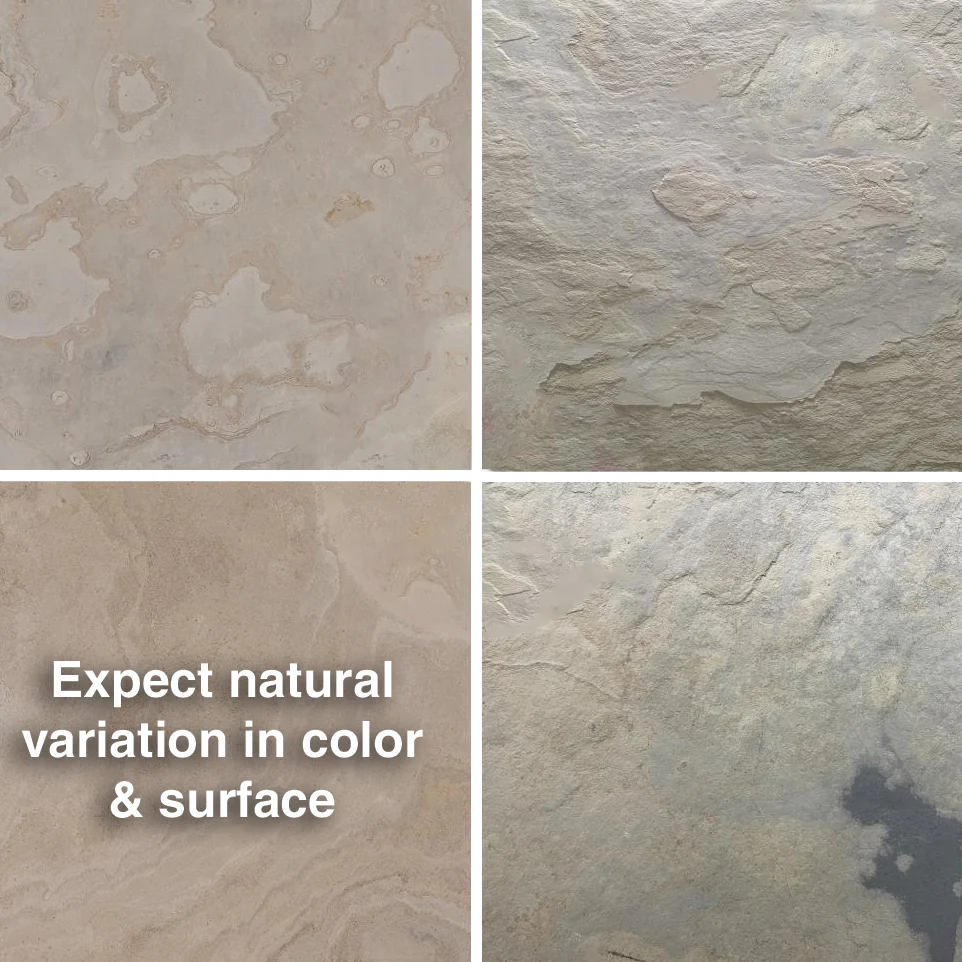
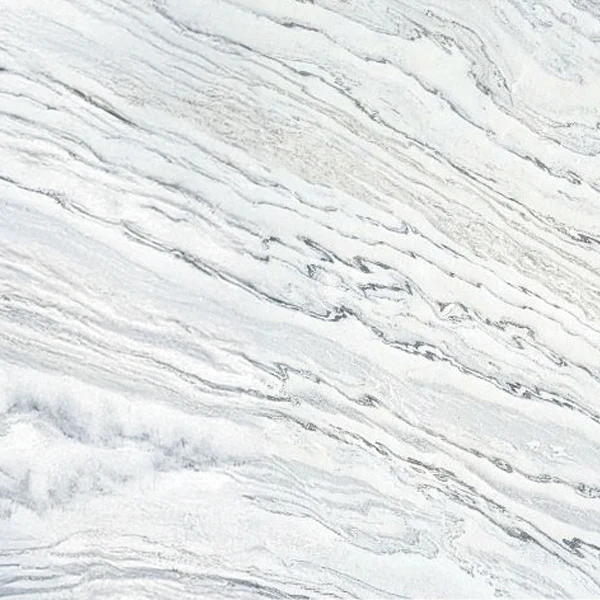
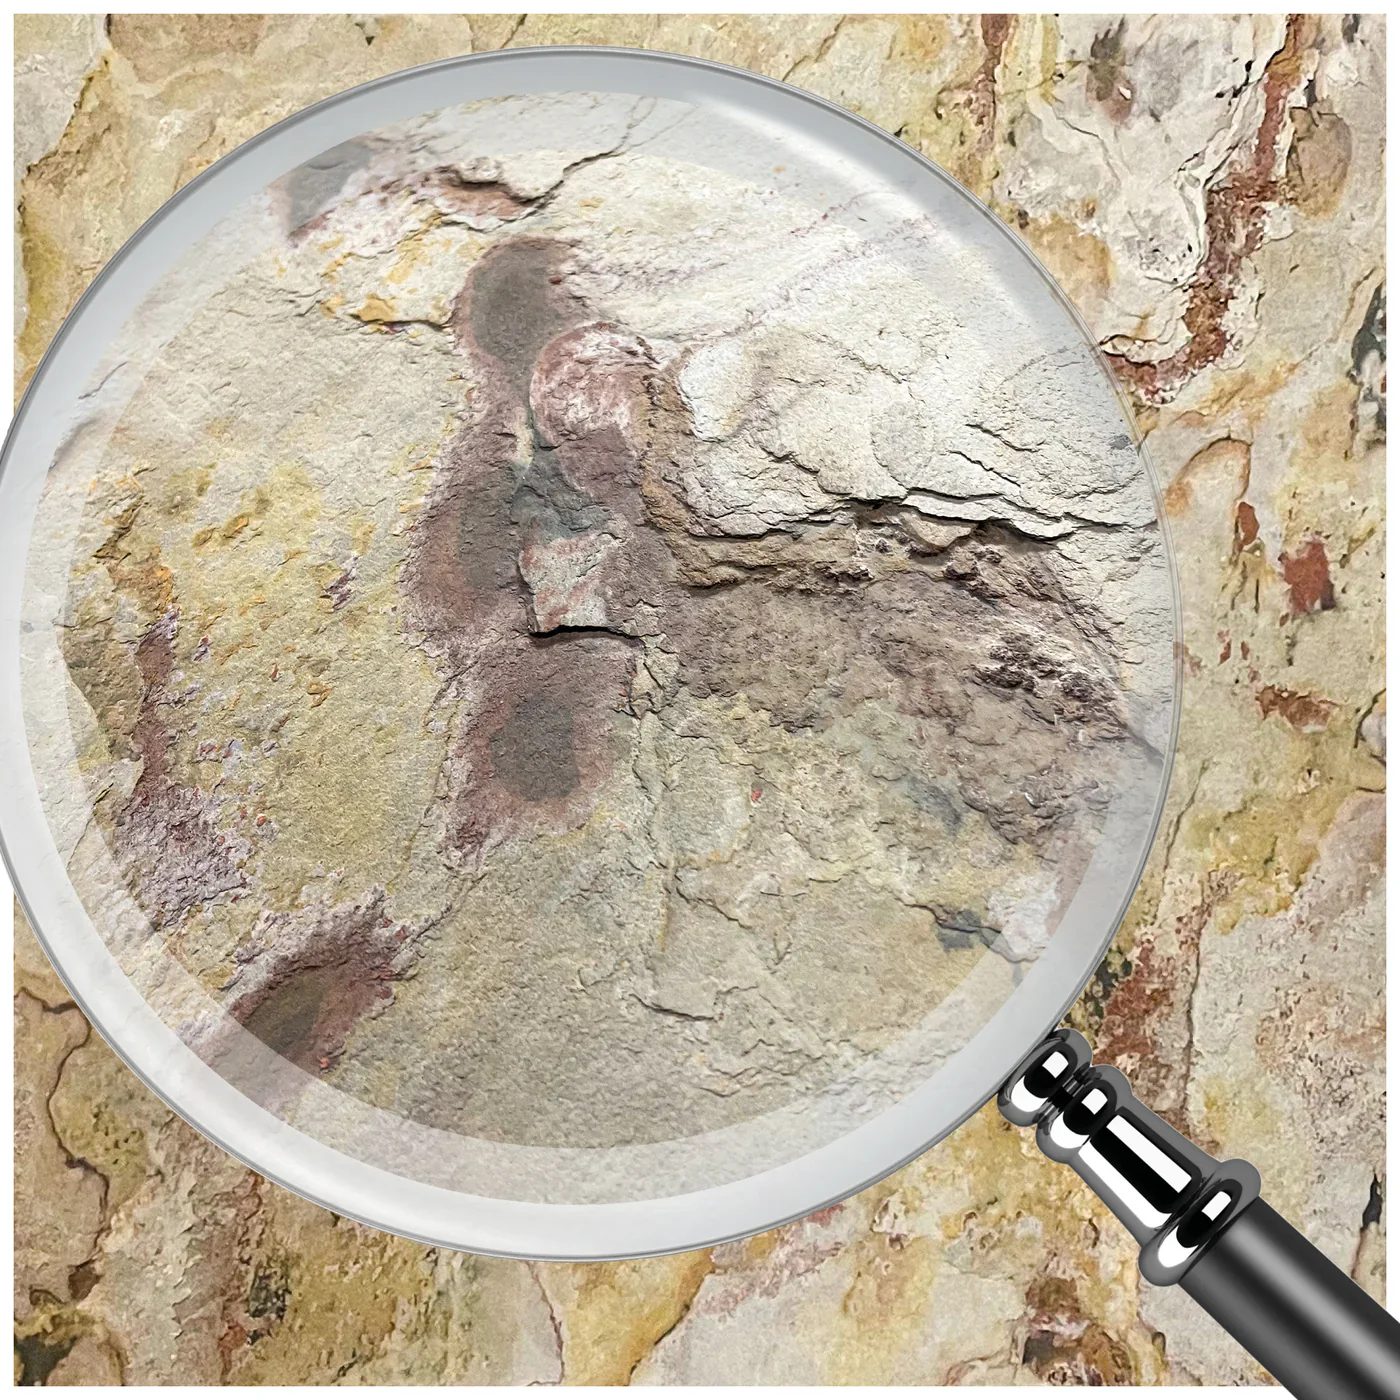
100% natural slate in a crisp, pure white finish. The clean minimalism of LuxeStone Blanco brings brightness and depth to modern interiors and contemporary exteriors ƒ?? from feature walls and kitchen backsplashes to outdoor facades.
The discipline of white ƒ?? natural slate texture that earns its simplicity.
Available Sizes
Format Options
| Dimensions |
Installation Method |
Use |
| 94?«ƒ?? L ?? 47?¬ƒ?? W |
Trowel adhesive |
Interior / Exterior |
| 48ƒ?? L ?? 24ƒ?? W |
Trowel adhesive |
Interior / Exterior |
| 24ƒ?? L ?? 12ƒ?? W |
Stick & Go ƒ?? self-adhesive backing |
Interior / Exterior |
| 11ƒ?? L ?? 4ƒ?? W |
Stick & Go ƒ?? self-adhesive backing |
Interior / Exterior |
* Smaller panels feature a Stick & Go self-adhesive backing ƒ?? no trowel or additional adhesive required. Larger panels use trowel-applied adhesive for maximum coverage and a seamless finish. SKUs: LXBL-9447 ?ú LXBL-4824 ?ú LXBL-2412 ?ú LXBL-1104
Why This Material
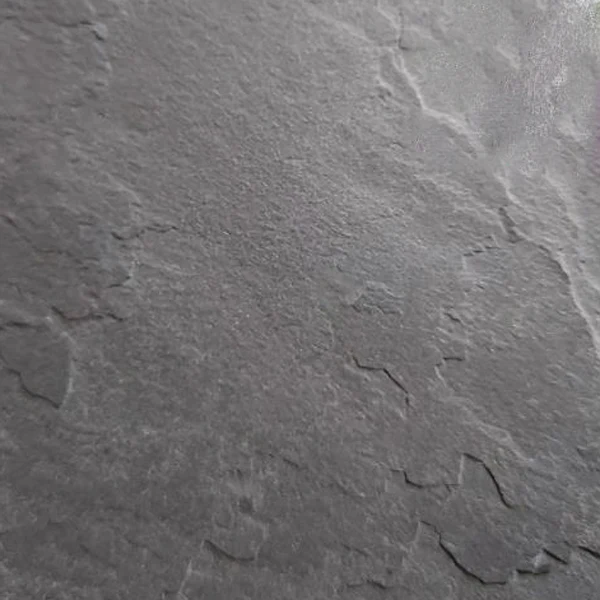
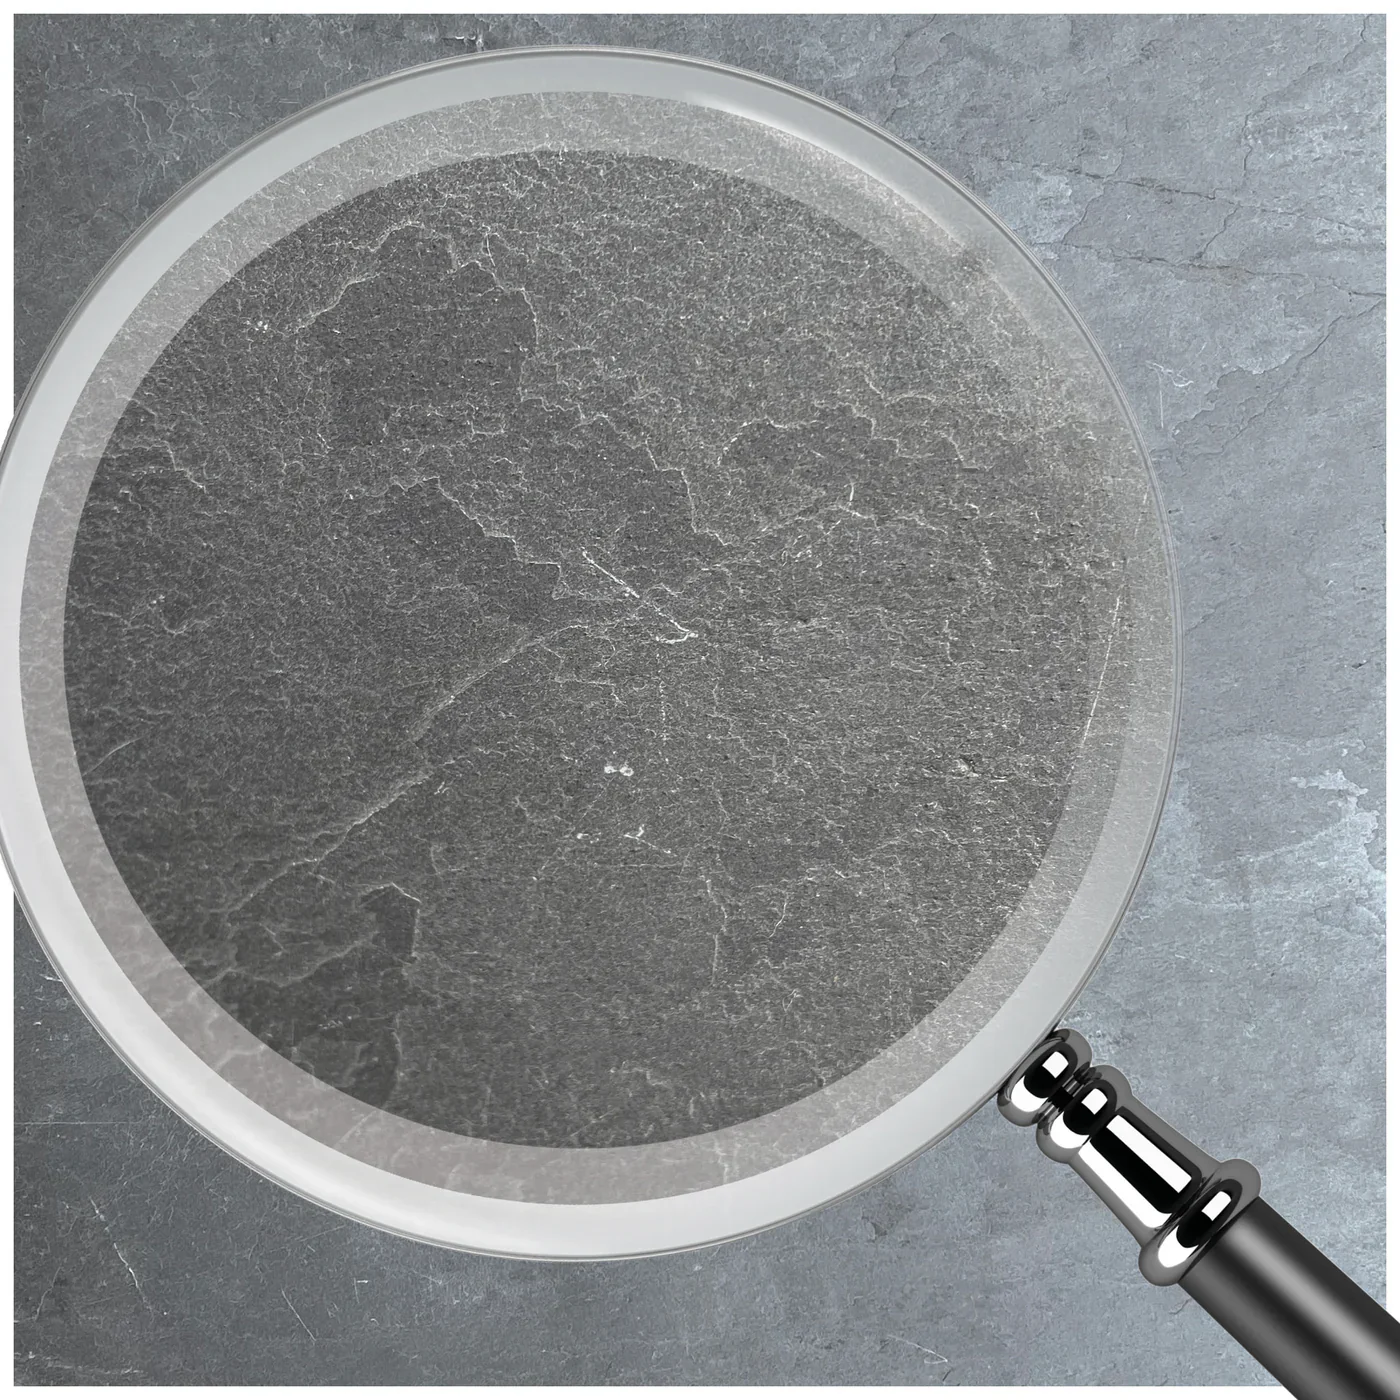
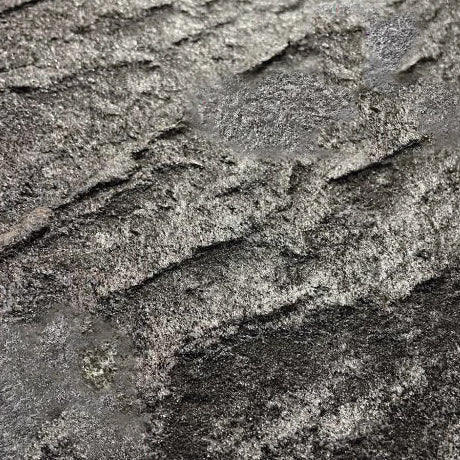
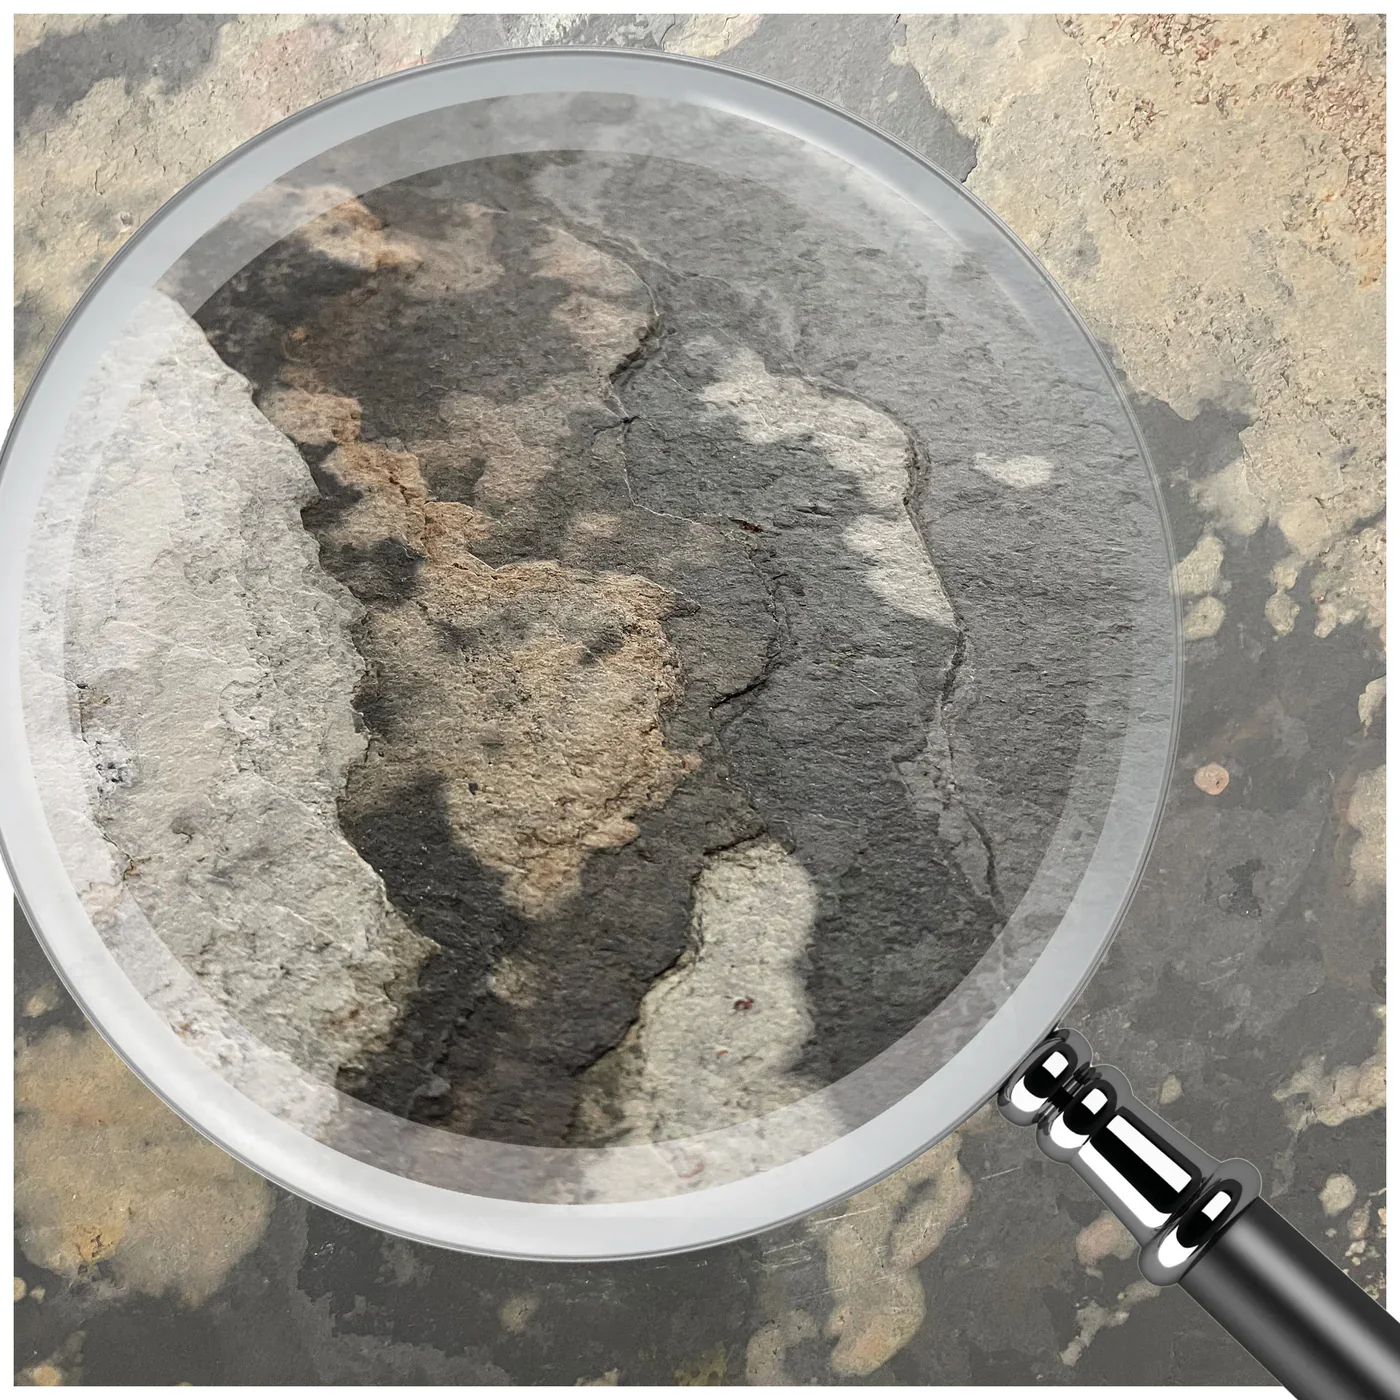
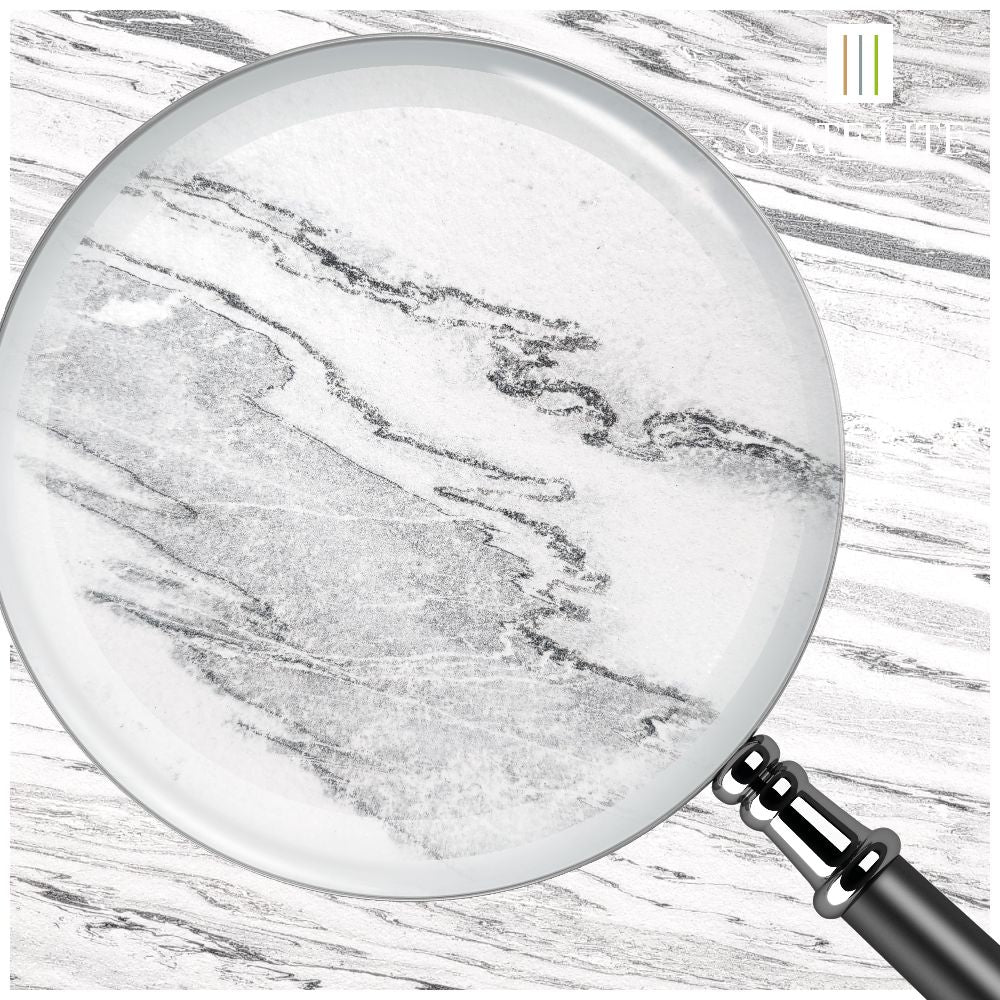
The Stone in Detail
ƒ?ýƒ?ý
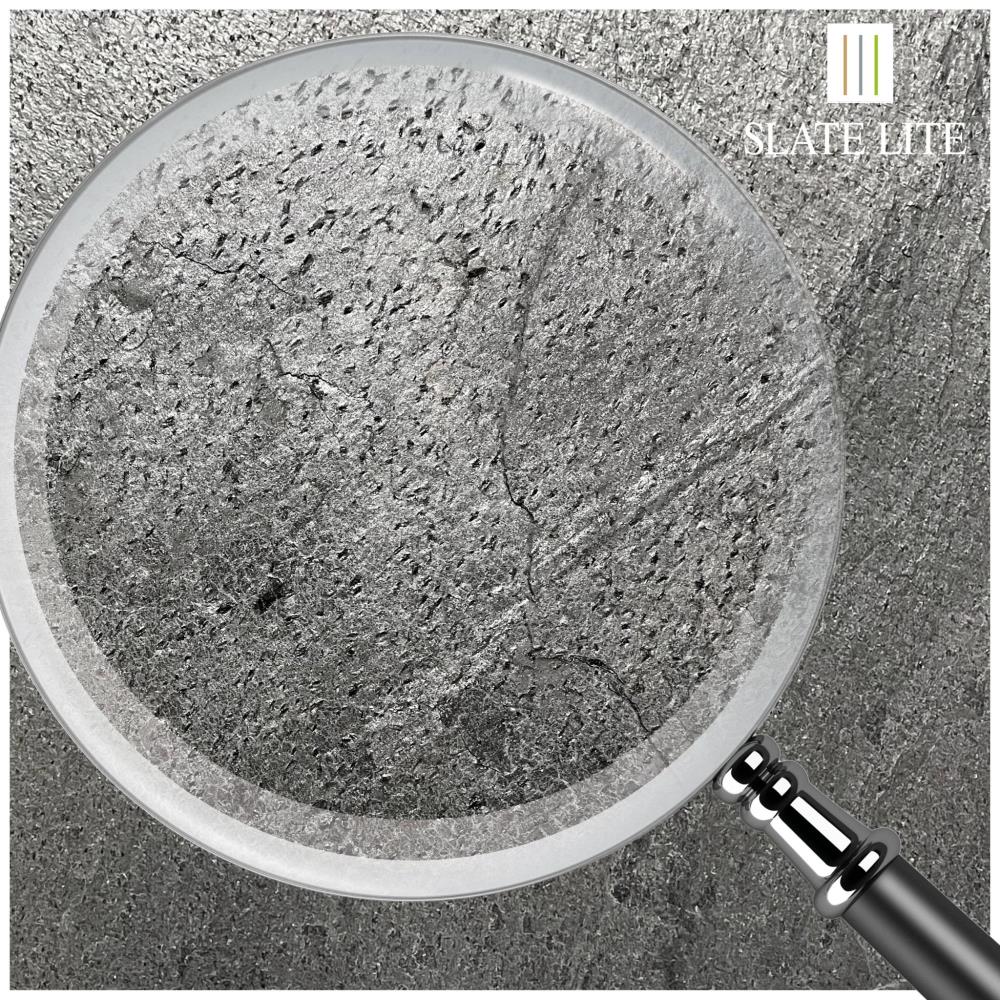
100% Natural Slate
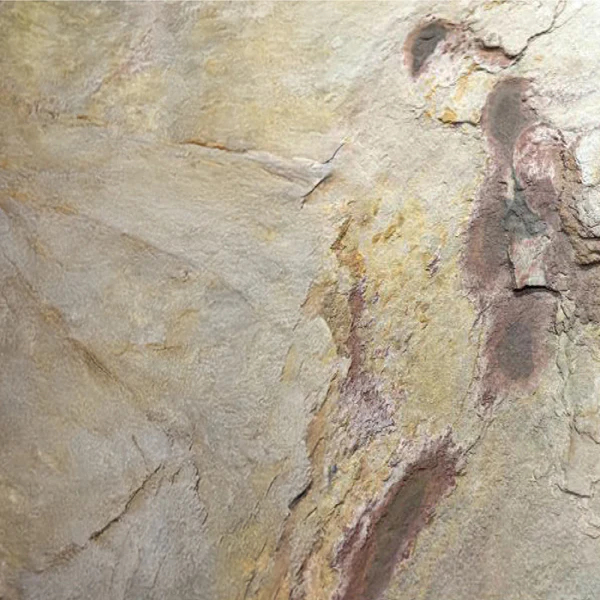
LuxeStone Blanco is genuine natural slate ƒ?? not composite or manufactured stone. The crisp white finish retains the authentic texture and subtle surface variation of real slate, adding visual depth that pure paint or tile cannot replicate.
Ļ
Interior & Exterior Rated
Moisture-resistant natural slate performs reliably across a broad range of applications ƒ?? kitchen backsplashes, bathroom walls, showers, and outdoor facades. The white finish holds its brightness in both naturally lit and artificially lit environments.
ƒ?
Two Installation Methods
Smaller panels come with a Stick & Go self-adhesive backing for fast, tool-free application ƒ?? ideal for accent work and renovations. Larger panels use trowel-applied adhesive for the seamless coverage professional installations require.
ƒ??
Durable, Low Maintenance
Natural slate resists moisture, scratches, and wear ƒ?? holding up in high-traffic areas and spaces exposed to the elements. Easy to clean with soap and water, with periodic sealing to preserve the bright finish over time.
Before You Install
Surface Preparation
Clean, Sound, and Ready
The wall surface must be clean, dry, and free of dust, grease, or debris before installation. For trowel-adhesive panels, apply a primer to porous substrates to improve bond strength. For Stick & Go panels, a smooth, non-porous surface gives the strongest self-adhesive hold ƒ?? avoid rough or unsealed masonry without priming first. On white installations, any staining or residue on the substrate may show through lighter grout lines or unsealed seams.
Installation
Step by Step
Stick & Go ƒ?? 24ƒ?? ?? 12ƒ?? & 11ƒ?? ?? 4ƒ?? Panels
1
Prepare the Surface
Ensure the wall is clean, dry, and free from debris. A smooth, primed surface gives the self-adhesive backing the strongest hold and the cleanest result at seams.
2
Dry-Fit First
Lay out your panels before peeling. Confirm layout and spacing ƒ?? once the adhesive makes contact with the wall, repositioning is limited.
3
Peel & Position
Remove the adhesive backing from each panel. Align to your layout marks and press firmly into position from the center outward to avoid air pockets.
4
Press and Continue
Apply firm, even pressure across the full panel face. Continue installing adjacent panels, checking alignment as you go. Sealing is optional but recommended for wet areas and exterior installations.
Trowel Adhesive ƒ?? 94?«ƒ?? ?? 47?¬ƒ?? & 48ƒ?? ?? 24ƒ?? Panels
1
Prepare the Surface
Clean and dry the wall thoroughly. Apply primer to porous or absorbent substrates to ensure maximum adhesion before laying any panels.
2
Dry-Fit First
Always dry-fit large panels before committing adhesive. Confirm layout and orientation ƒ?? seam placement matters significantly on a white surface where lines read clearly.
3
Apply Adhesive
Using a trowel, apply an even, consistent layer of adhesive to the back of each panel. Aim for 80ƒ??100% coverage to within ?¬ƒ?? of panel edges to prevent edge lifting.
4
Position and Press
Set the panel against the wall and press firmly across the full surface. Use a level to confirm alignment before adhesive begins to set. Work outward from a fixed reference point.
5
Seal the Seams
After adhesive has cured, apply a quality stone sealer to seams and exposed edges. On a white surface, an unprotected seam can pick up staining over time ƒ?? sealing is especially recommended.
6
Clean Up
Remove adhesive squeeze-out immediately. On a white slate surface, cured adhesive residue is more visible than on darker colorways ƒ?? clean panel faces promptly with a damp cloth.
Installer Advice
Pro Tips
Seal to Protect White
White slate is beautiful and unforgiving in equal measure. Apply a penetrating stone sealer after installation ƒ?? particularly at seams, grout lines, and in wet areas ƒ?? to protect against staining and discoloration over time.
Keep Adhesive Off the Face
Residue and squeeze-out are more visible on white slate than on any other colorway in the LuxeStone range. Keep a clean damp cloth at hand and wipe panel faces immediately during installation before anything cures.
Larger Panels First
Begin with your largest format panels to establish the primary visual field. Fill edges and detail areas with smaller Stick & Go sizes ƒ?? this minimizes cut waste and keeps seam lines consistent across the installation.
Care & Maintenance
Clean LuxeStone Blanco with mild soap and water. Avoid harsh chemical cleaners, abrasive pads, or colored cleaning solutions that may stain or dull the white slate finish. For exterior installations or wet interior areas, reseal periodically with a quality penetrating stone sealer. Proper surface preparation and adhesive application are required to maintain installation integrity.
LuxeStone Blanco ƒ?? the quiet confidence of natural stone in its purest form.